After having our caravan serviced back in October by Shaun at The Happy Caravan Company, we learnt that our van had a major dry rot issue at the back in the washroom. Give the age of the caravan we knew that it would not be economical to pay for it to be repaired, but having only been away twice we knew that we had to give it a go at repairing ourselves.
Over christmas and new year we took the time to research how to repair caravans and how others have tackled projects like this. We have followed McNeils on Wheels and their hard work to repair and renovate their caravan.

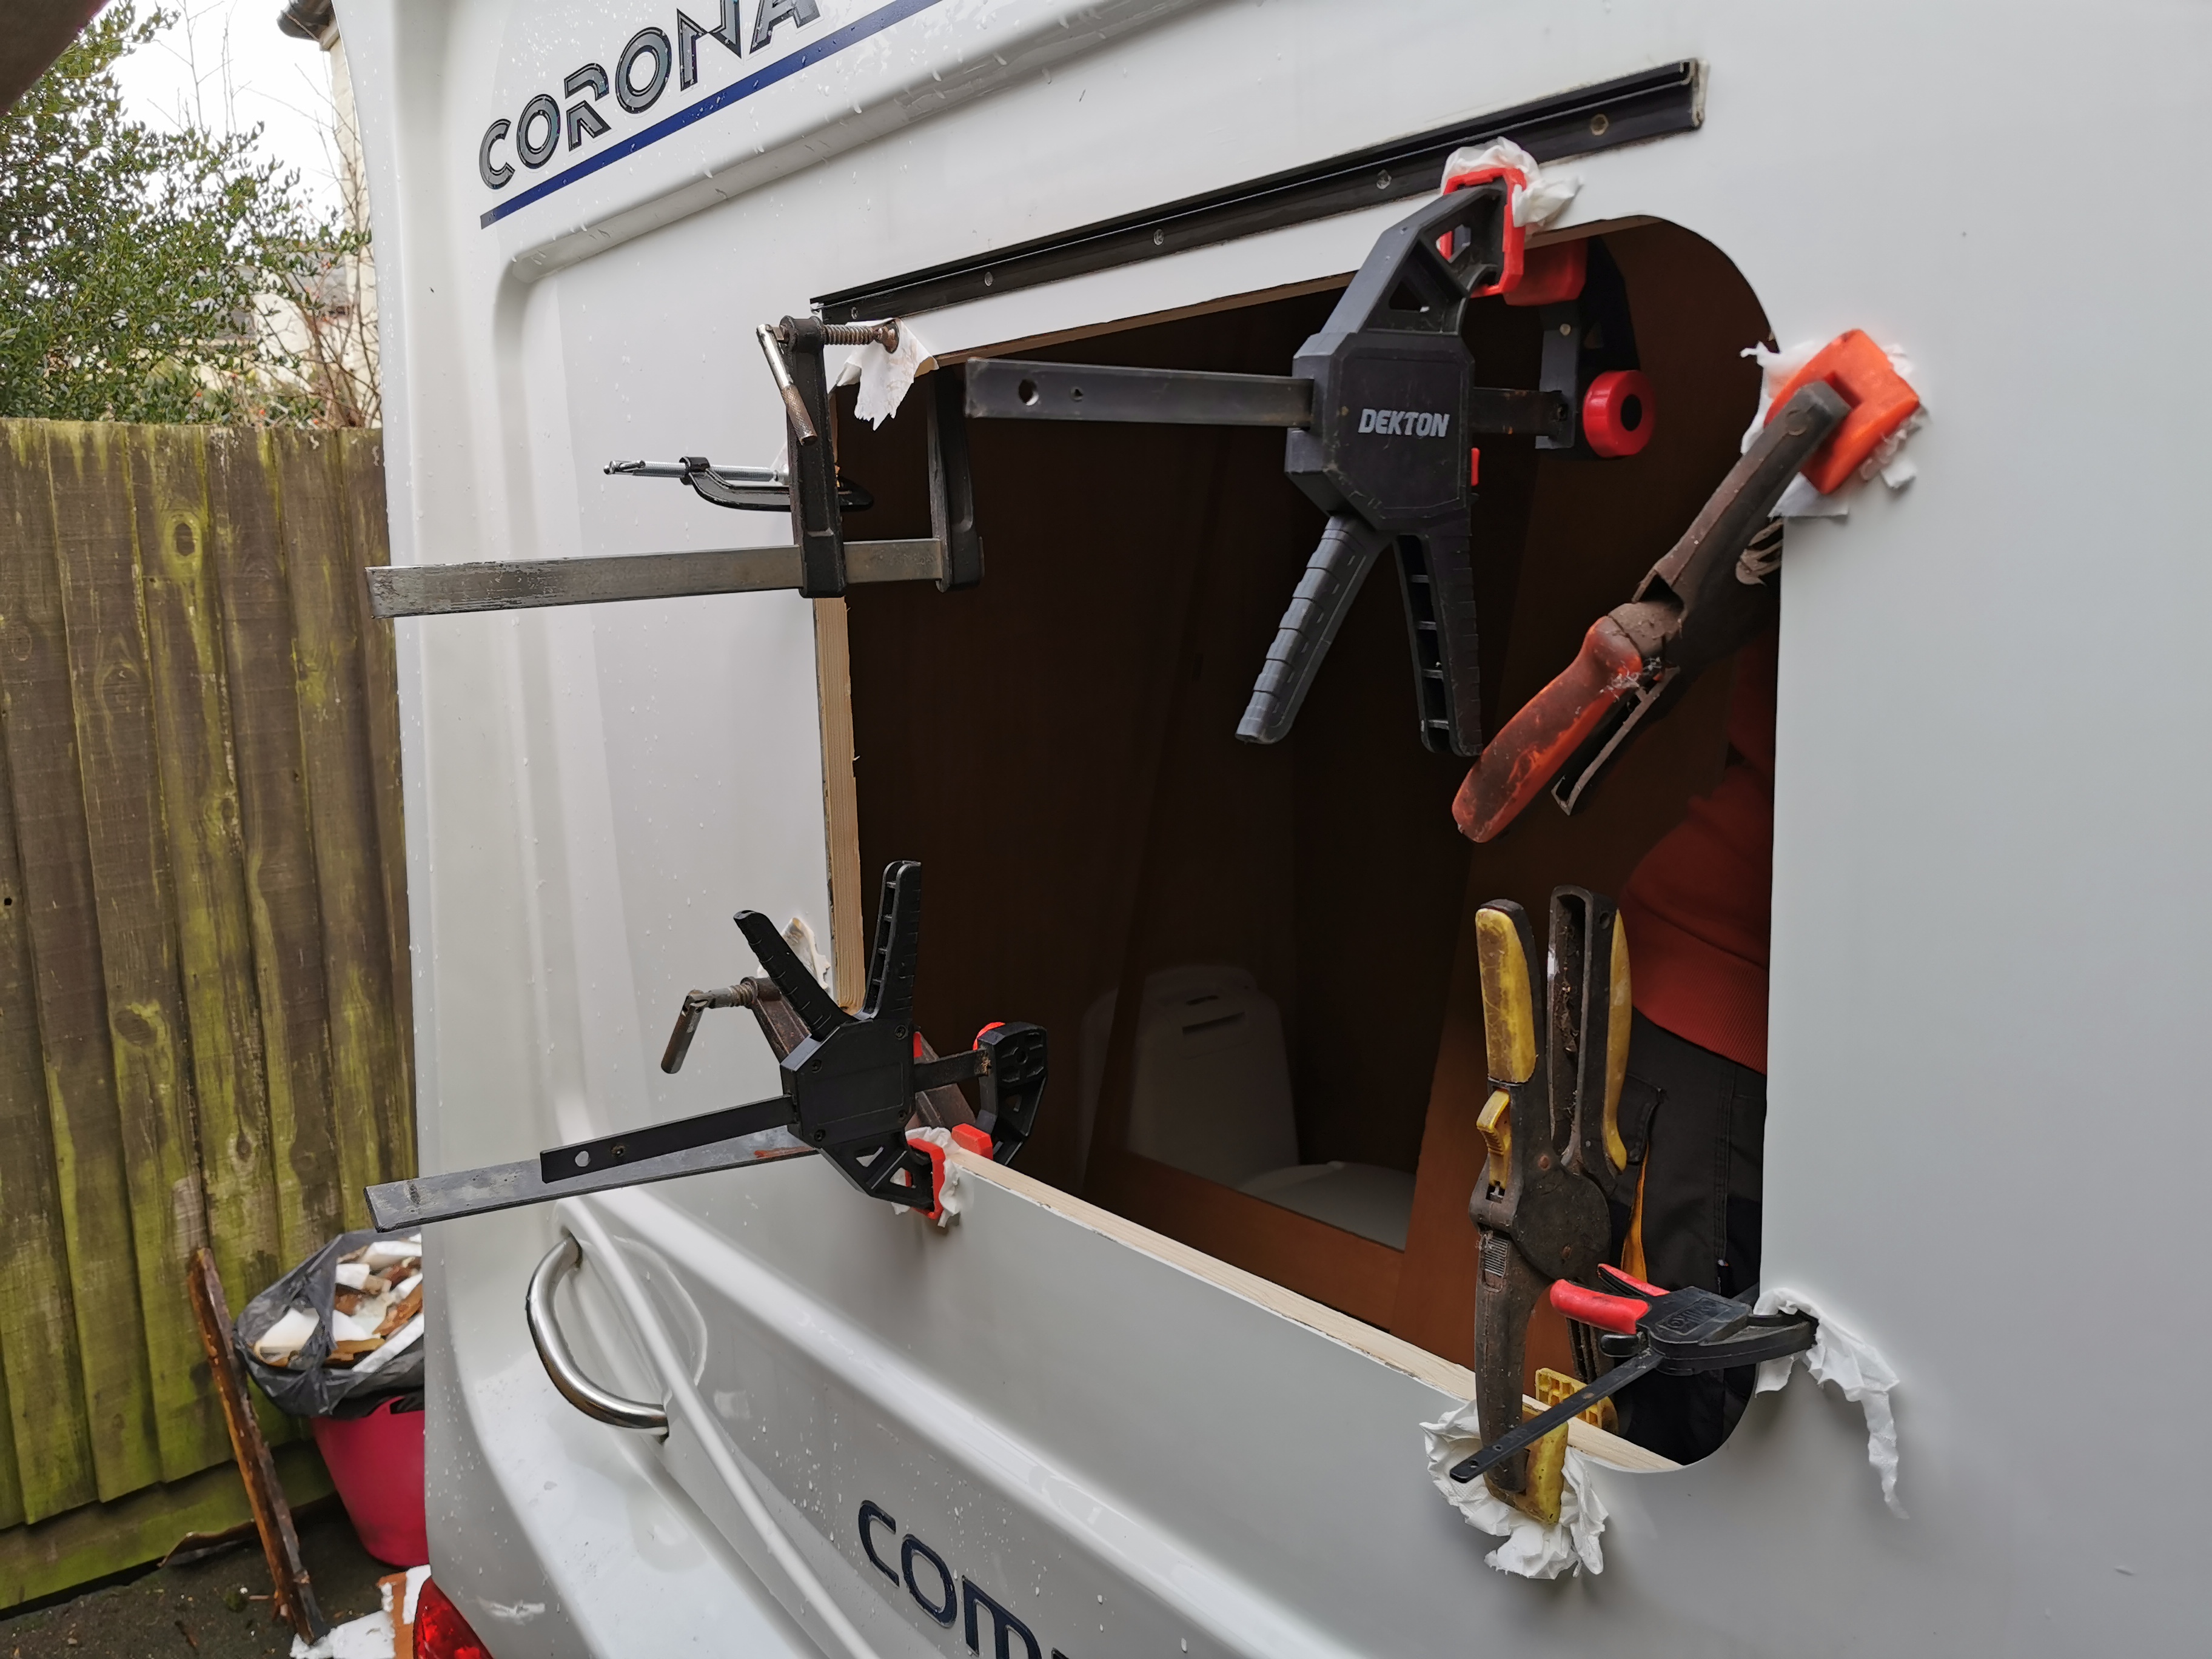
the start of renovations
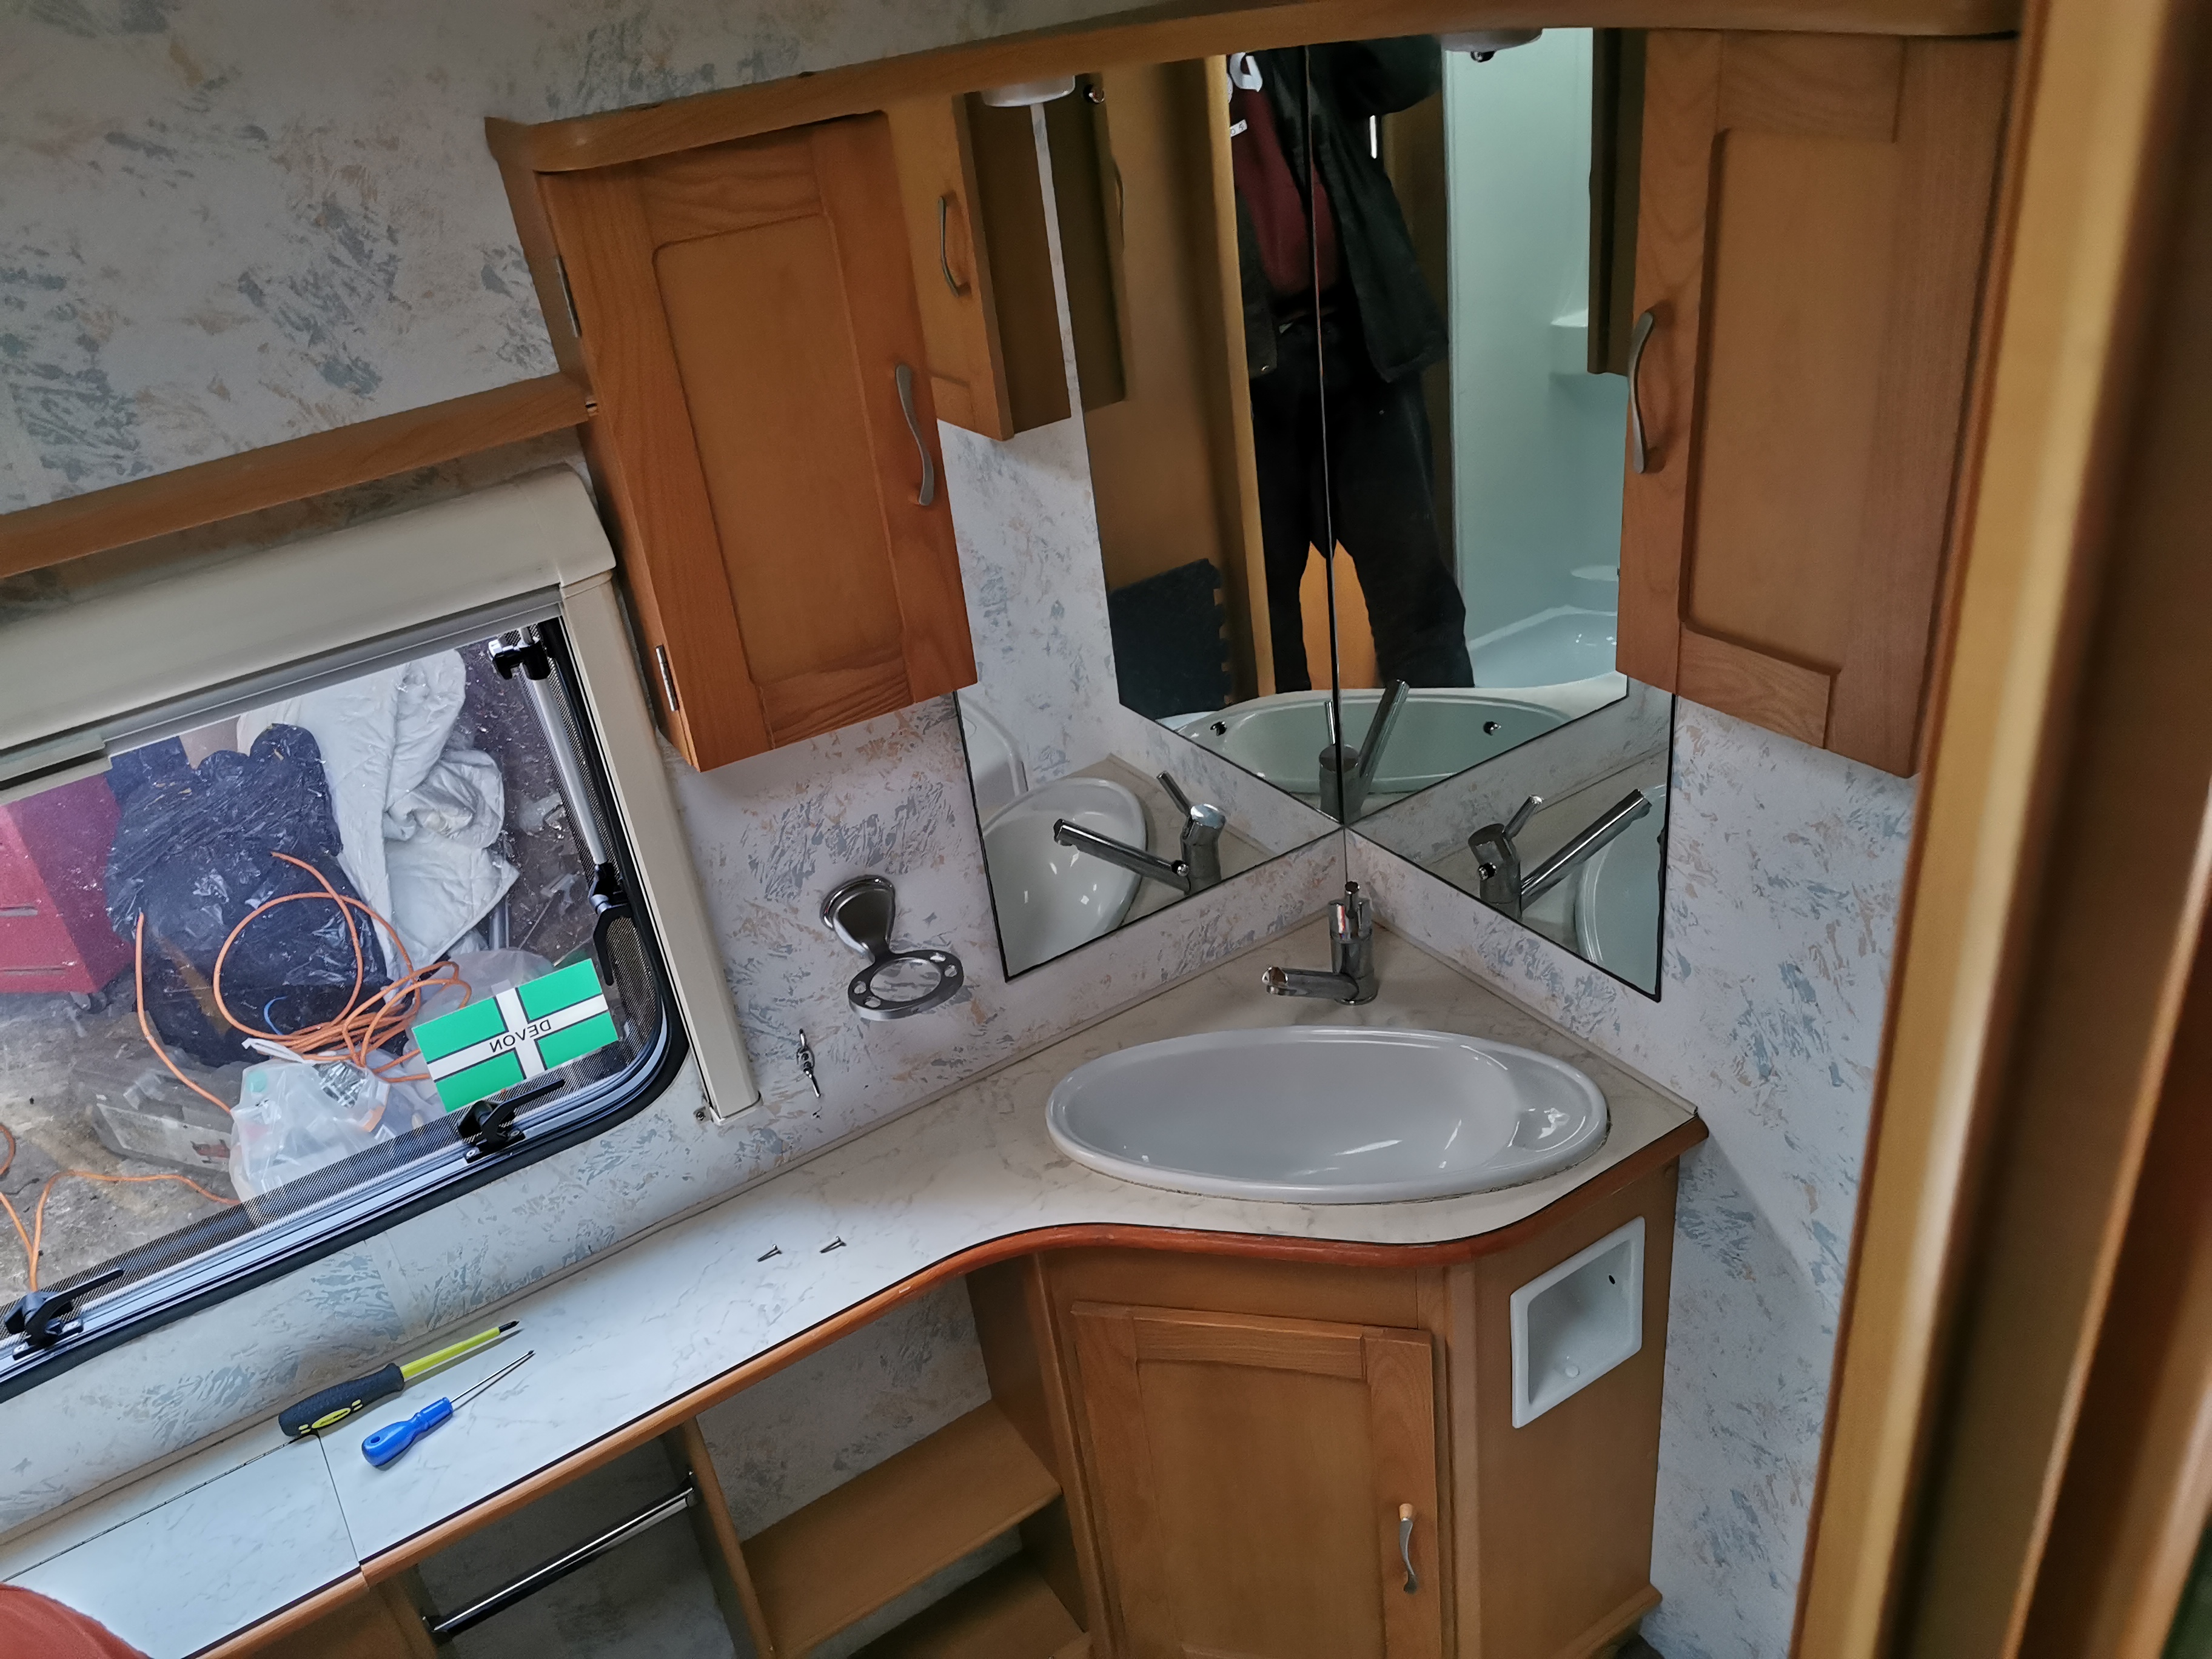
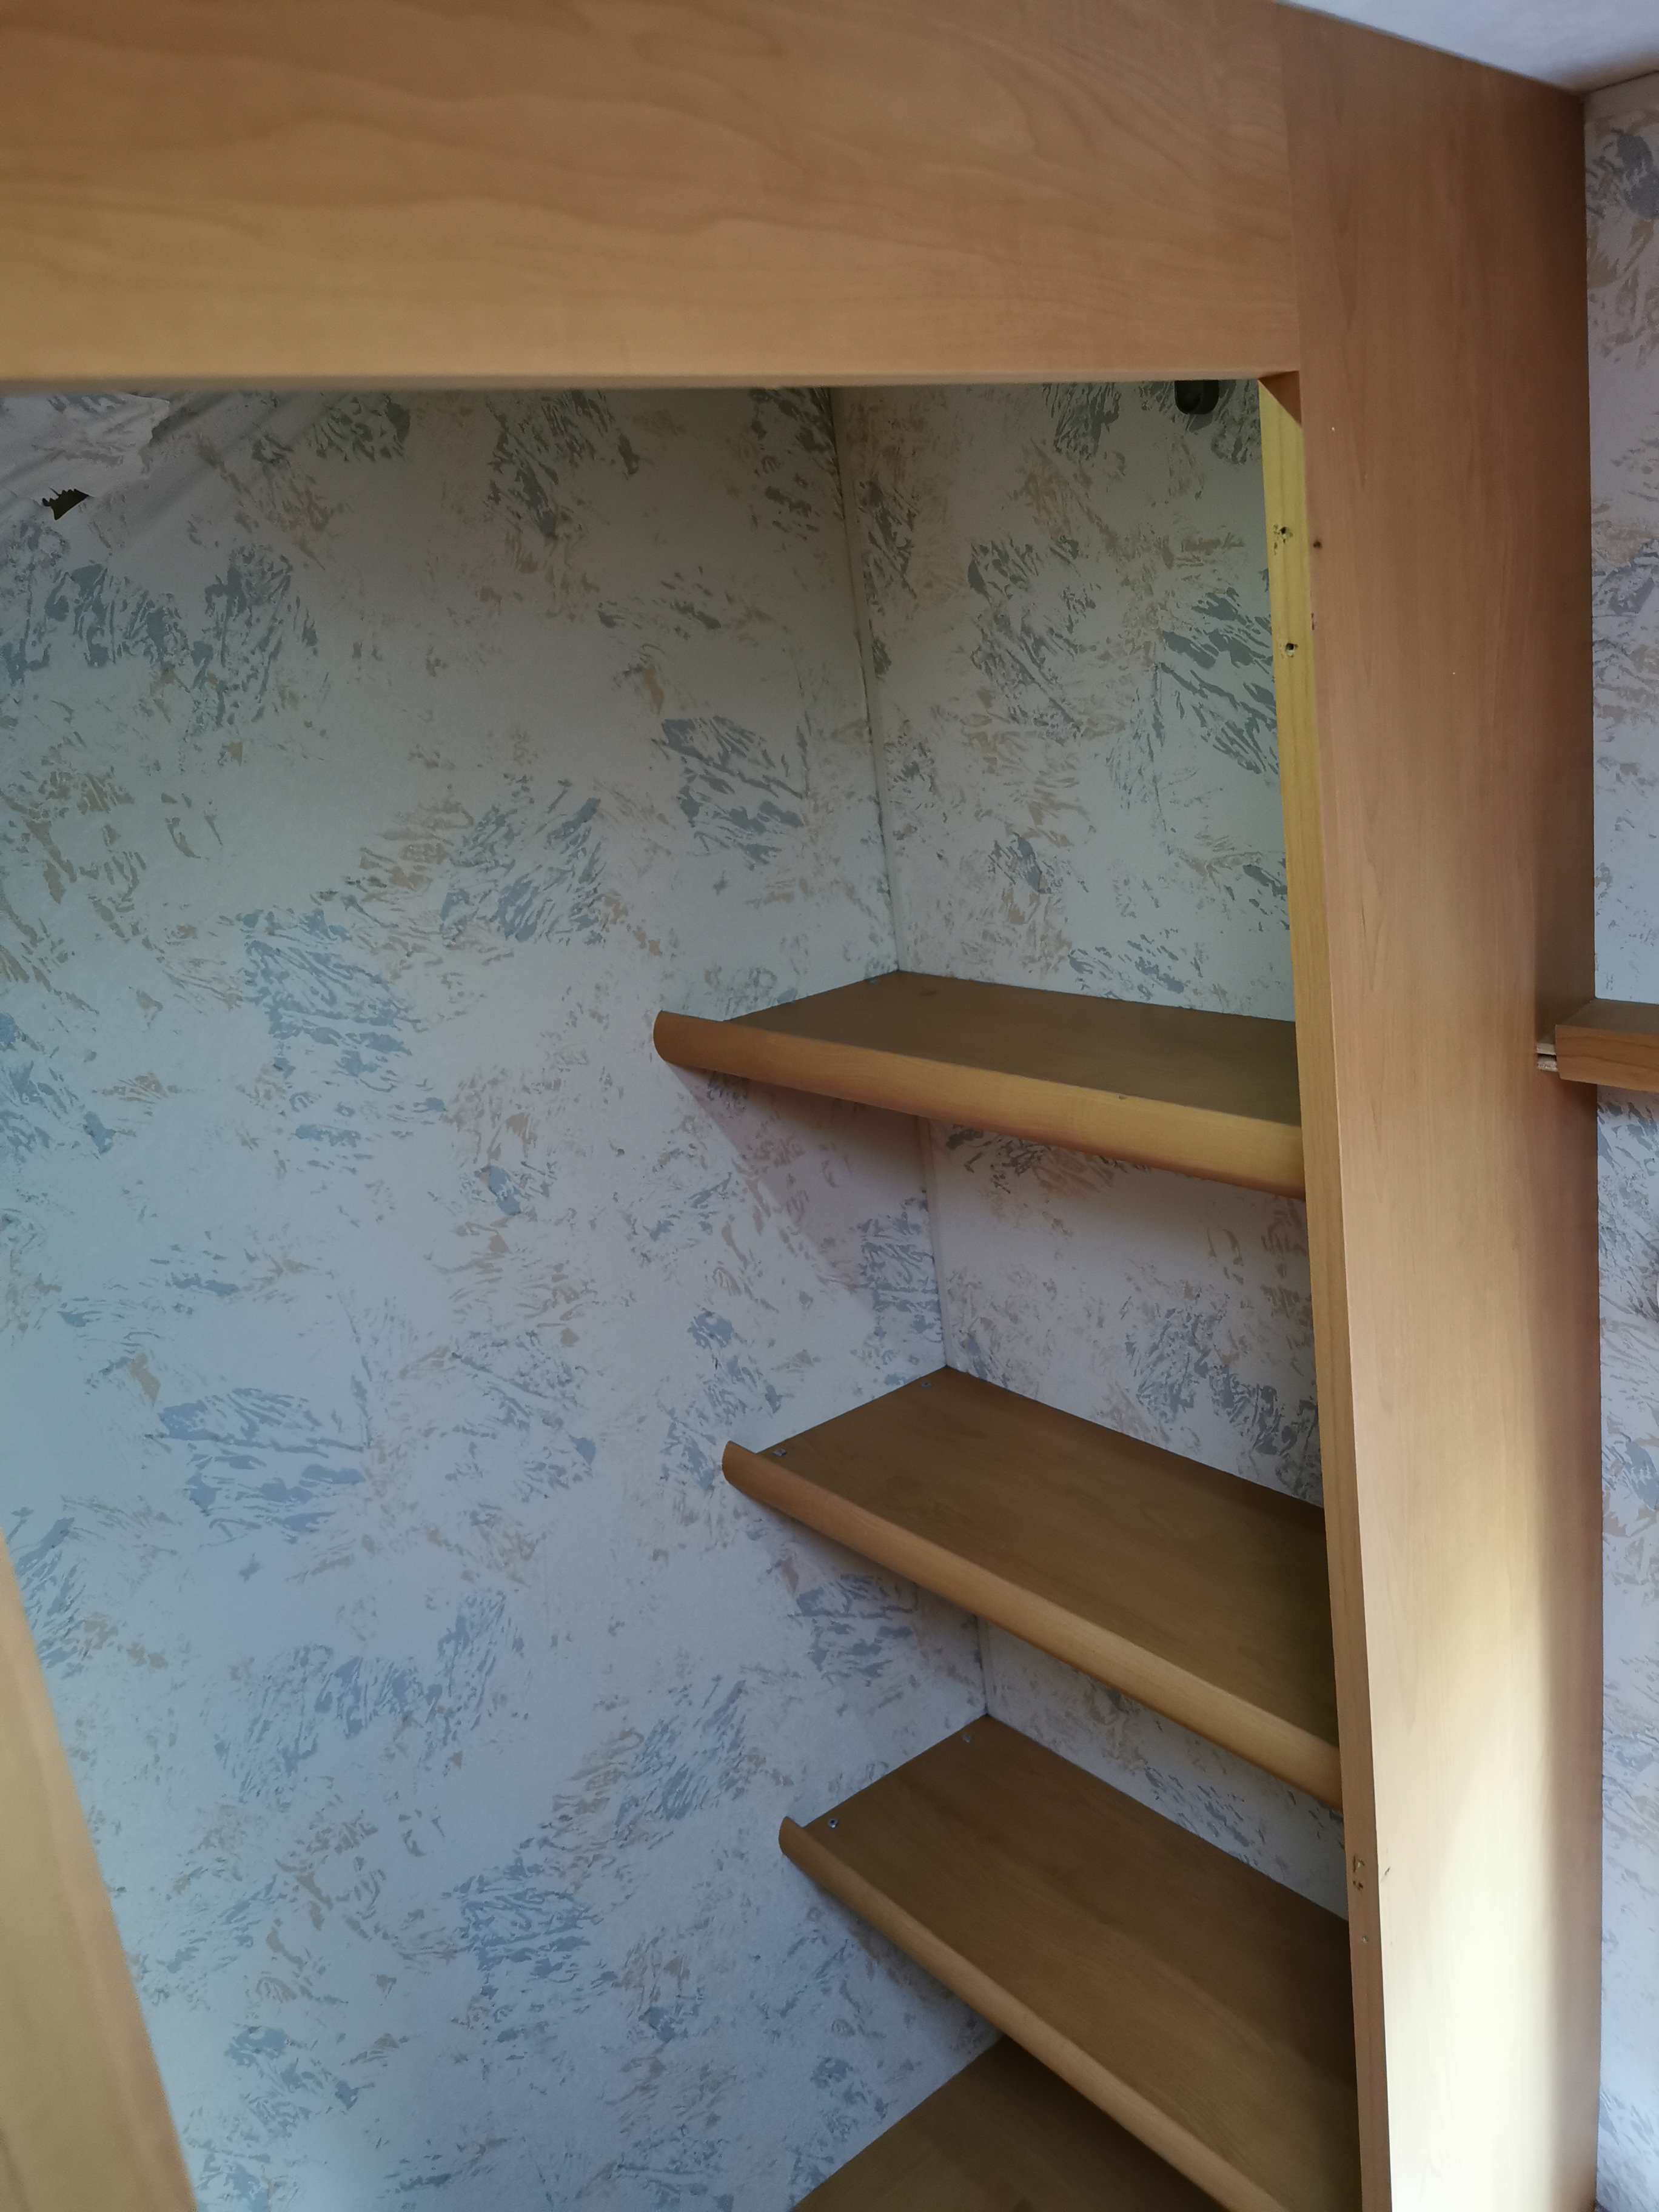
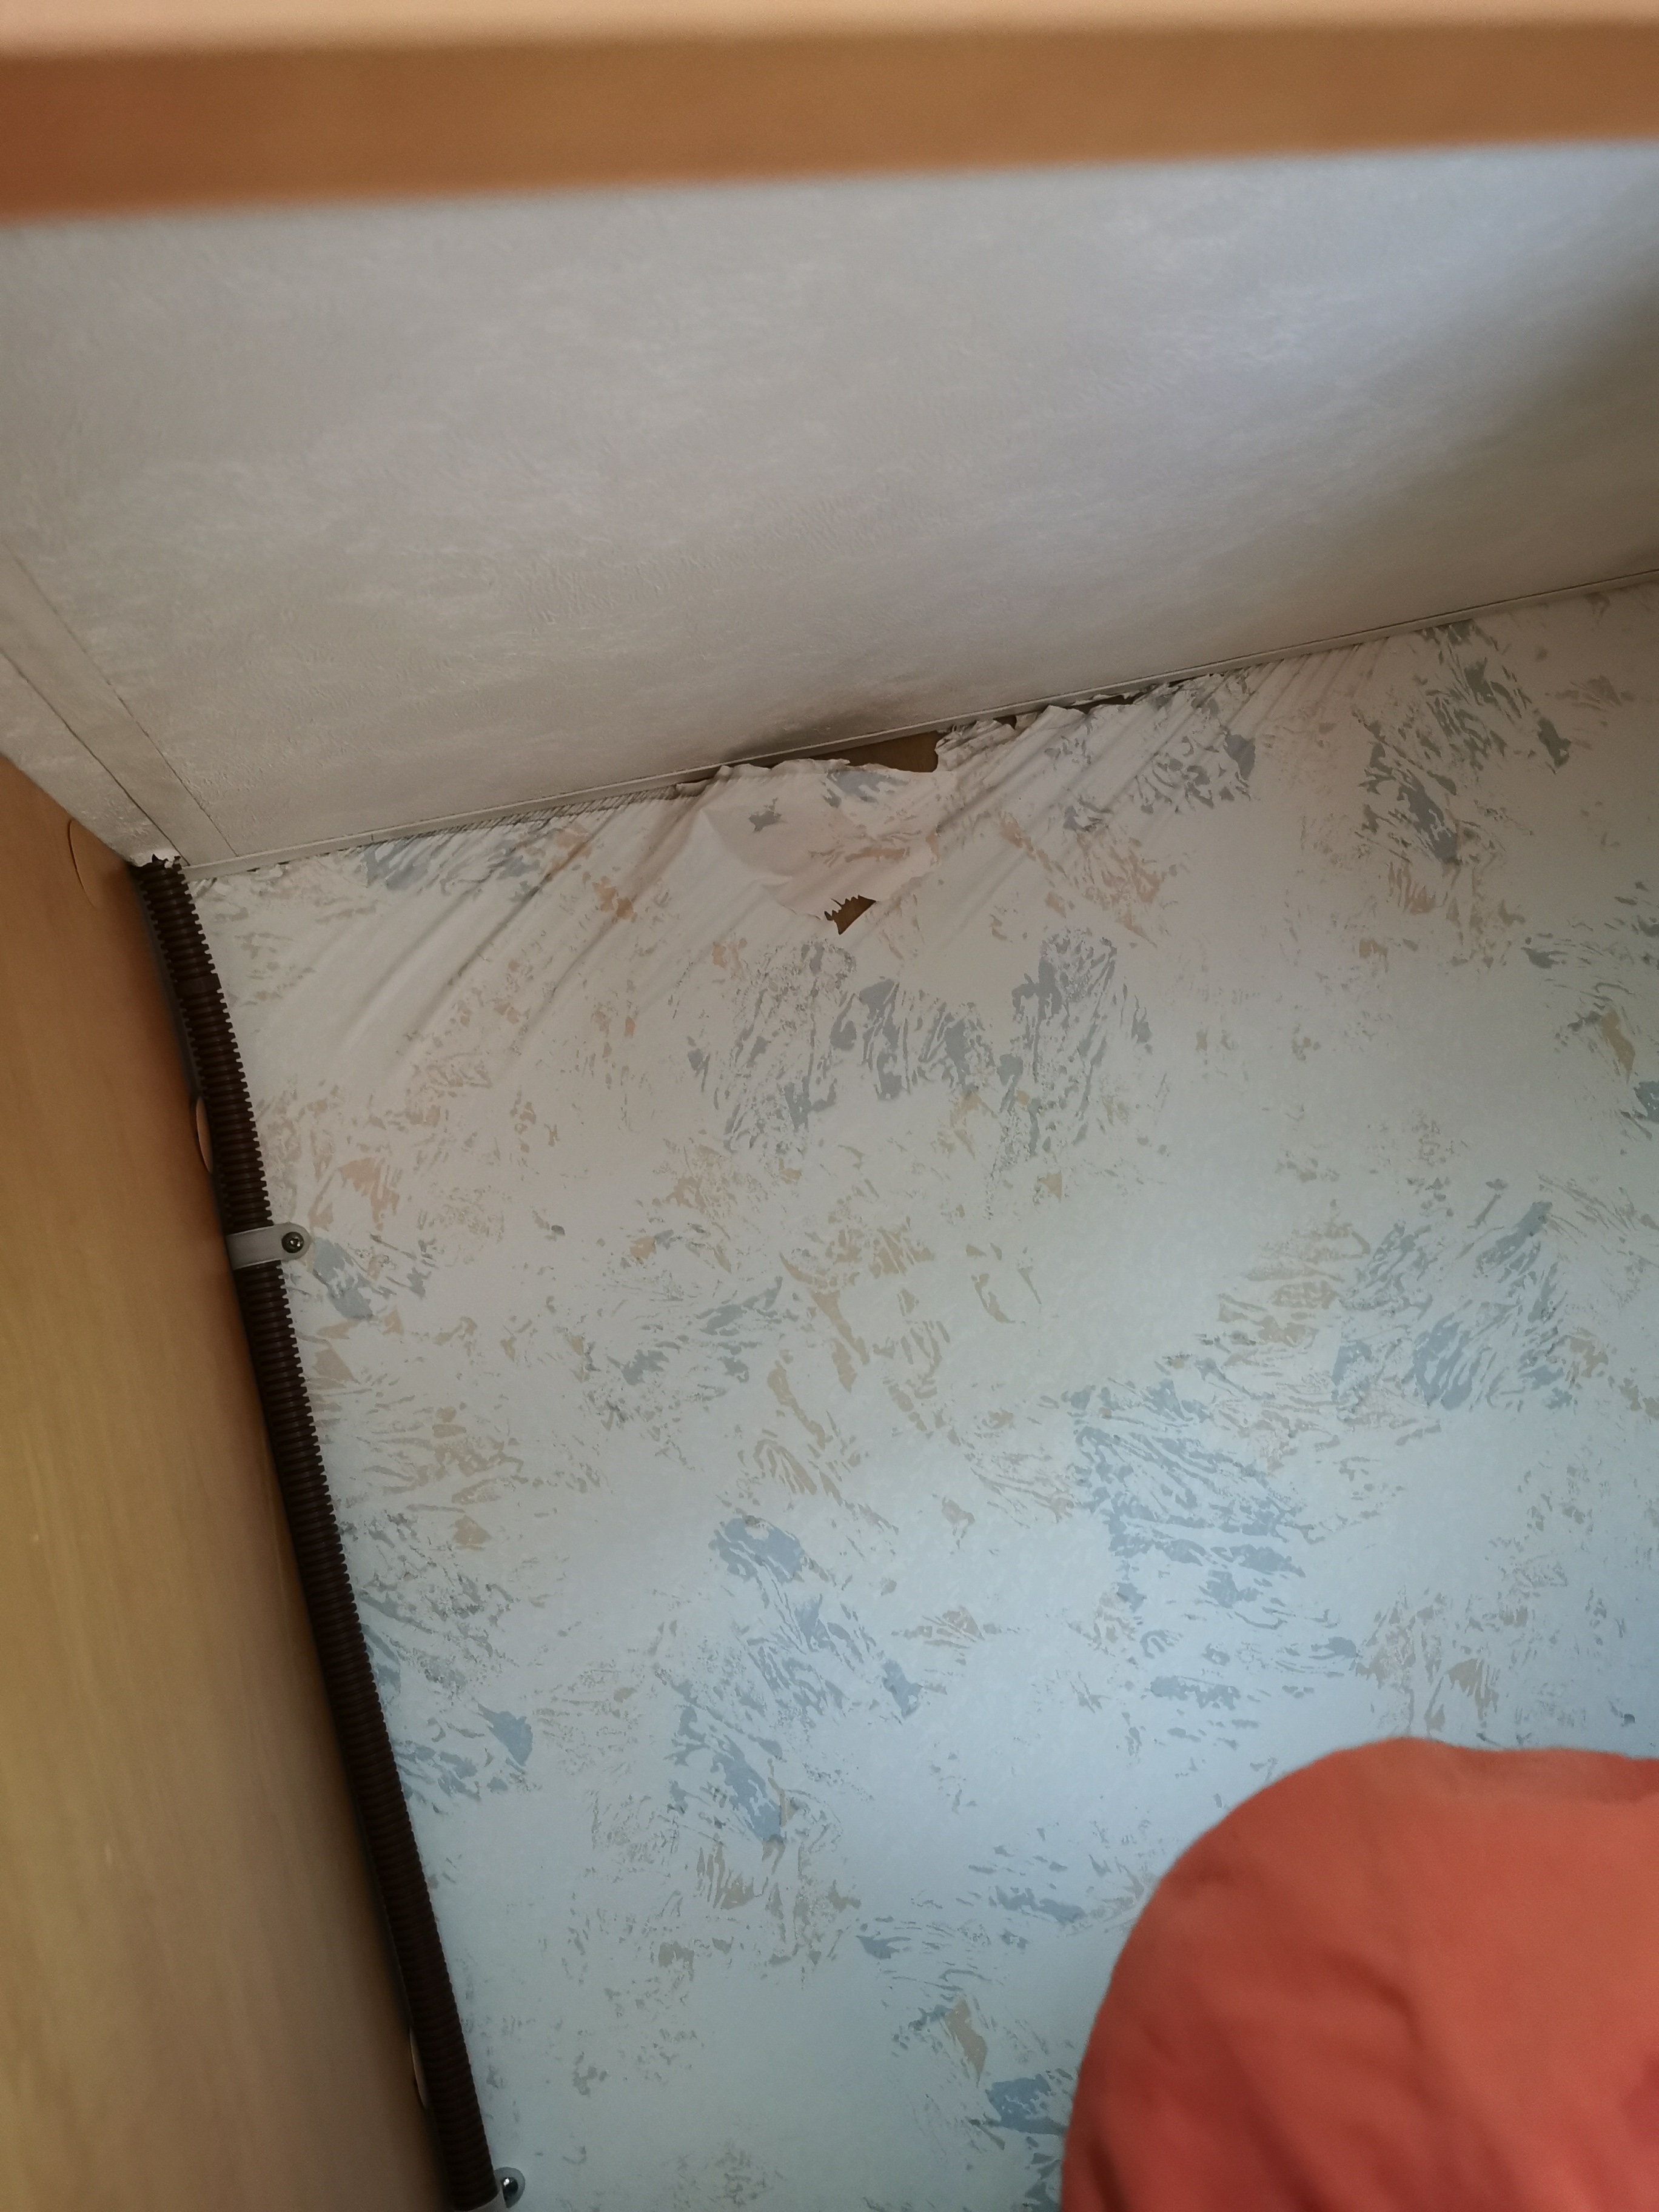
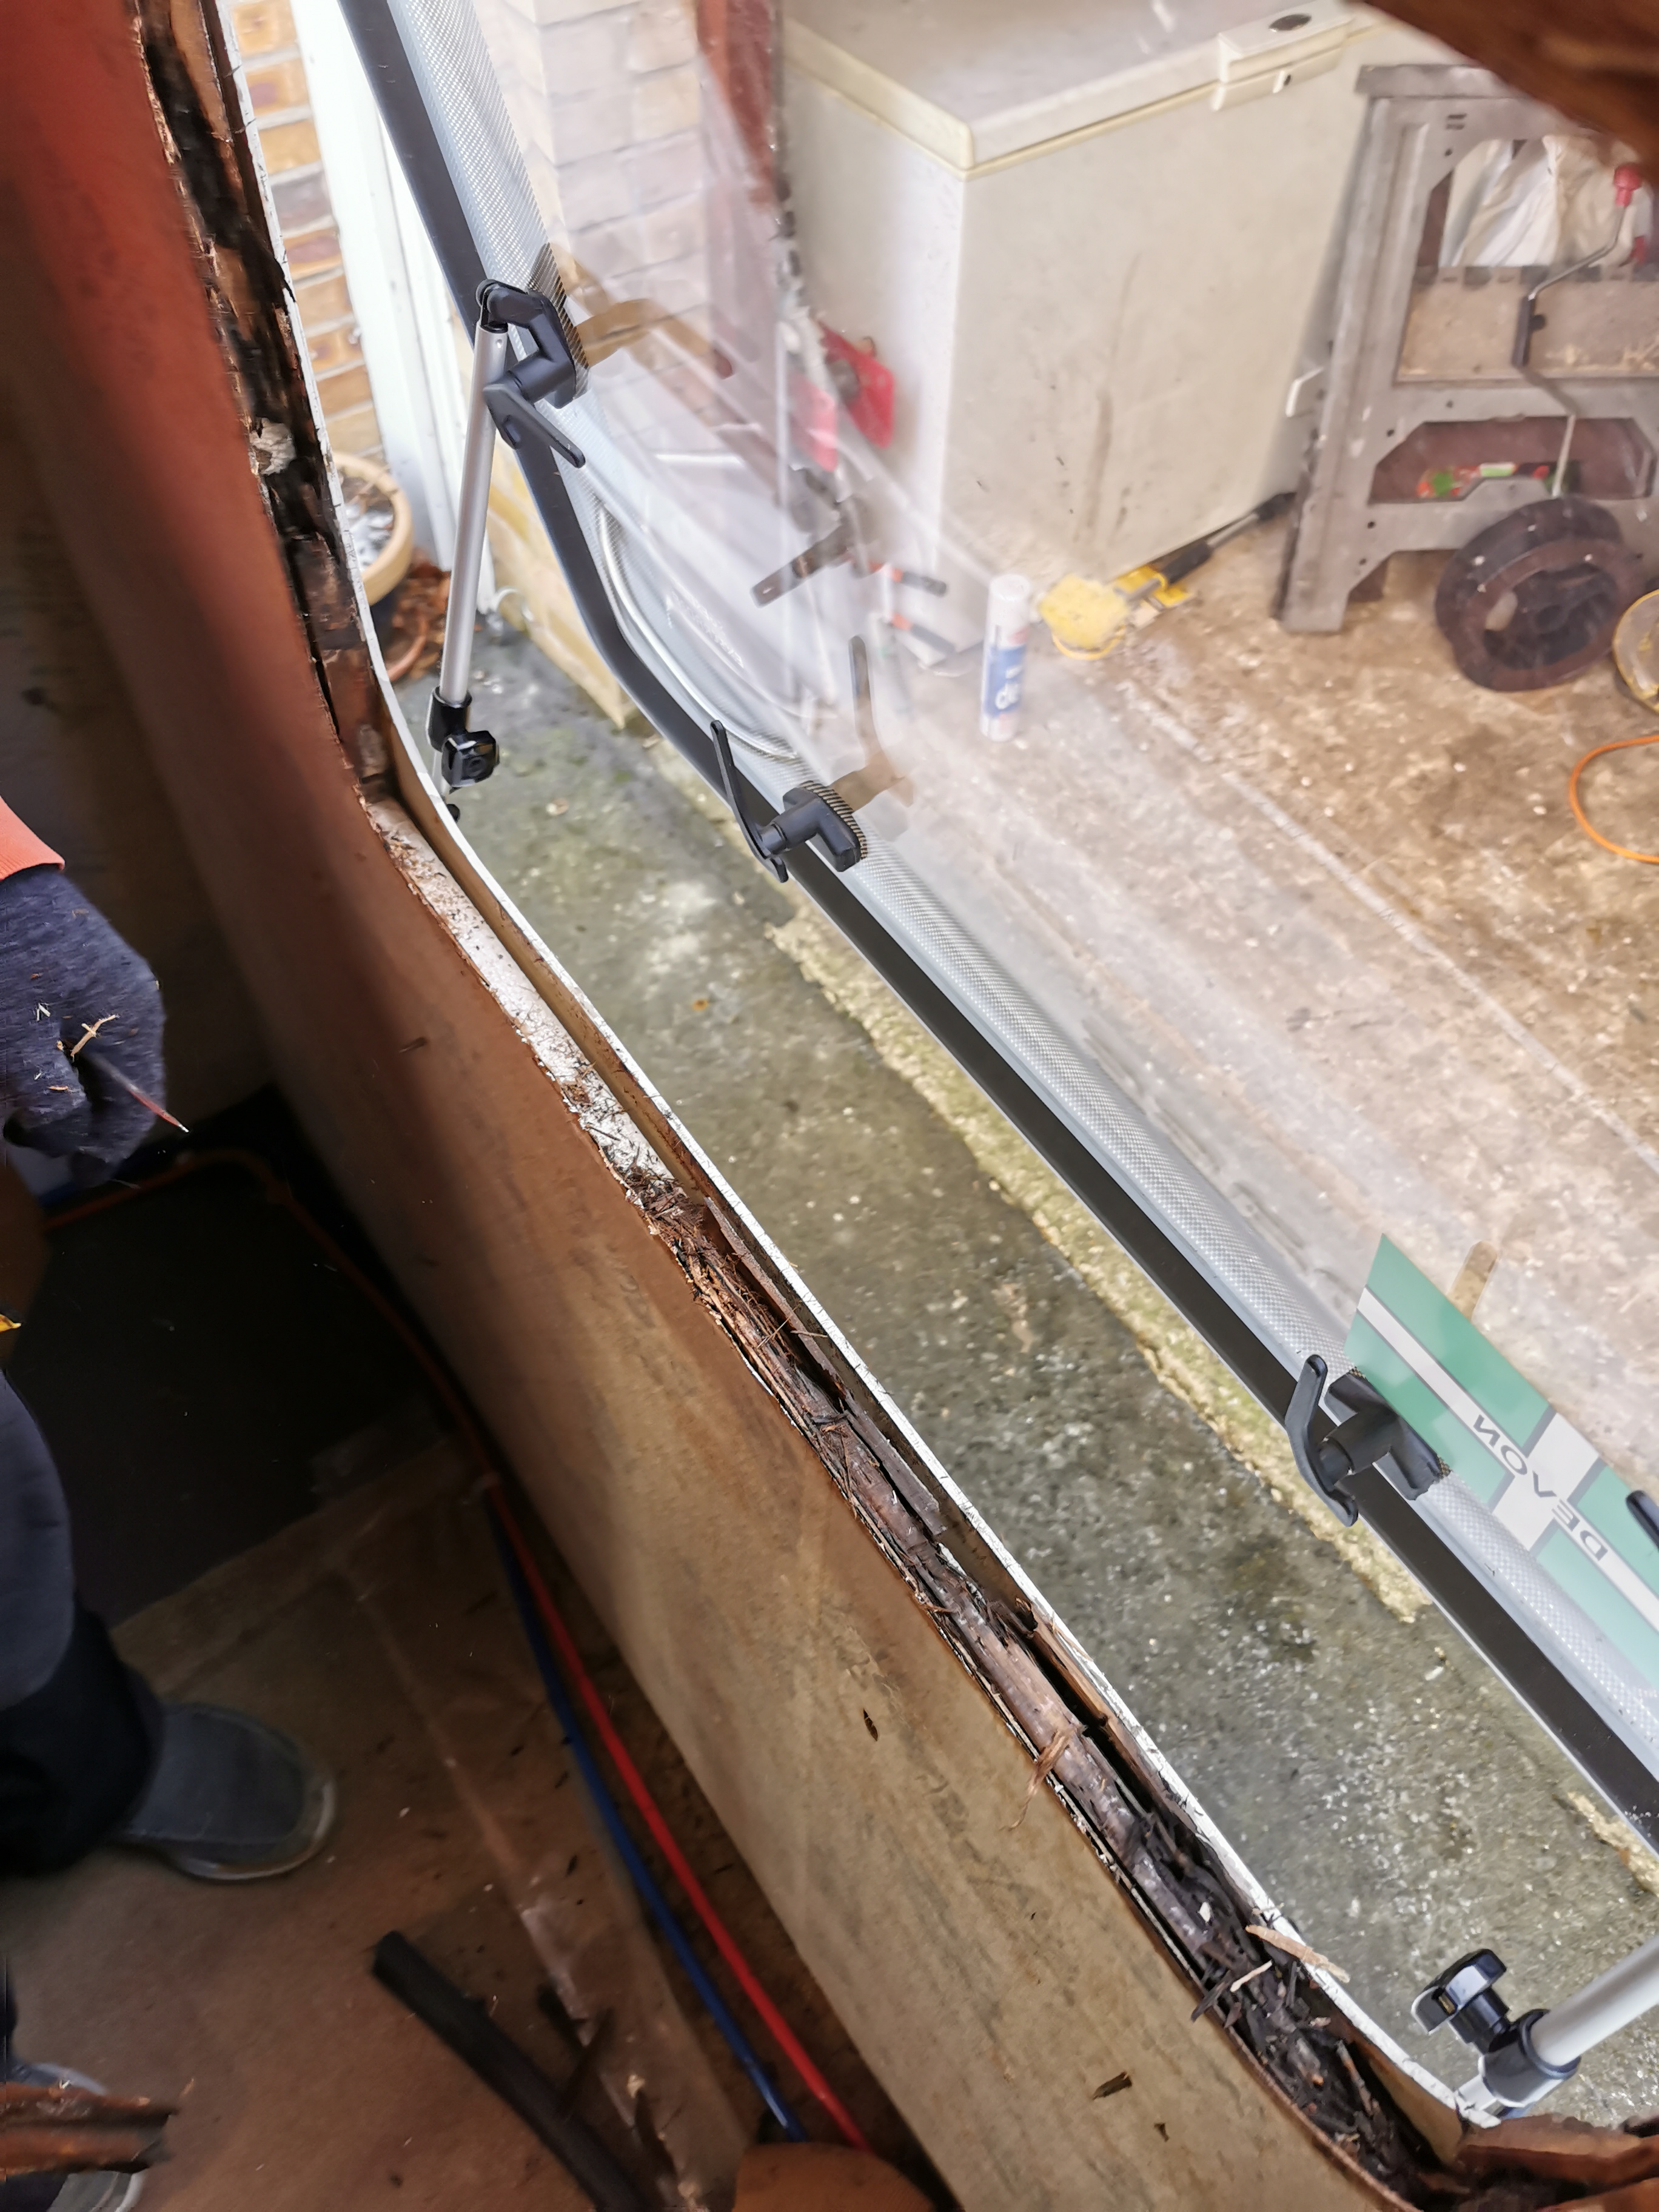
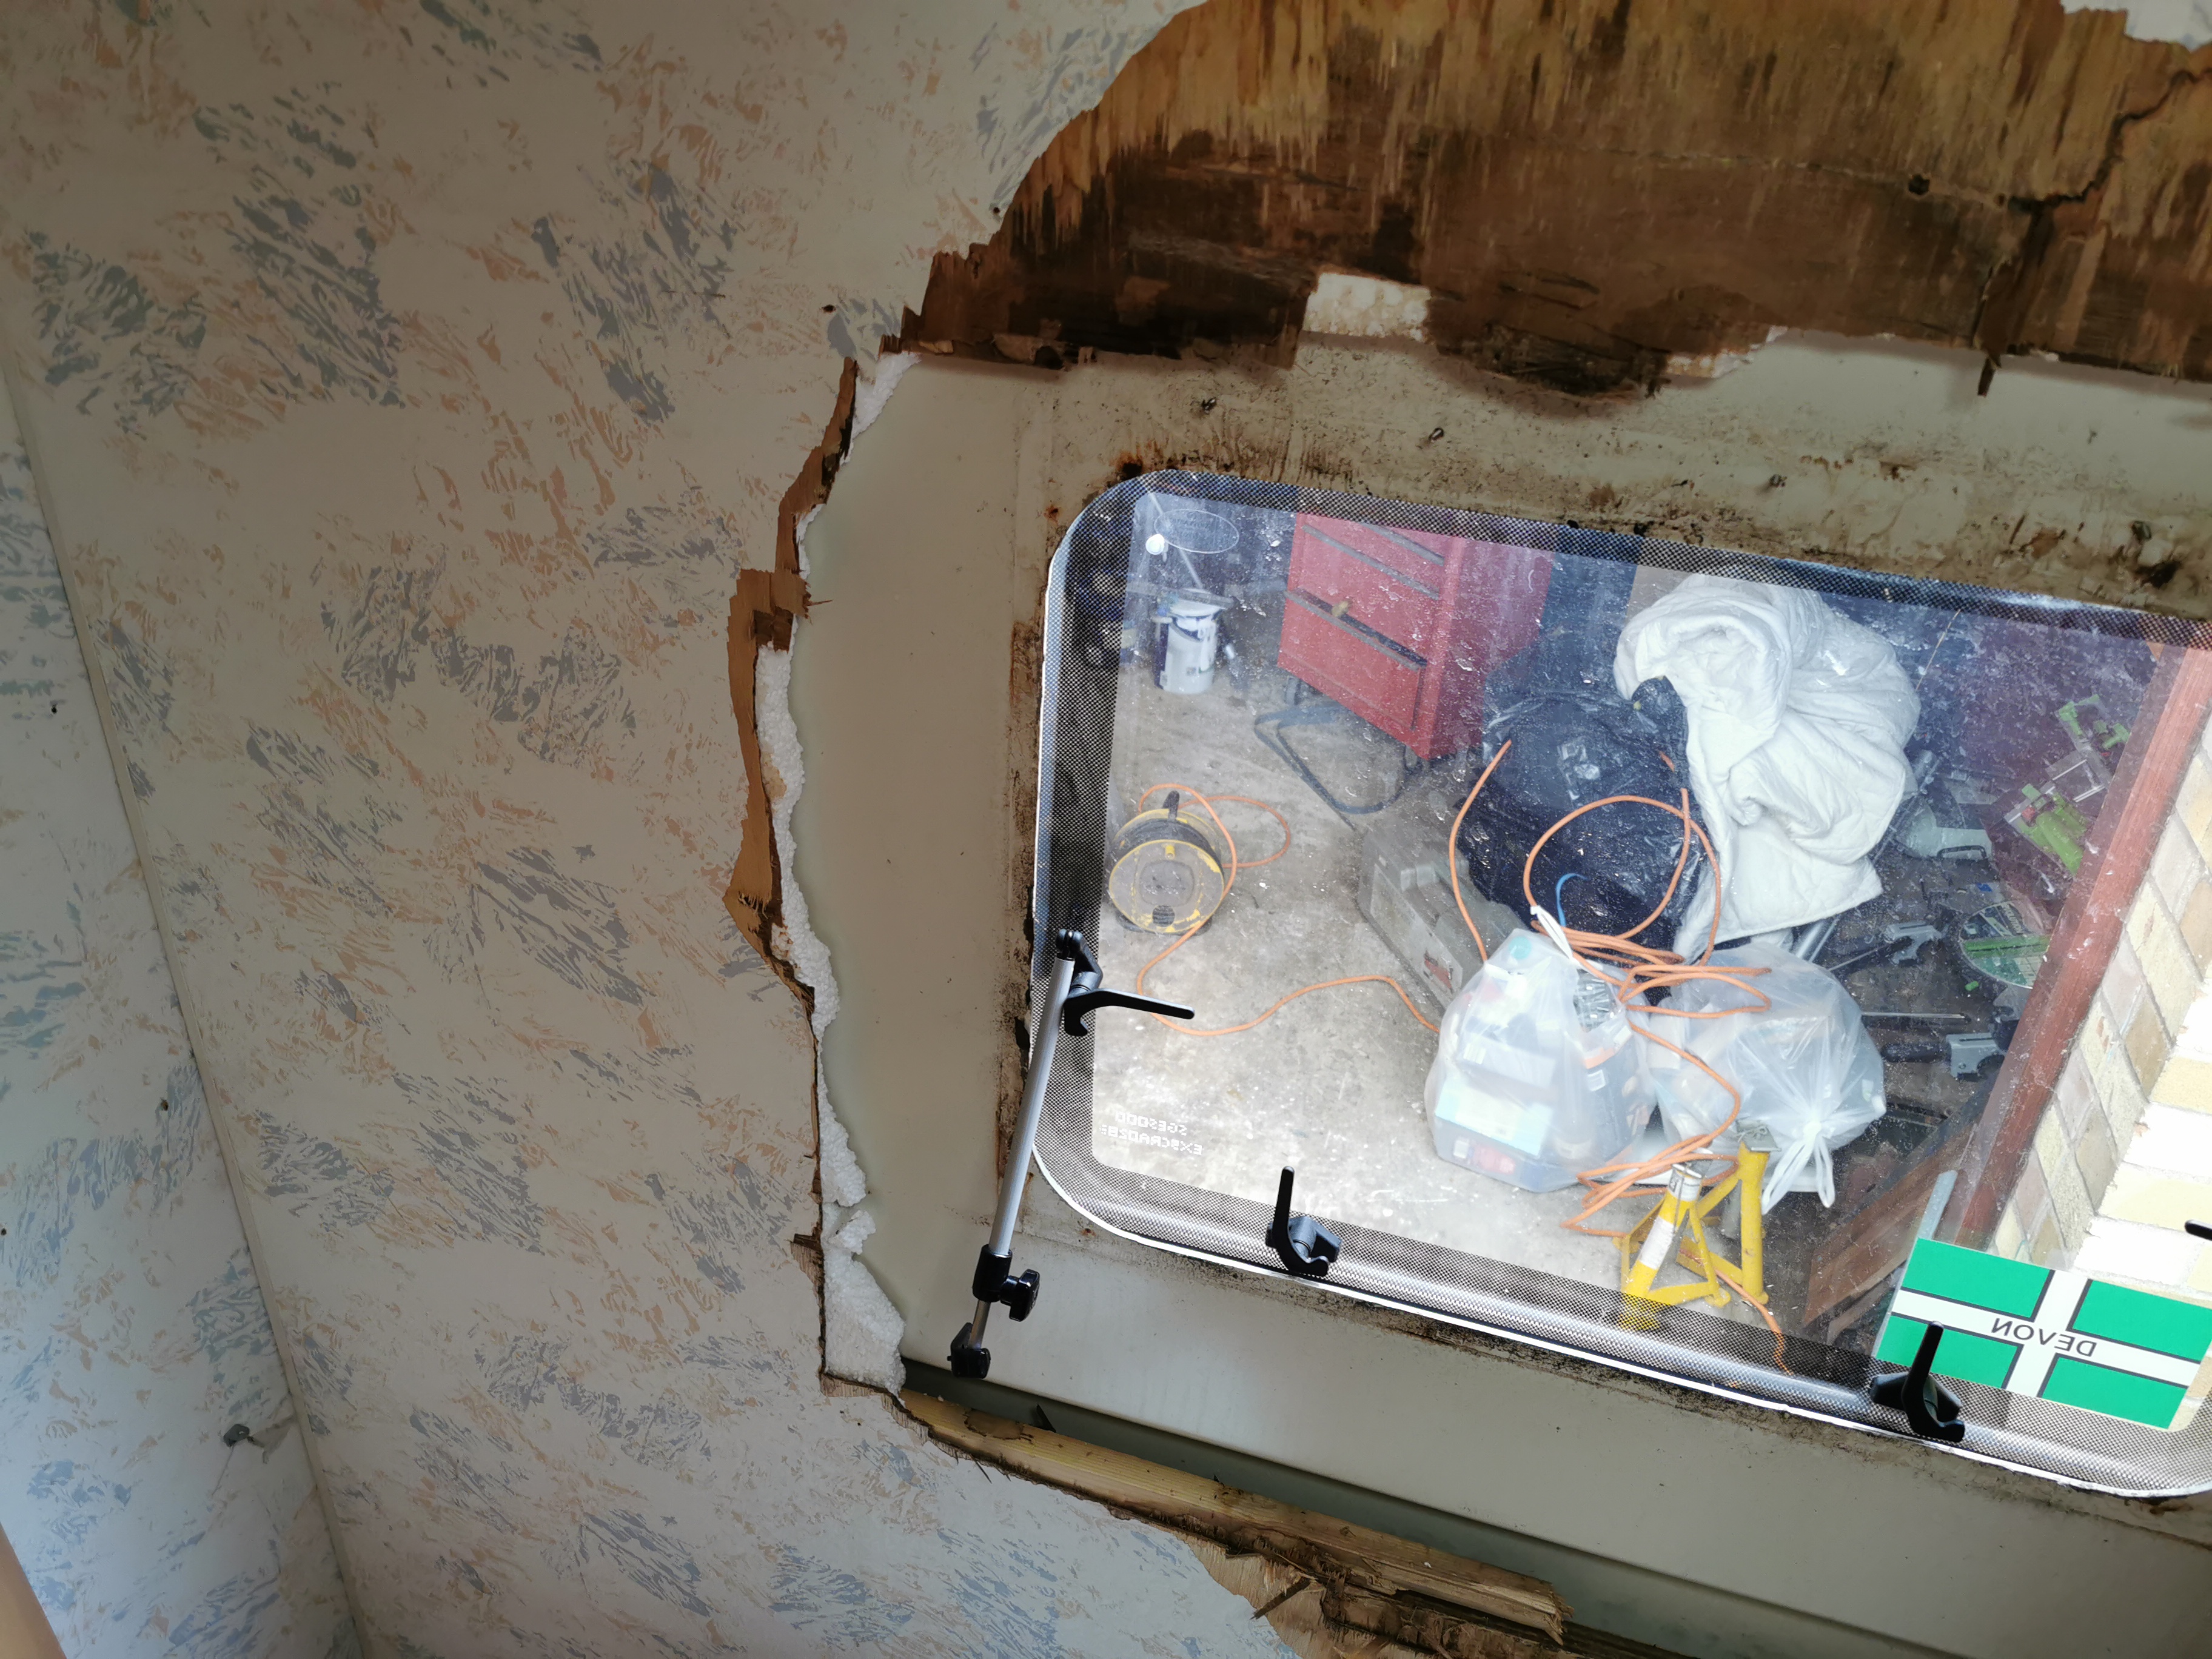
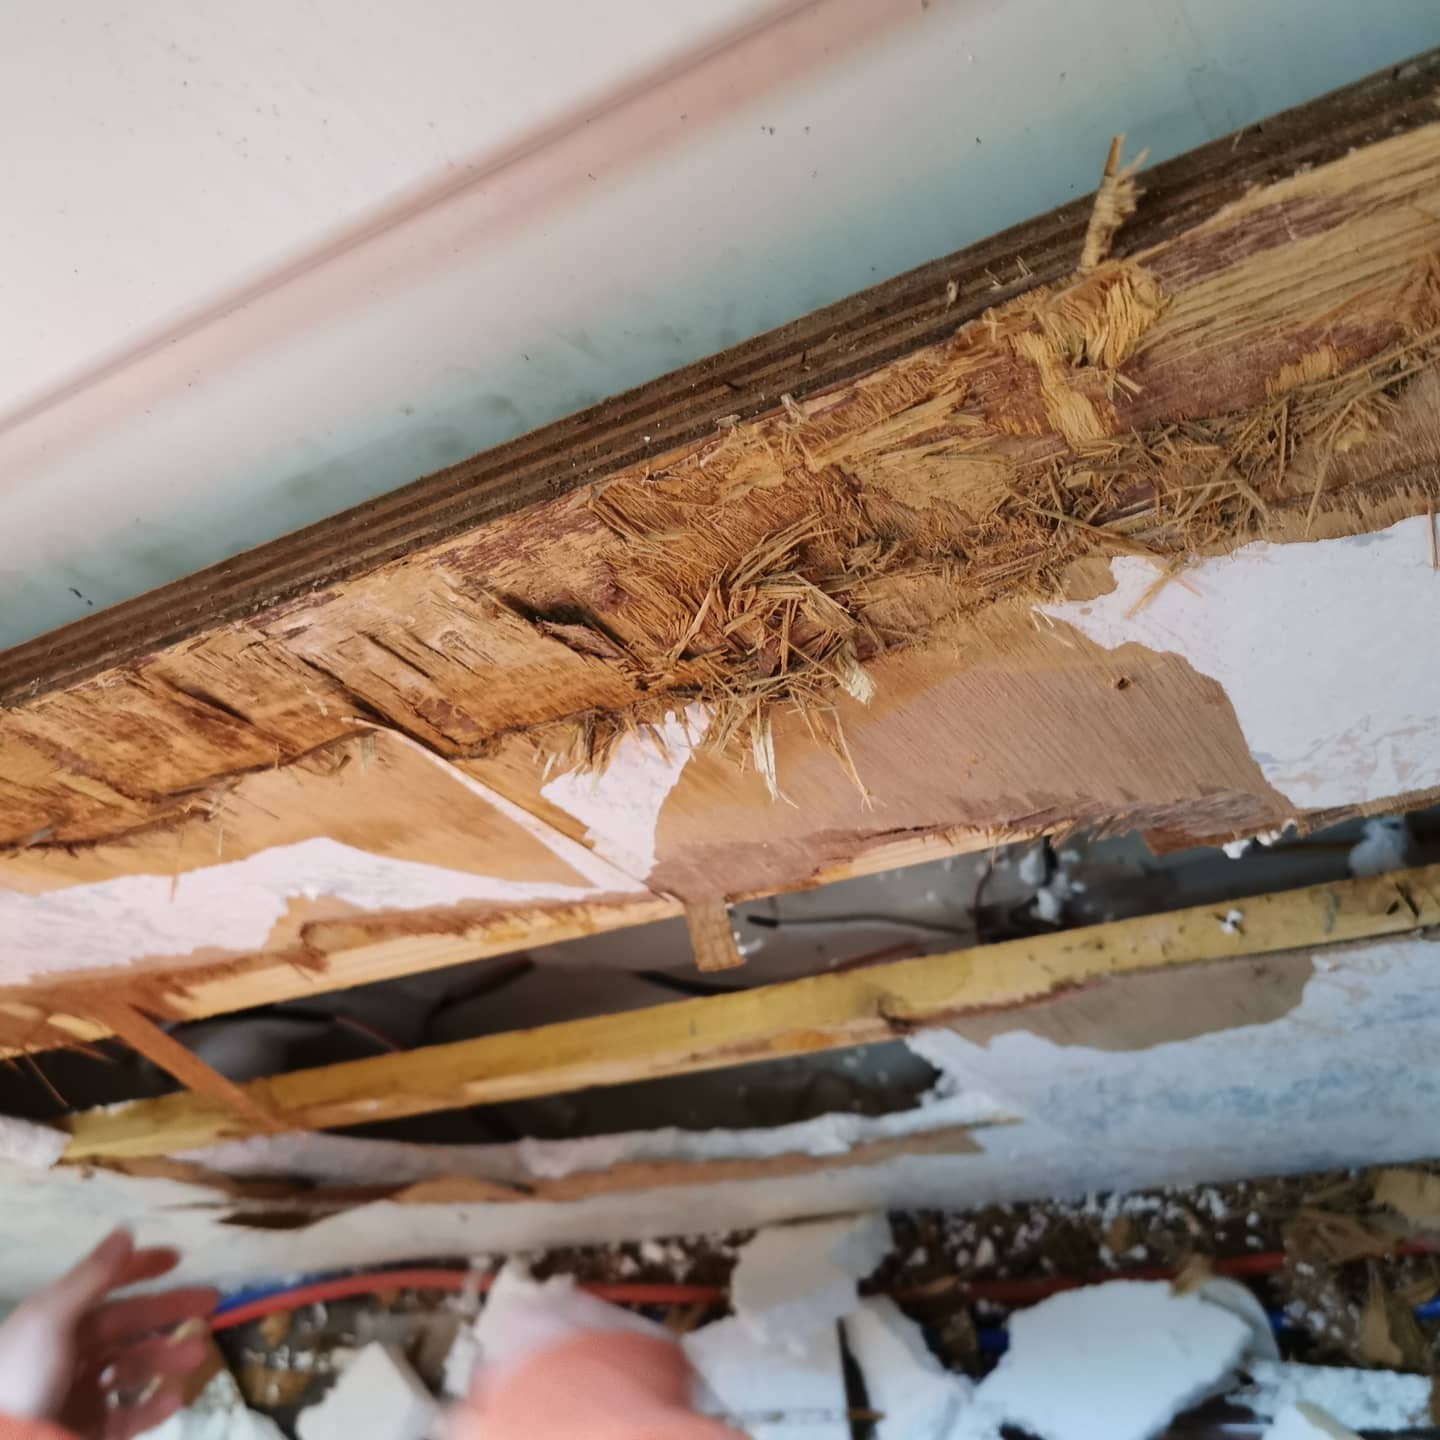
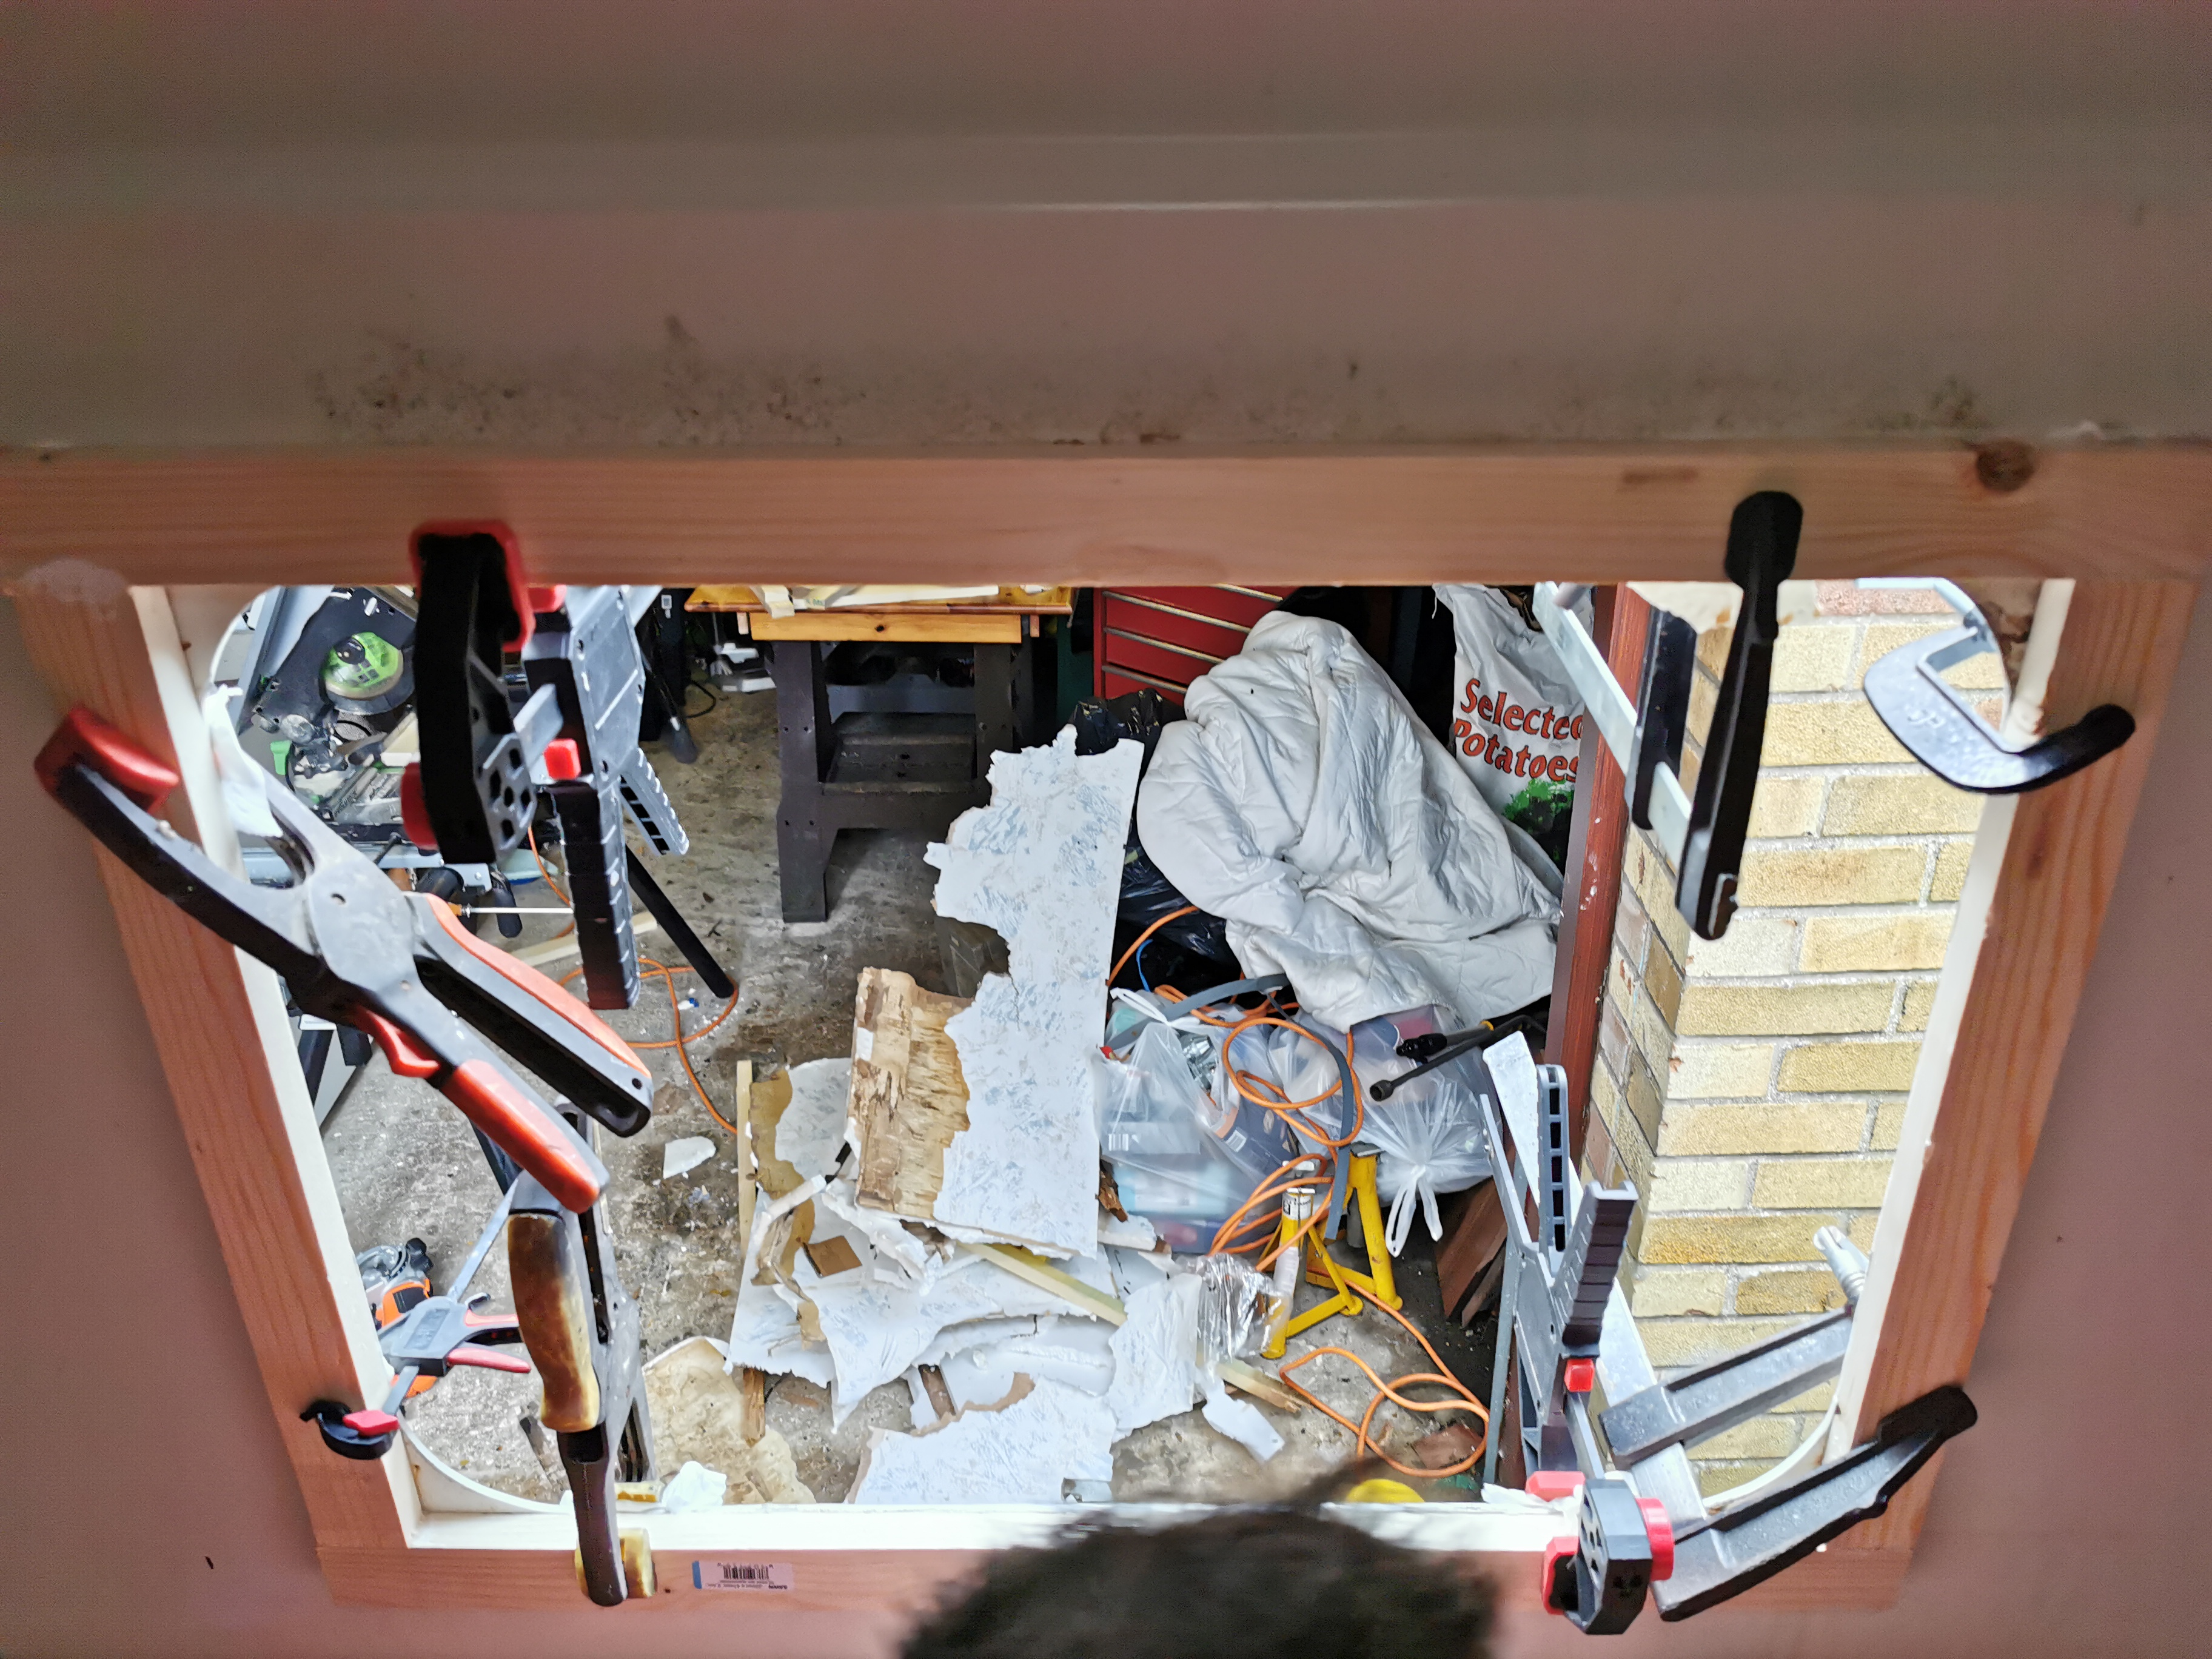
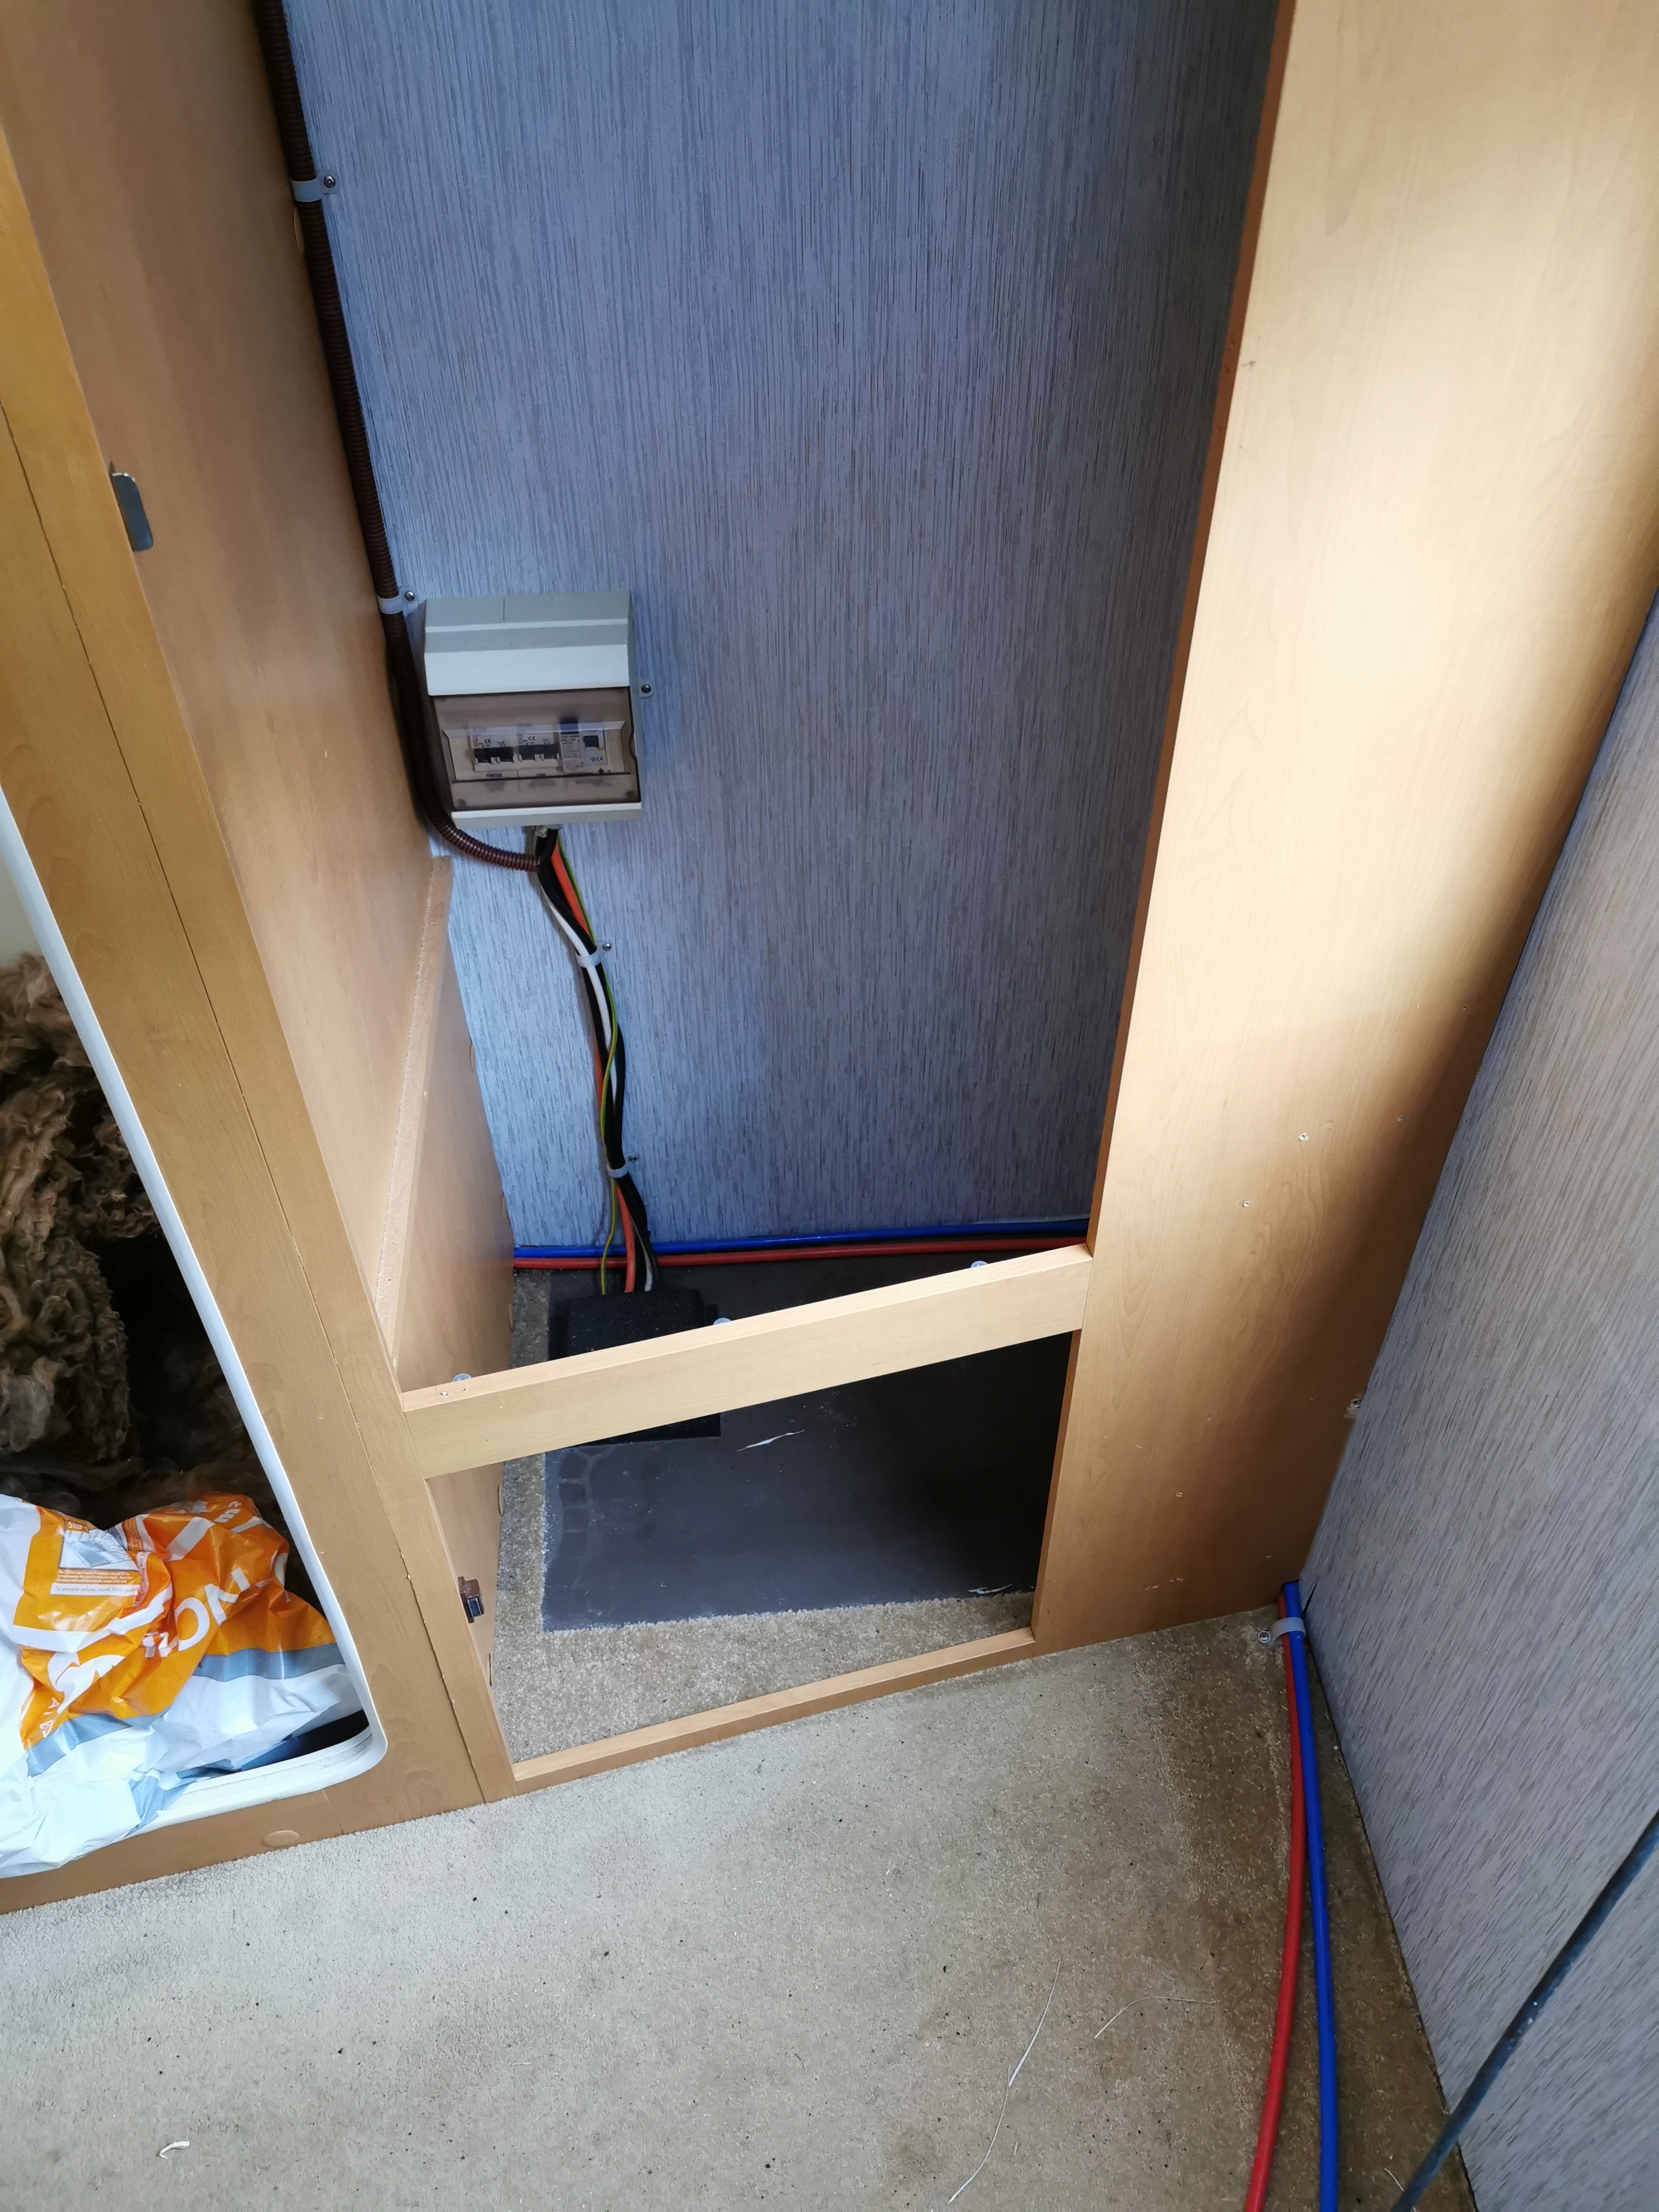
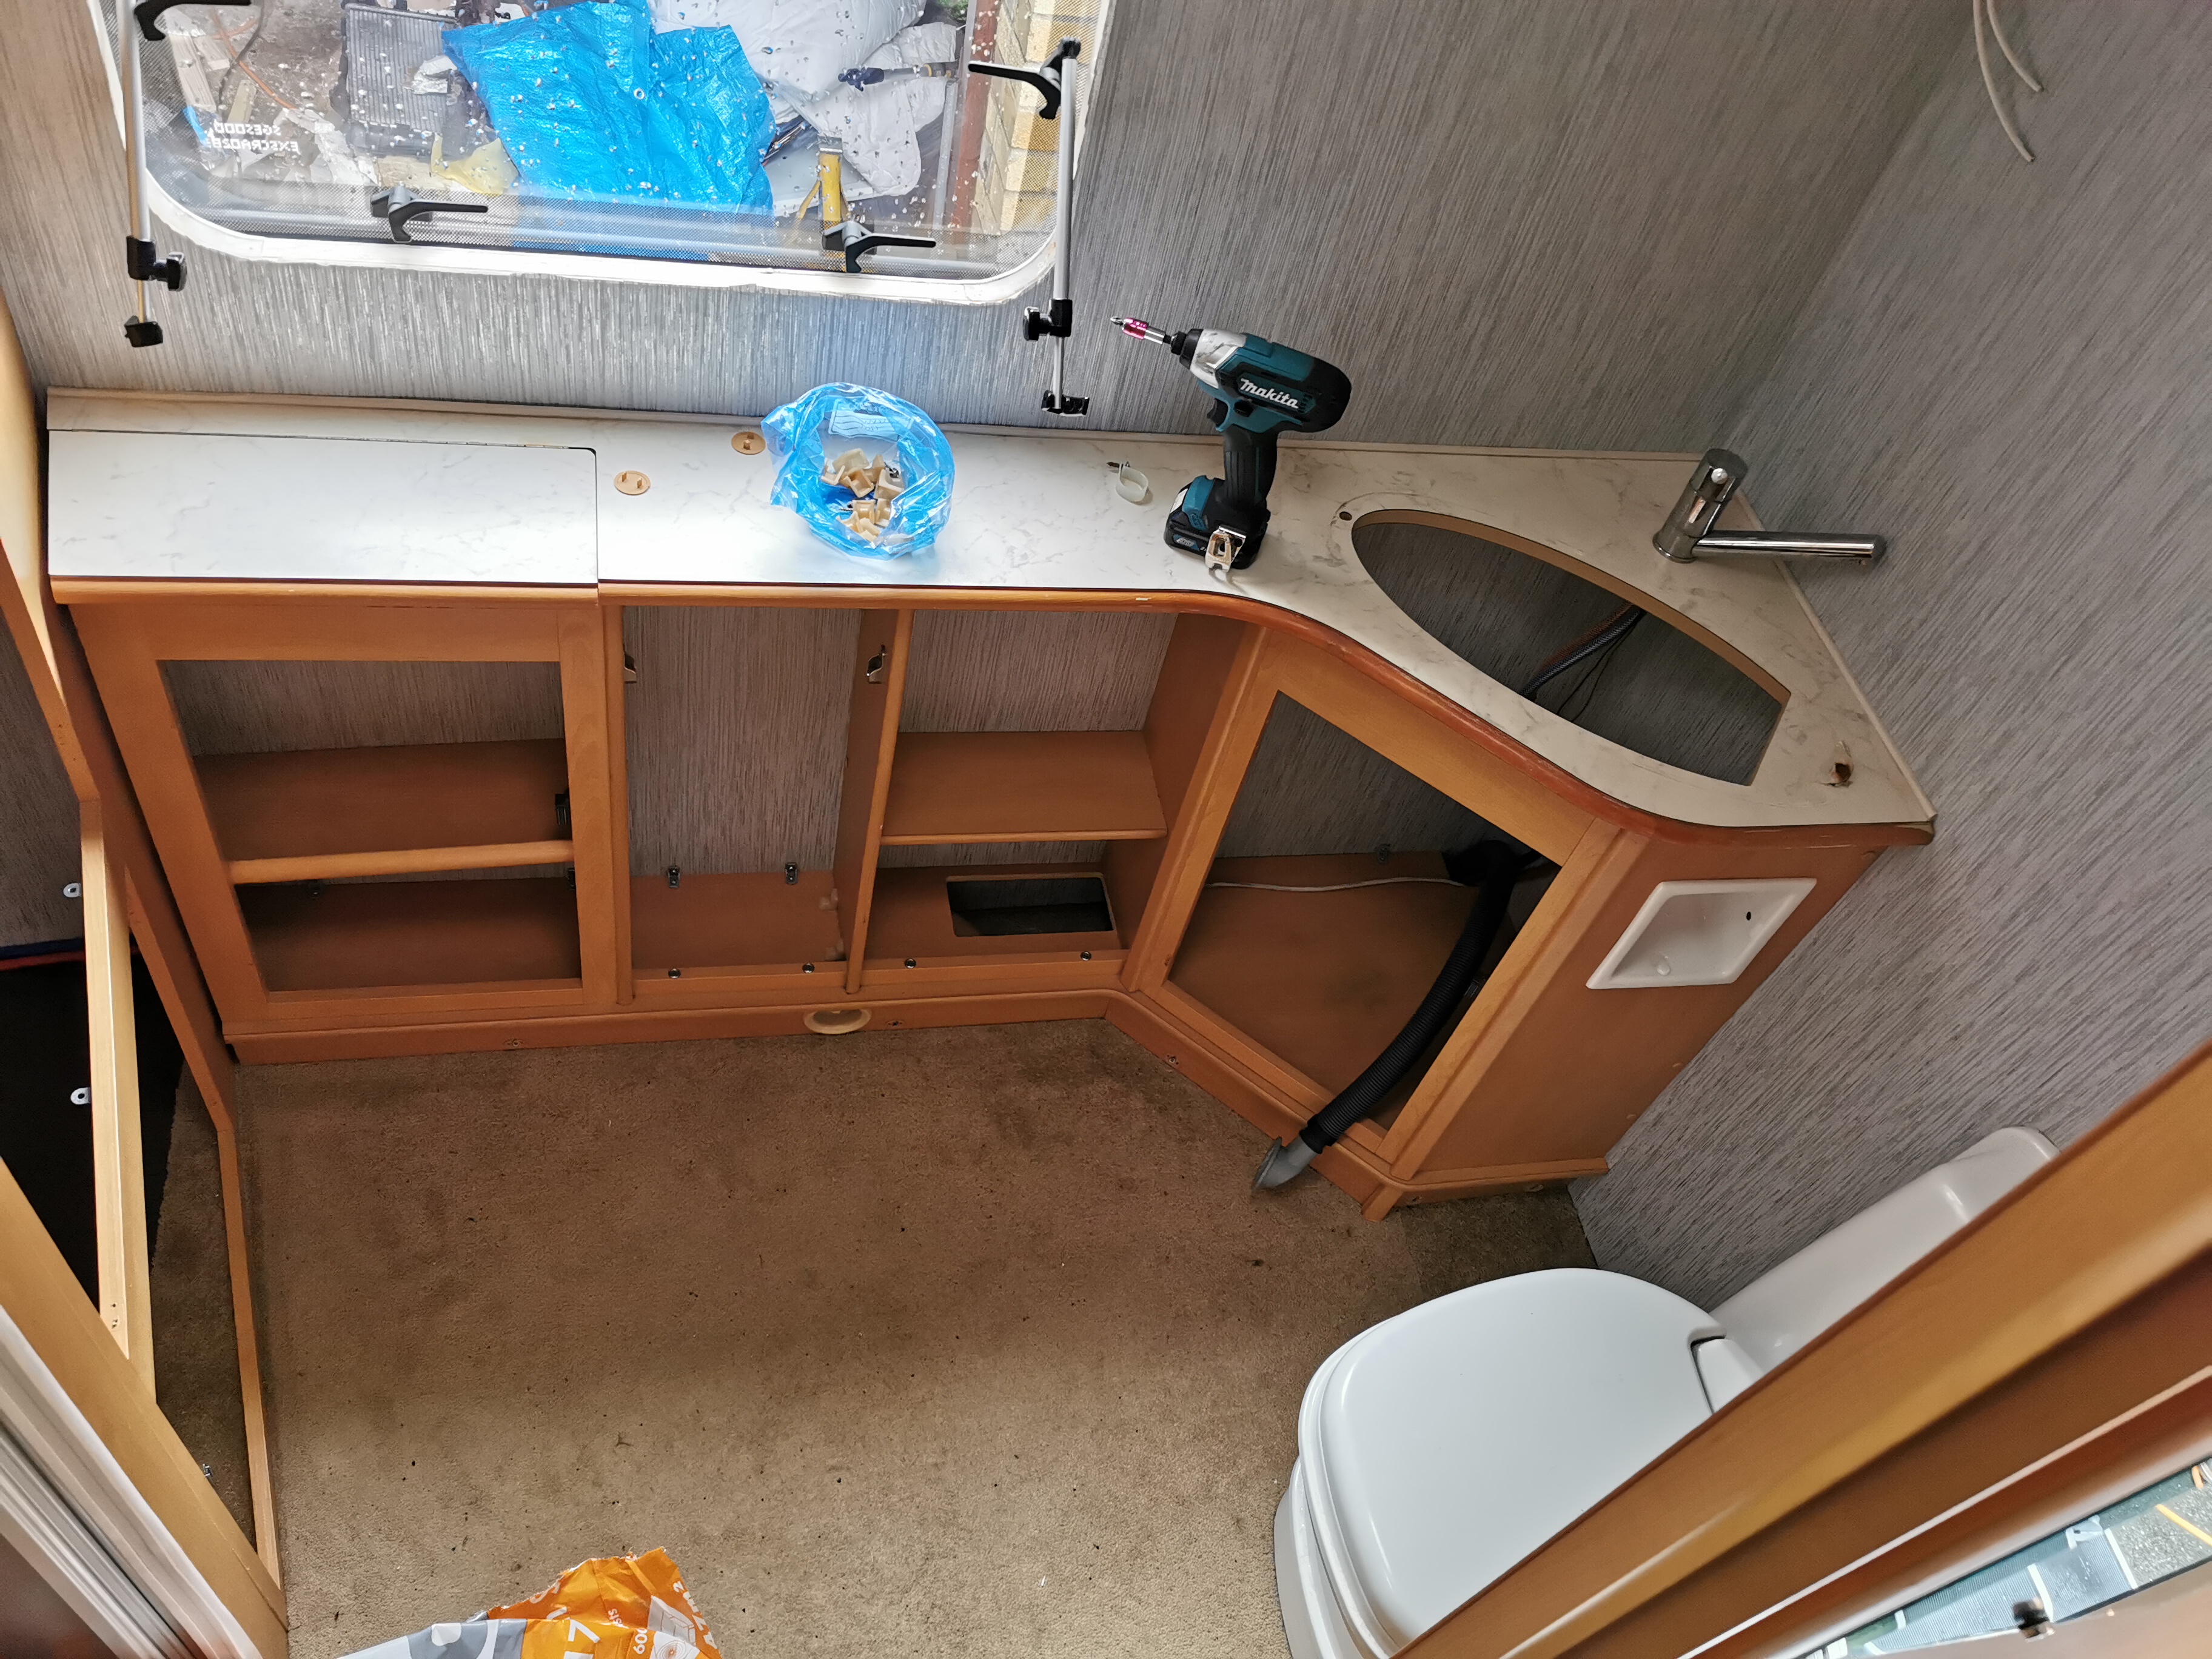
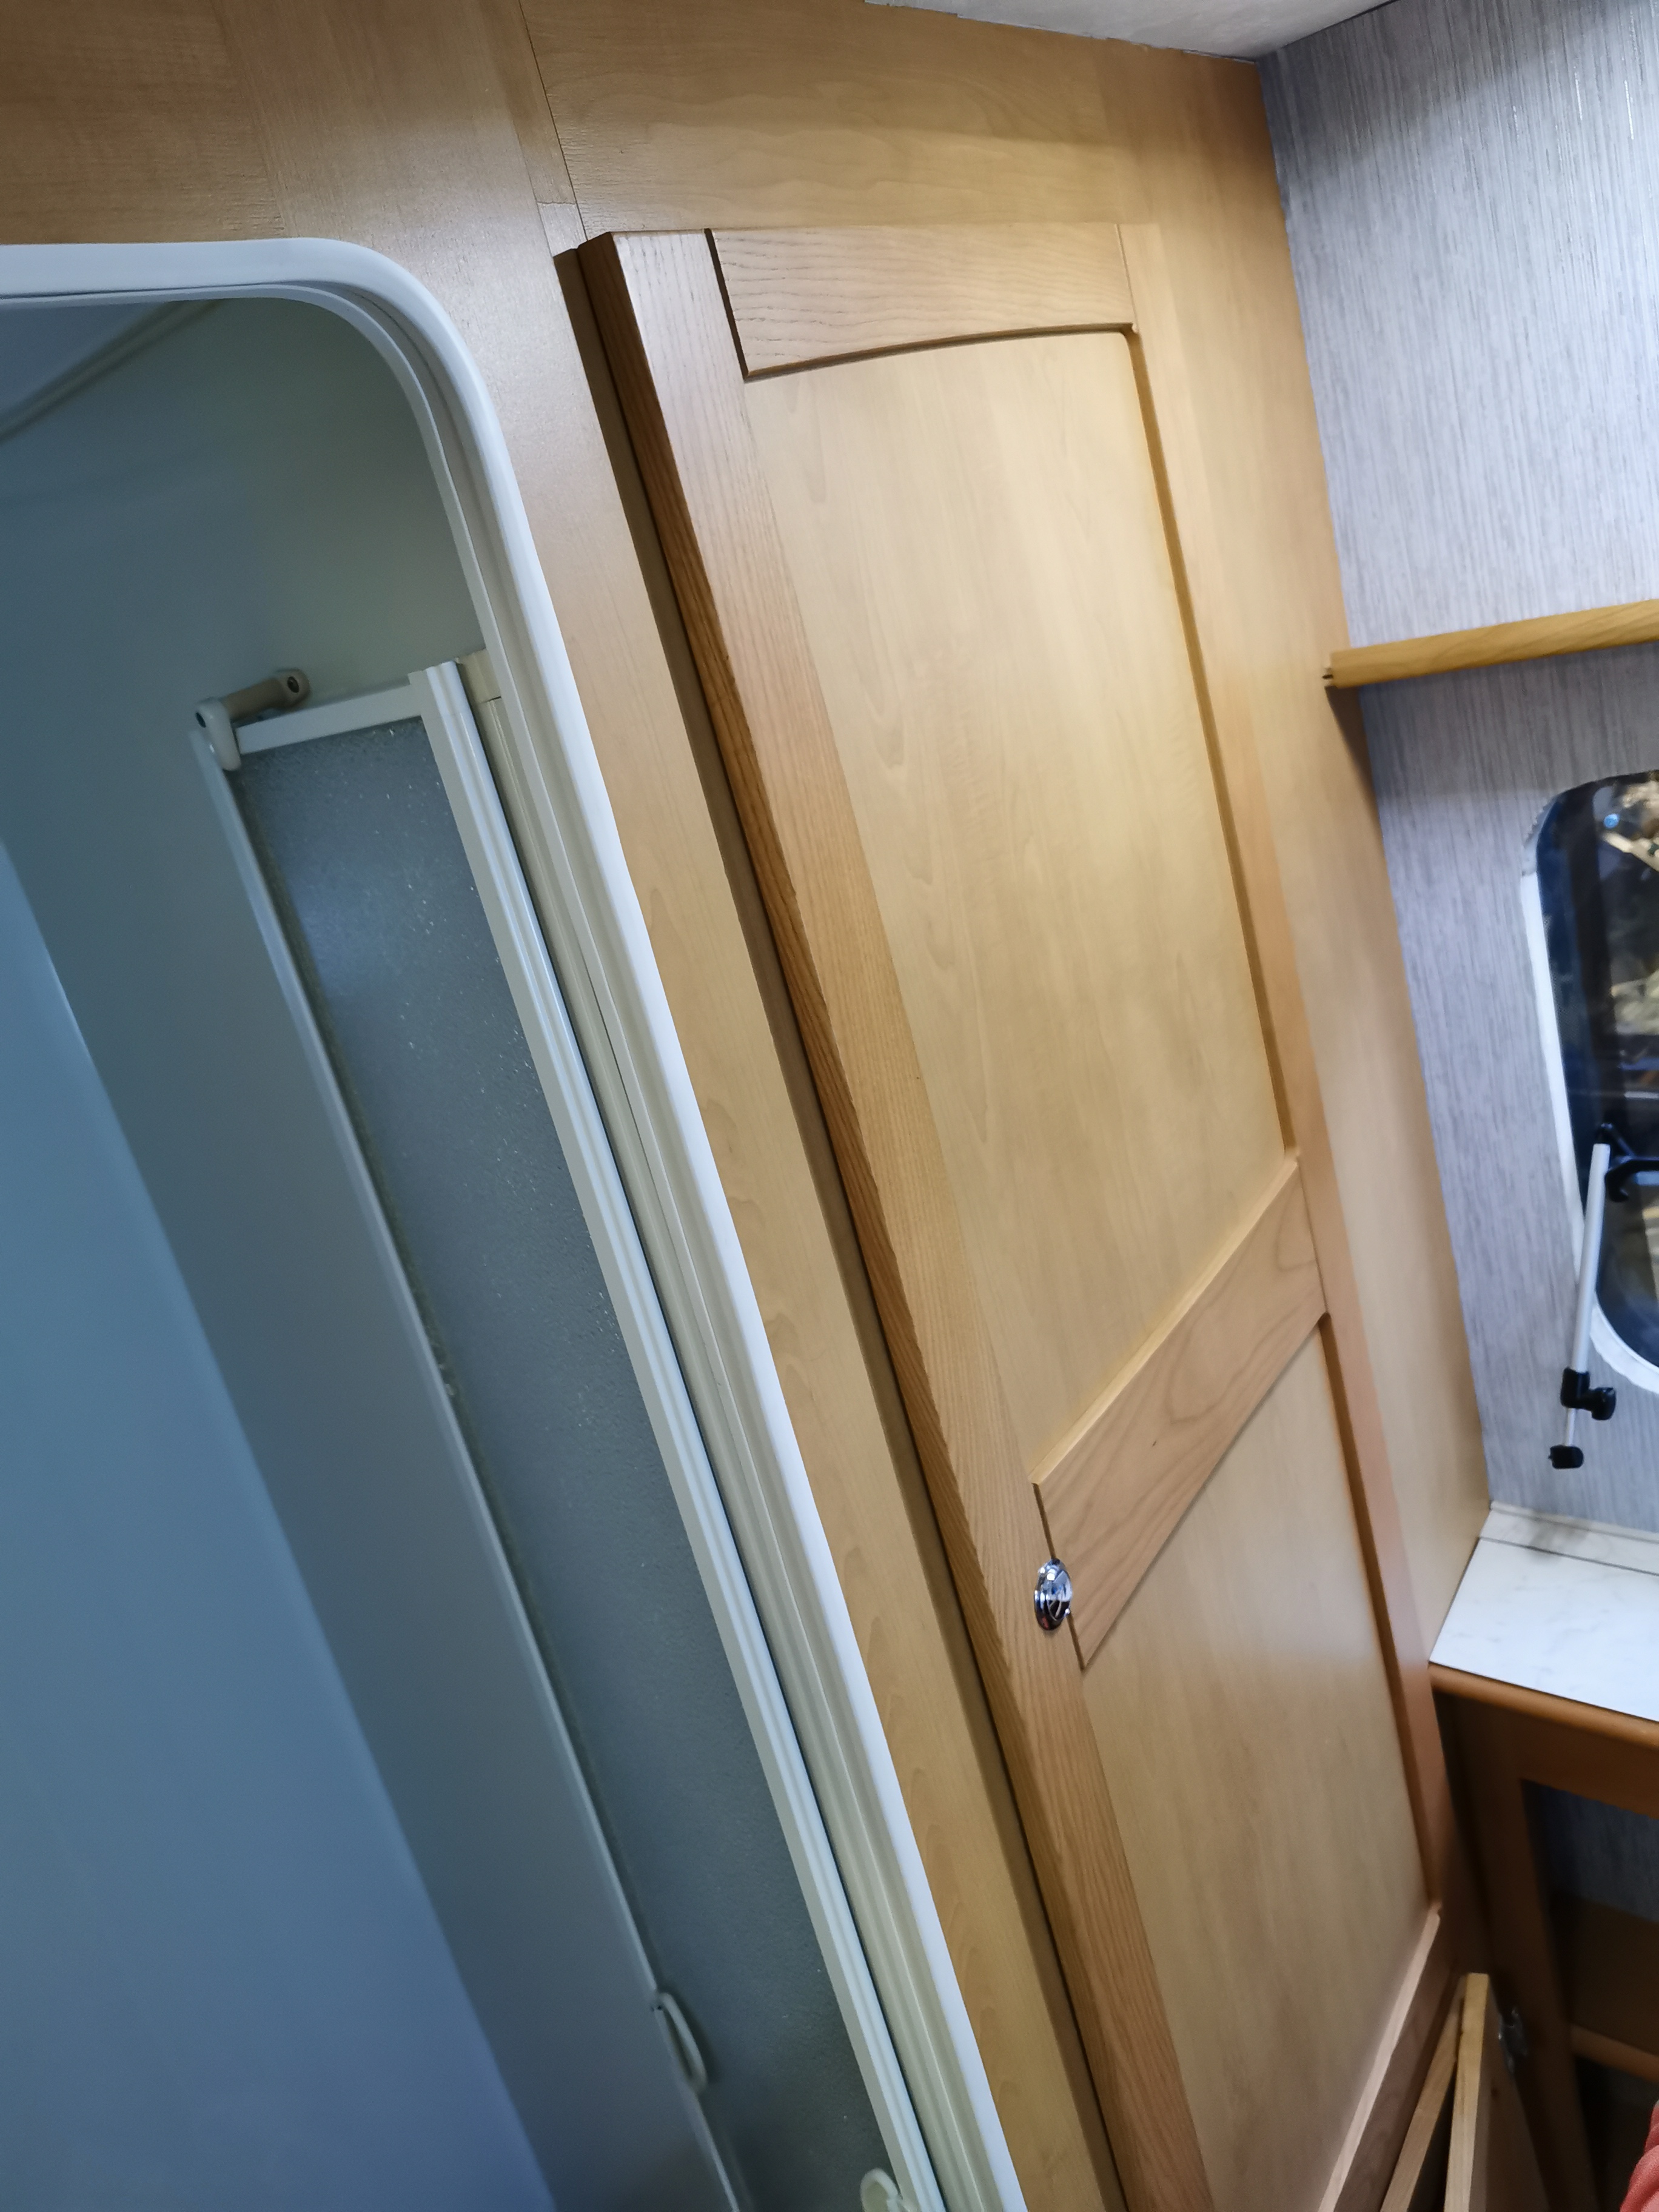
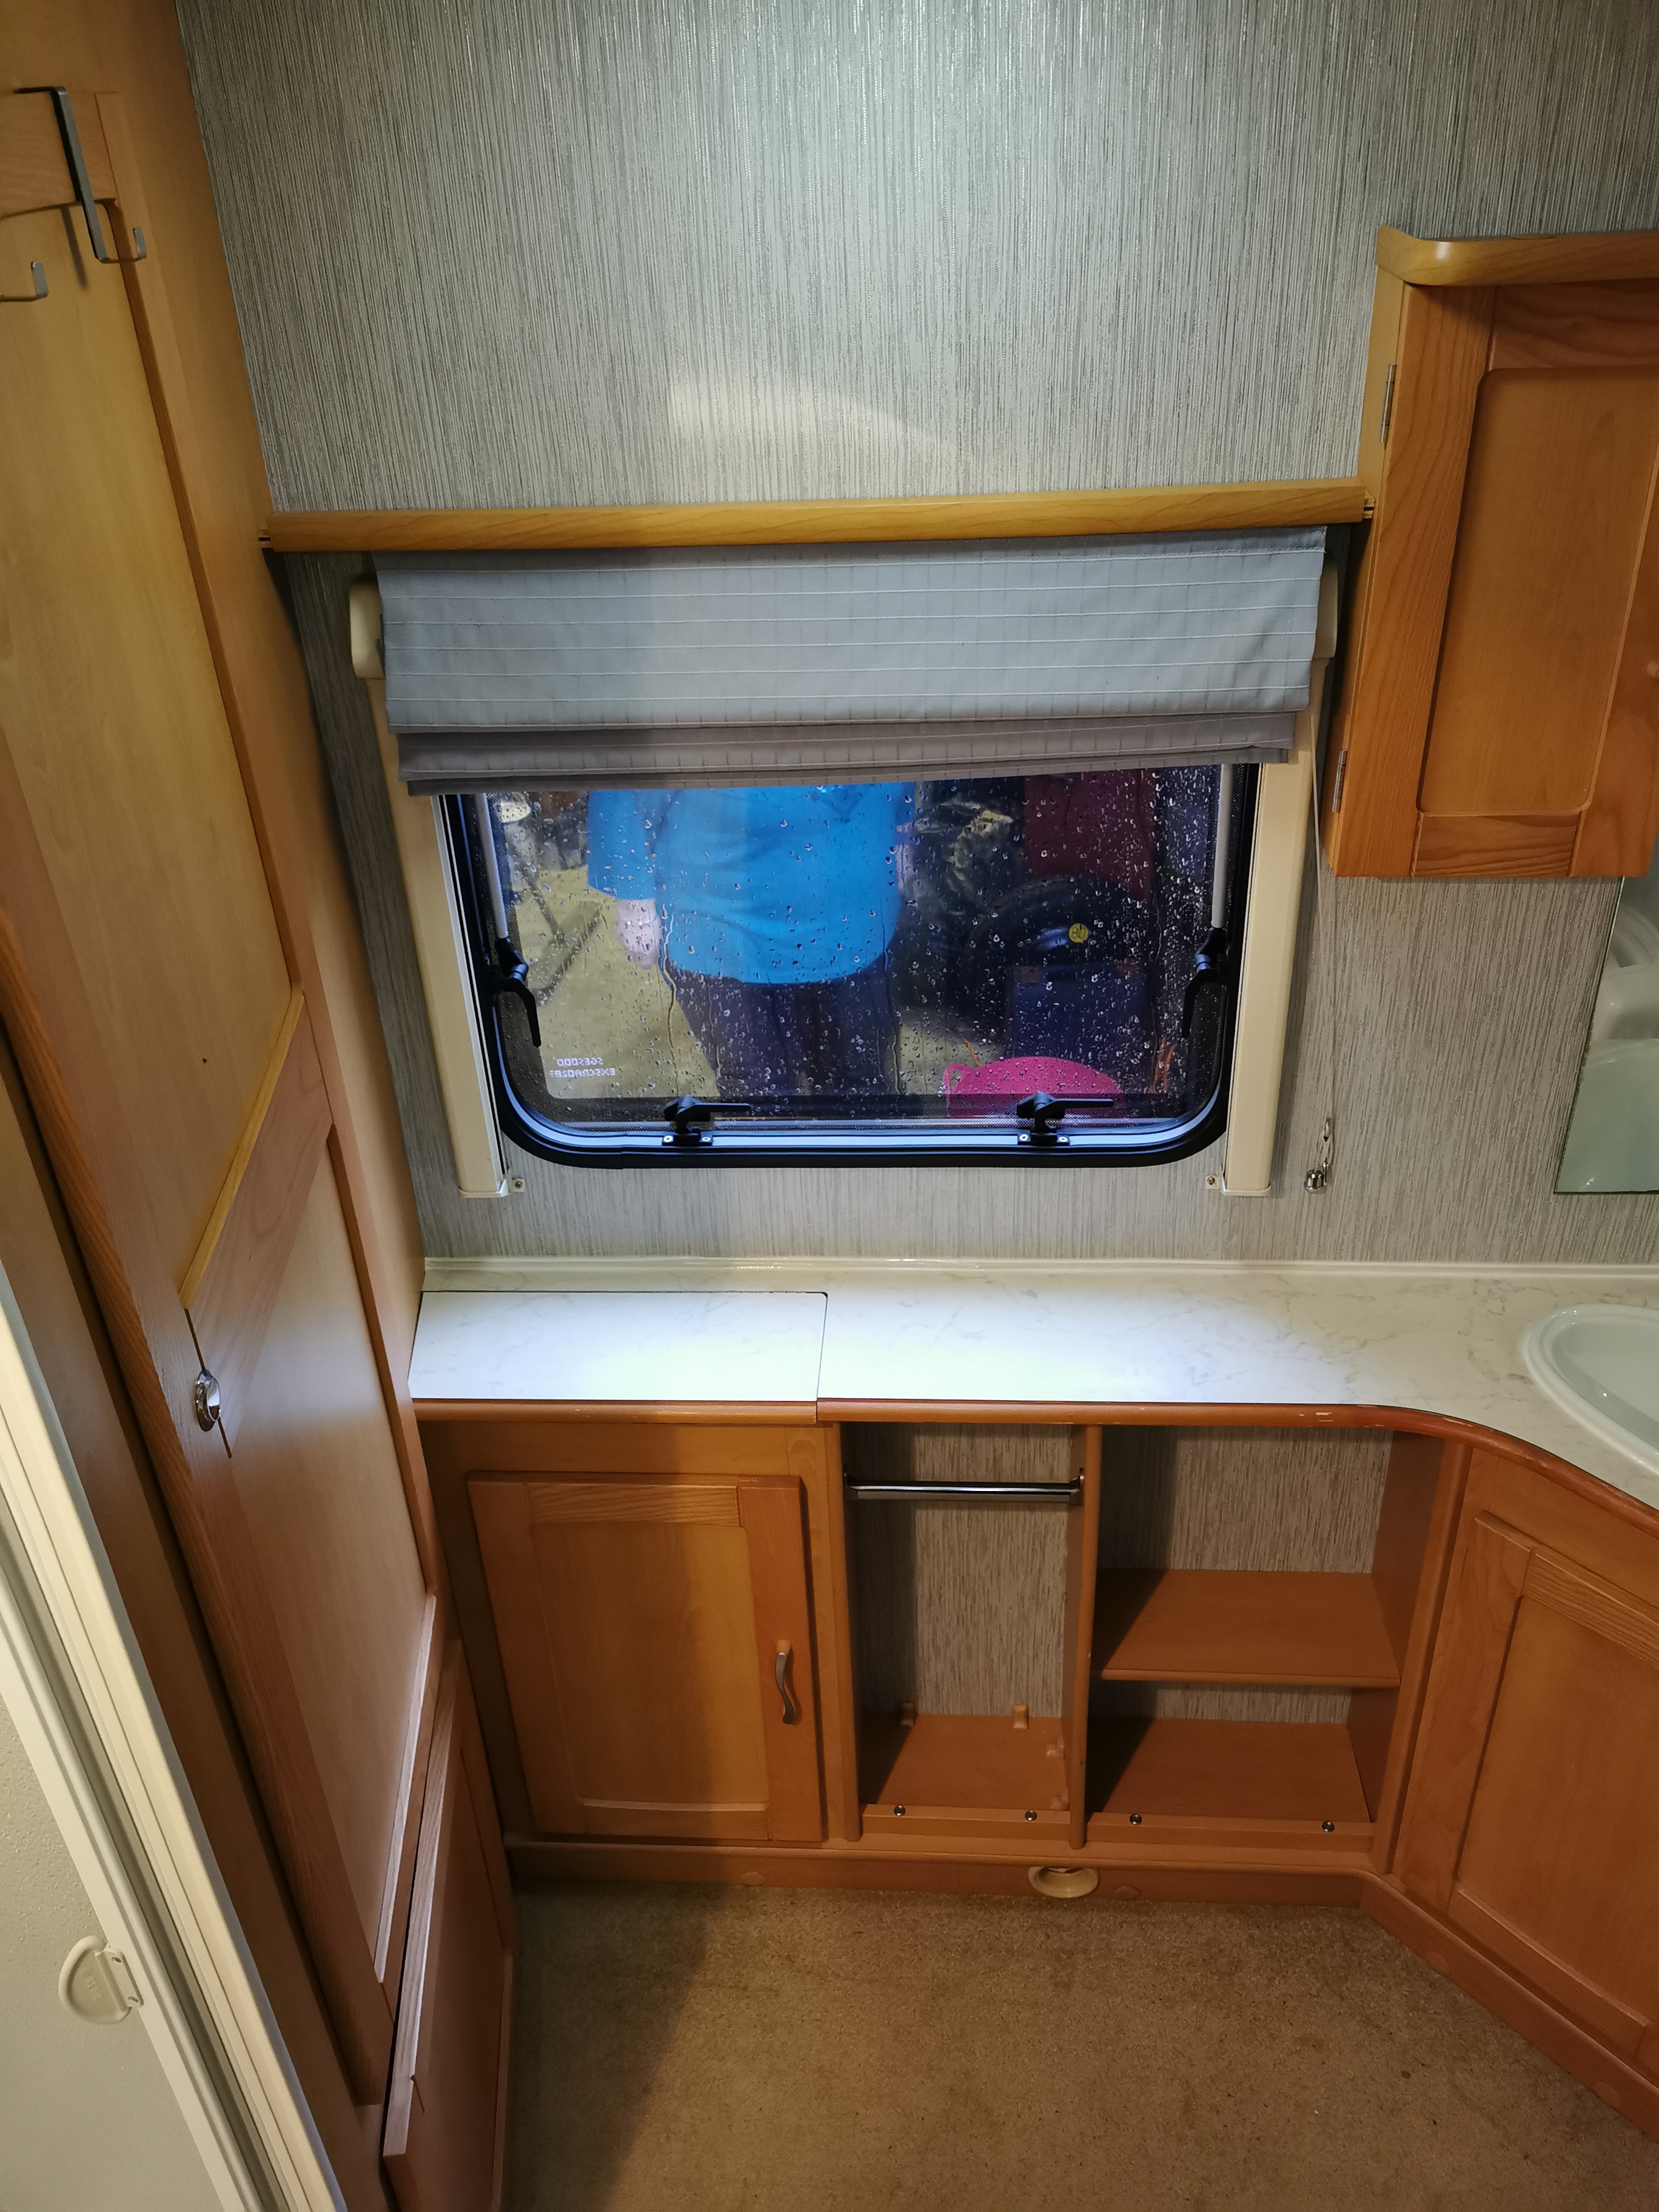
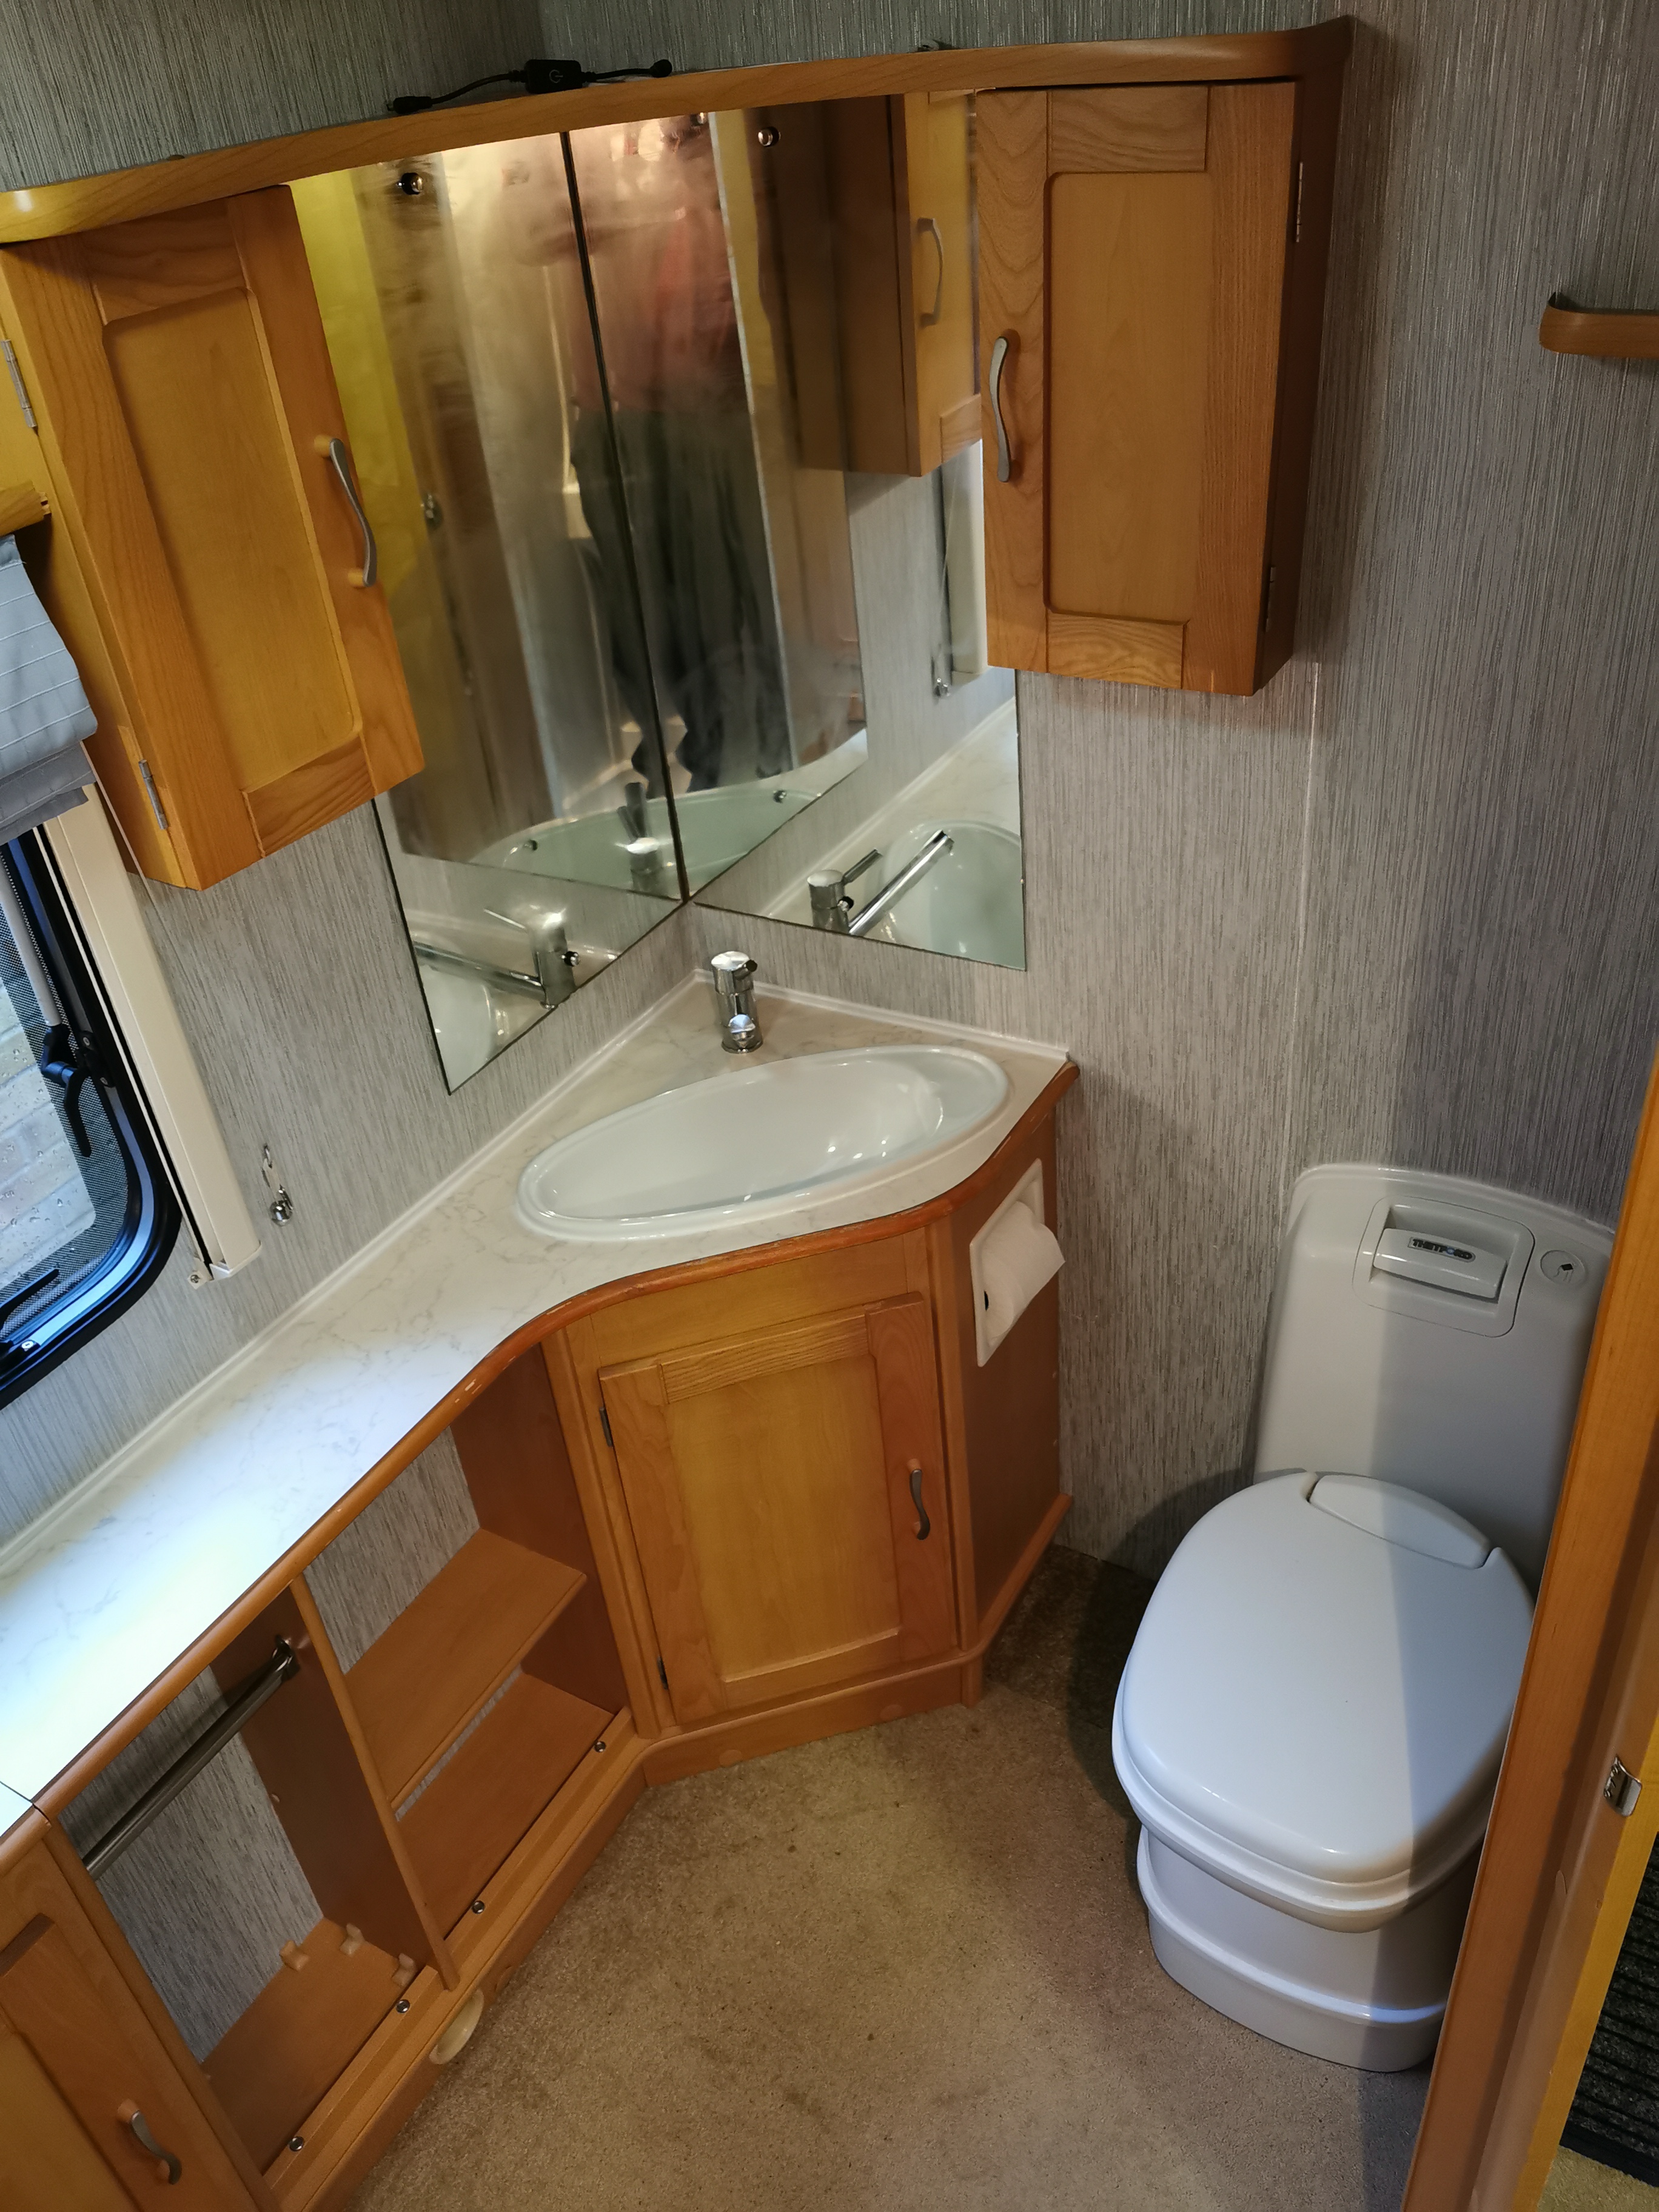
Obviously we needed to remove the affected areas of rotten panelling and wall paper to see the full extent of the issue. This end washroom has a number of cupboards and two large mirrors covering the walls. One of the main jobs was to remove these without causing any damage.


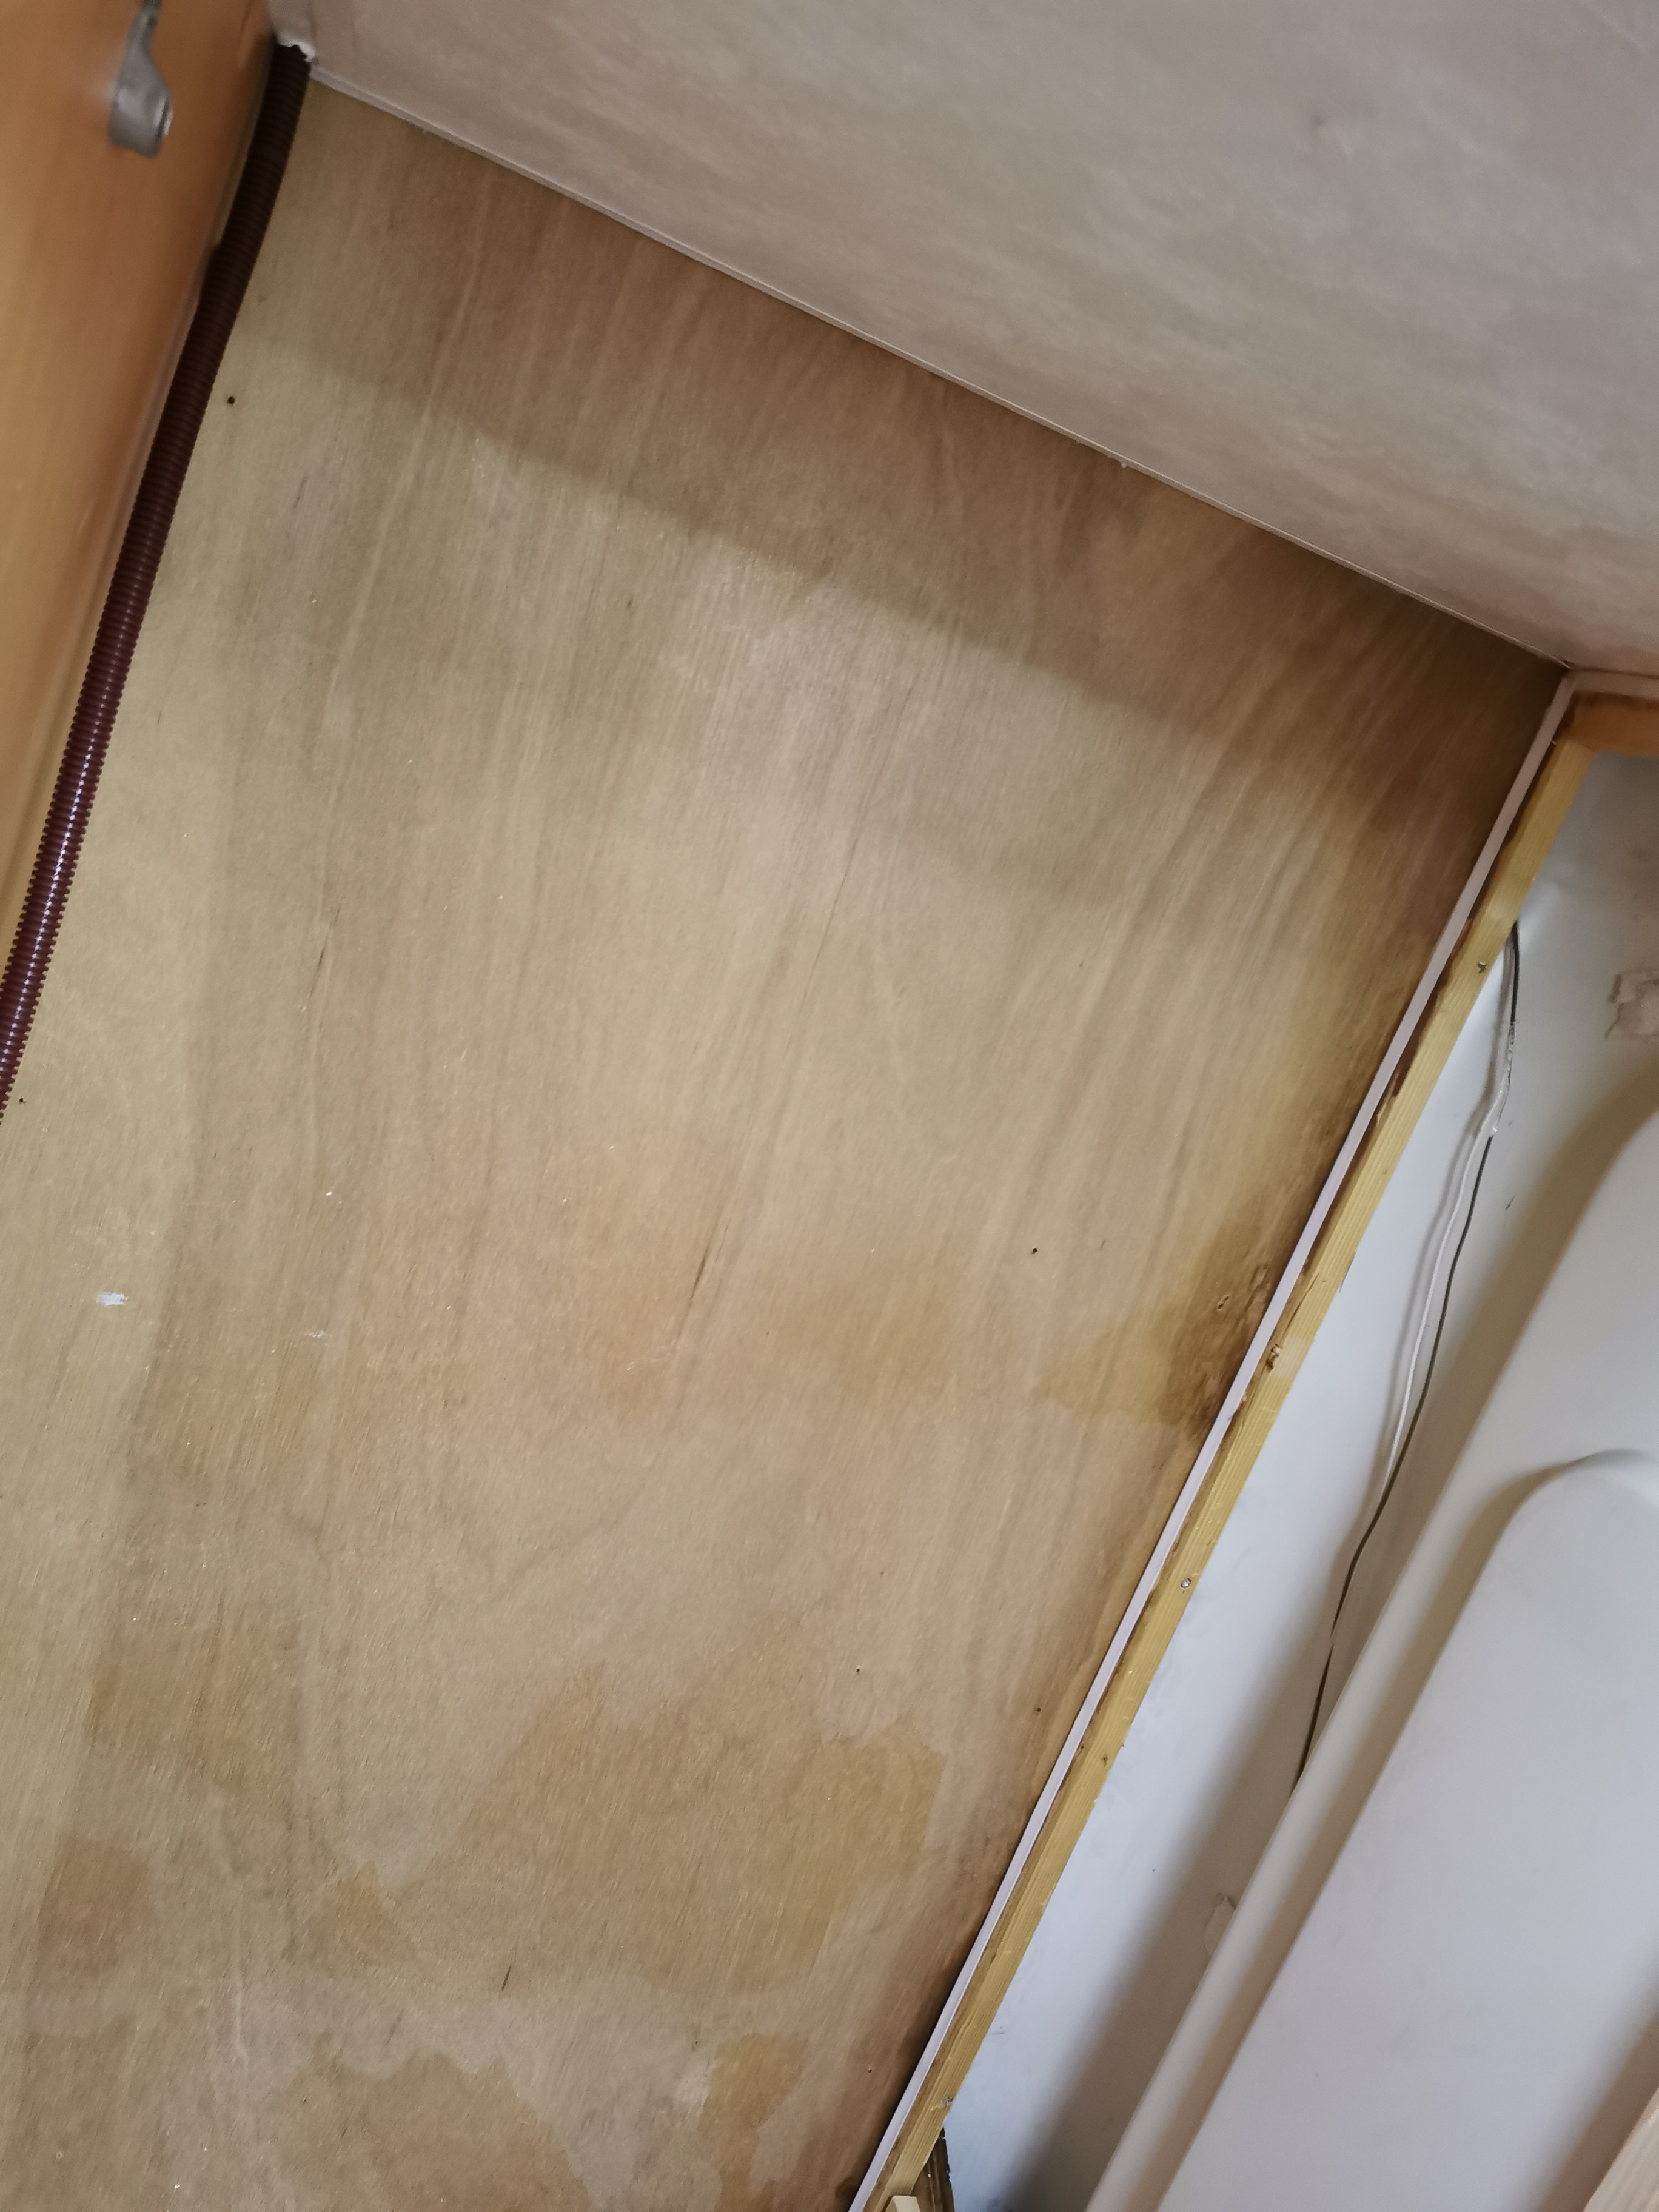
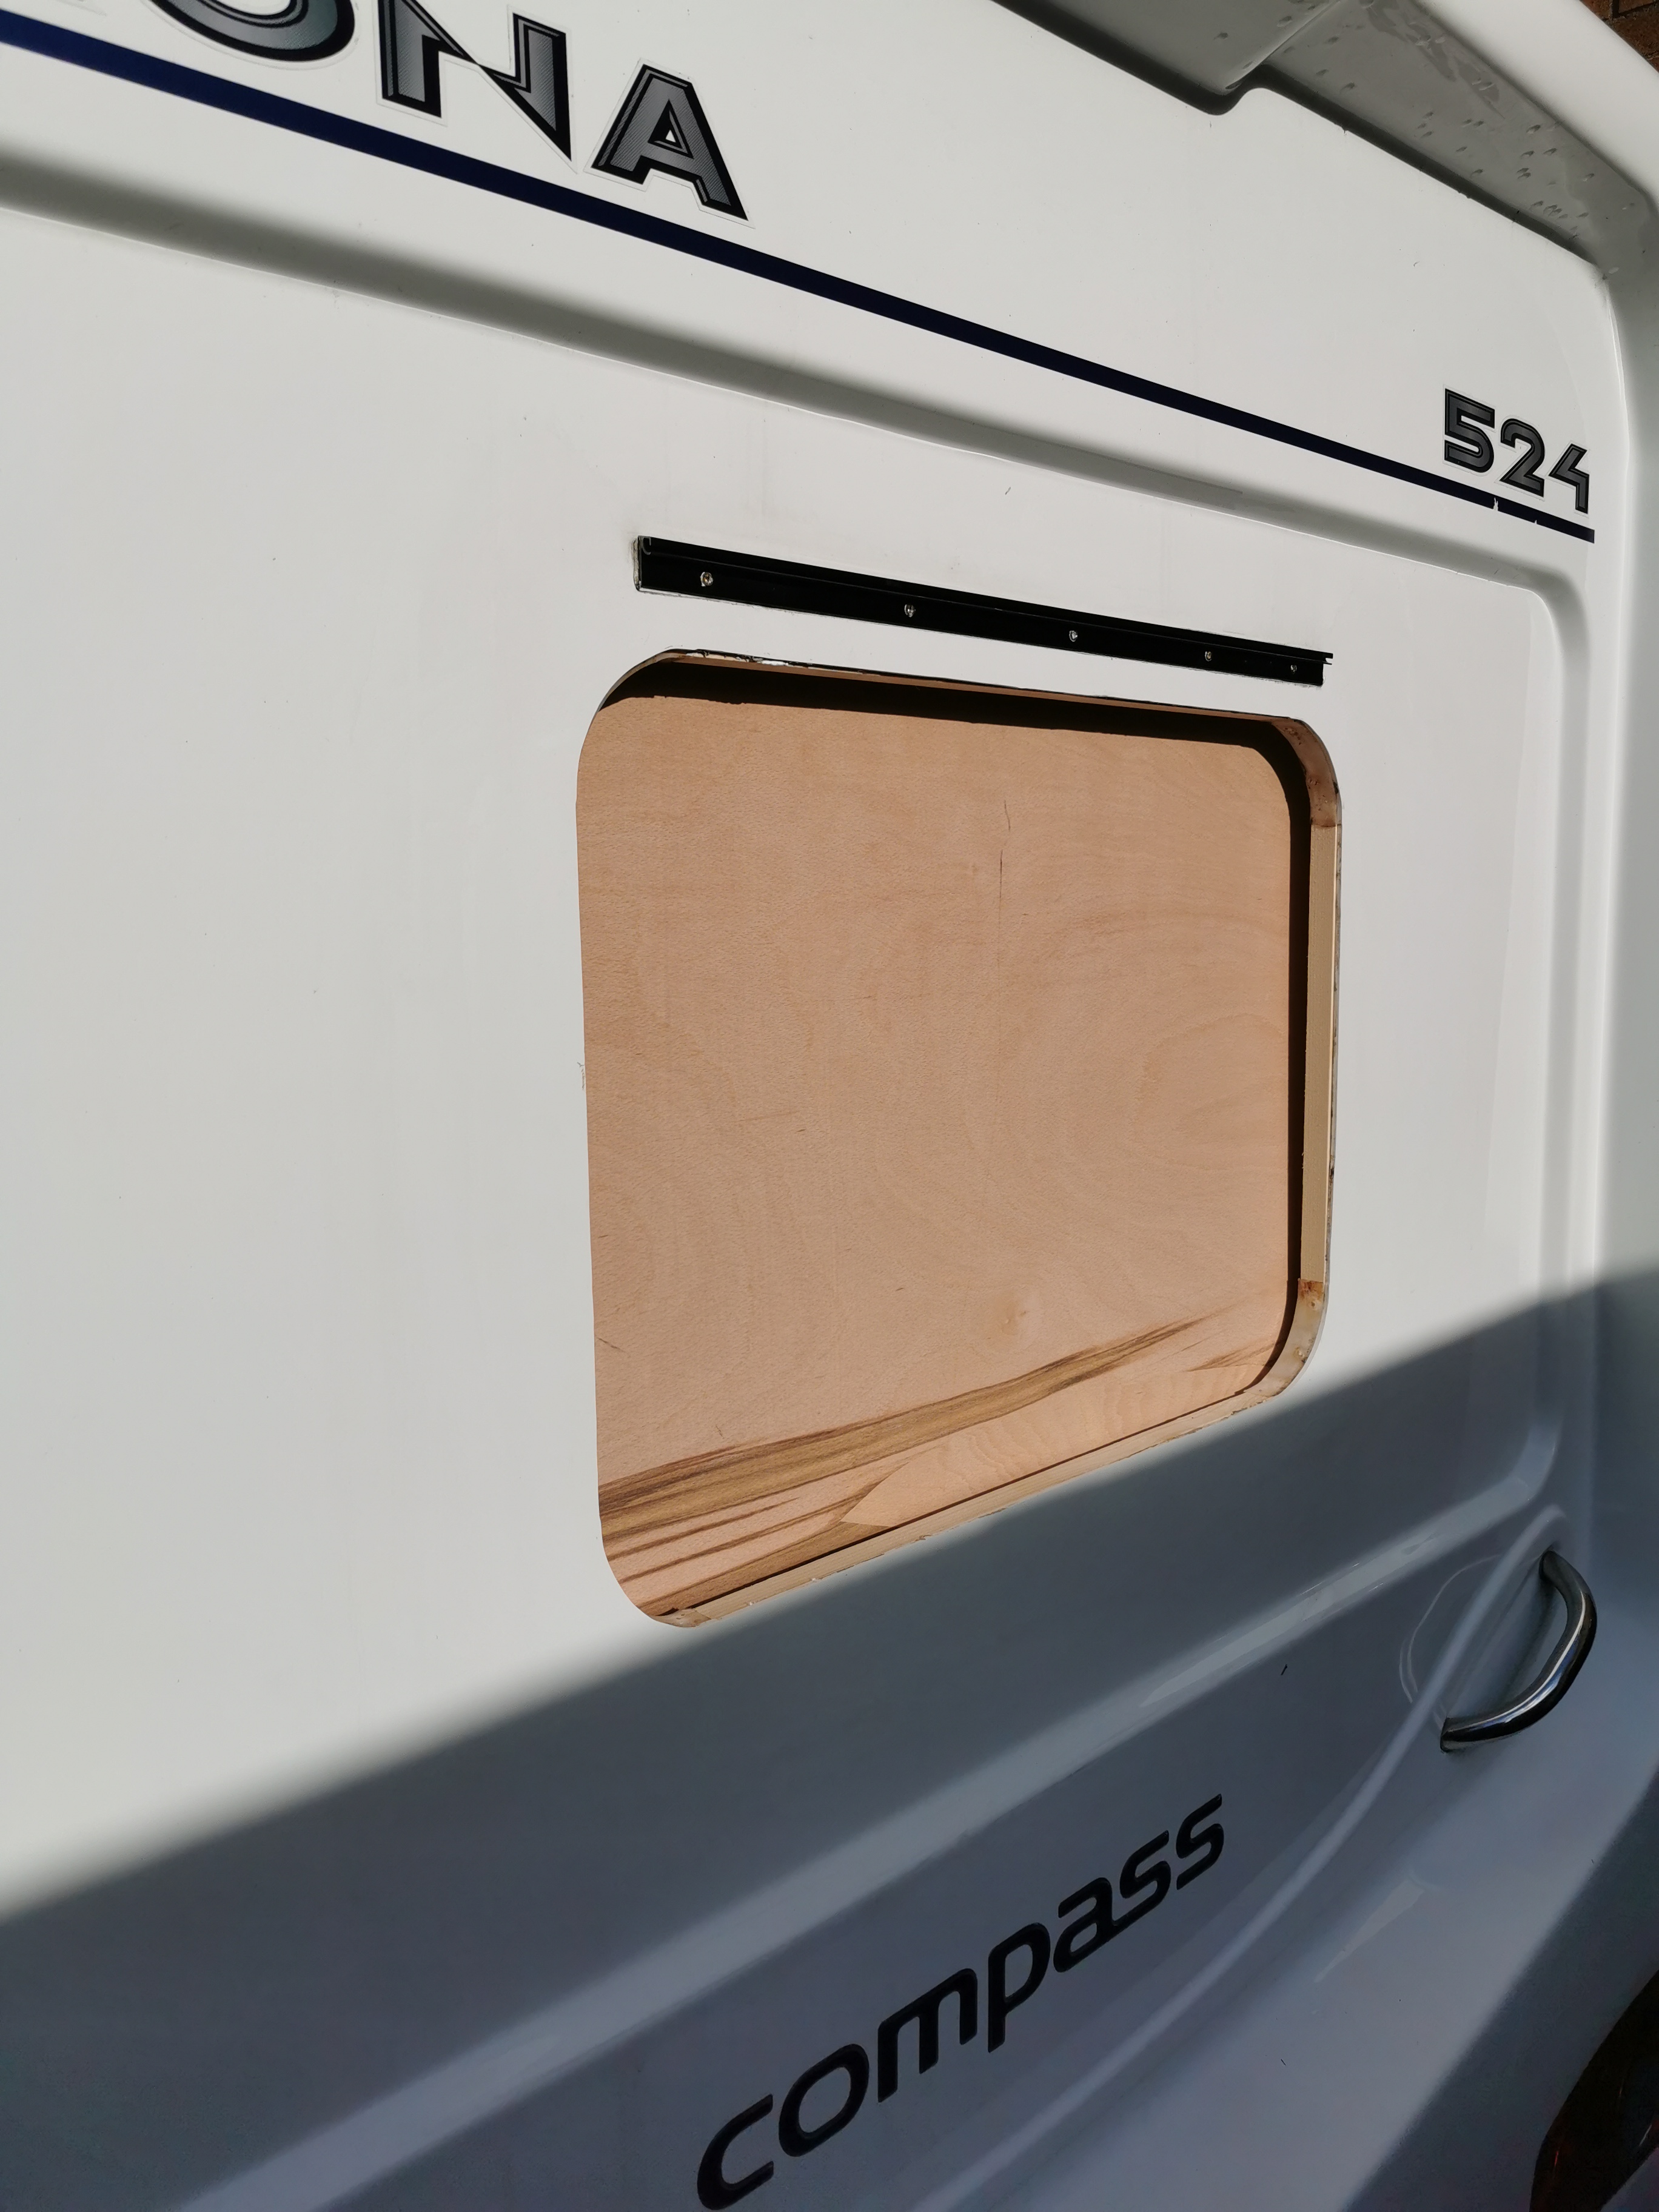
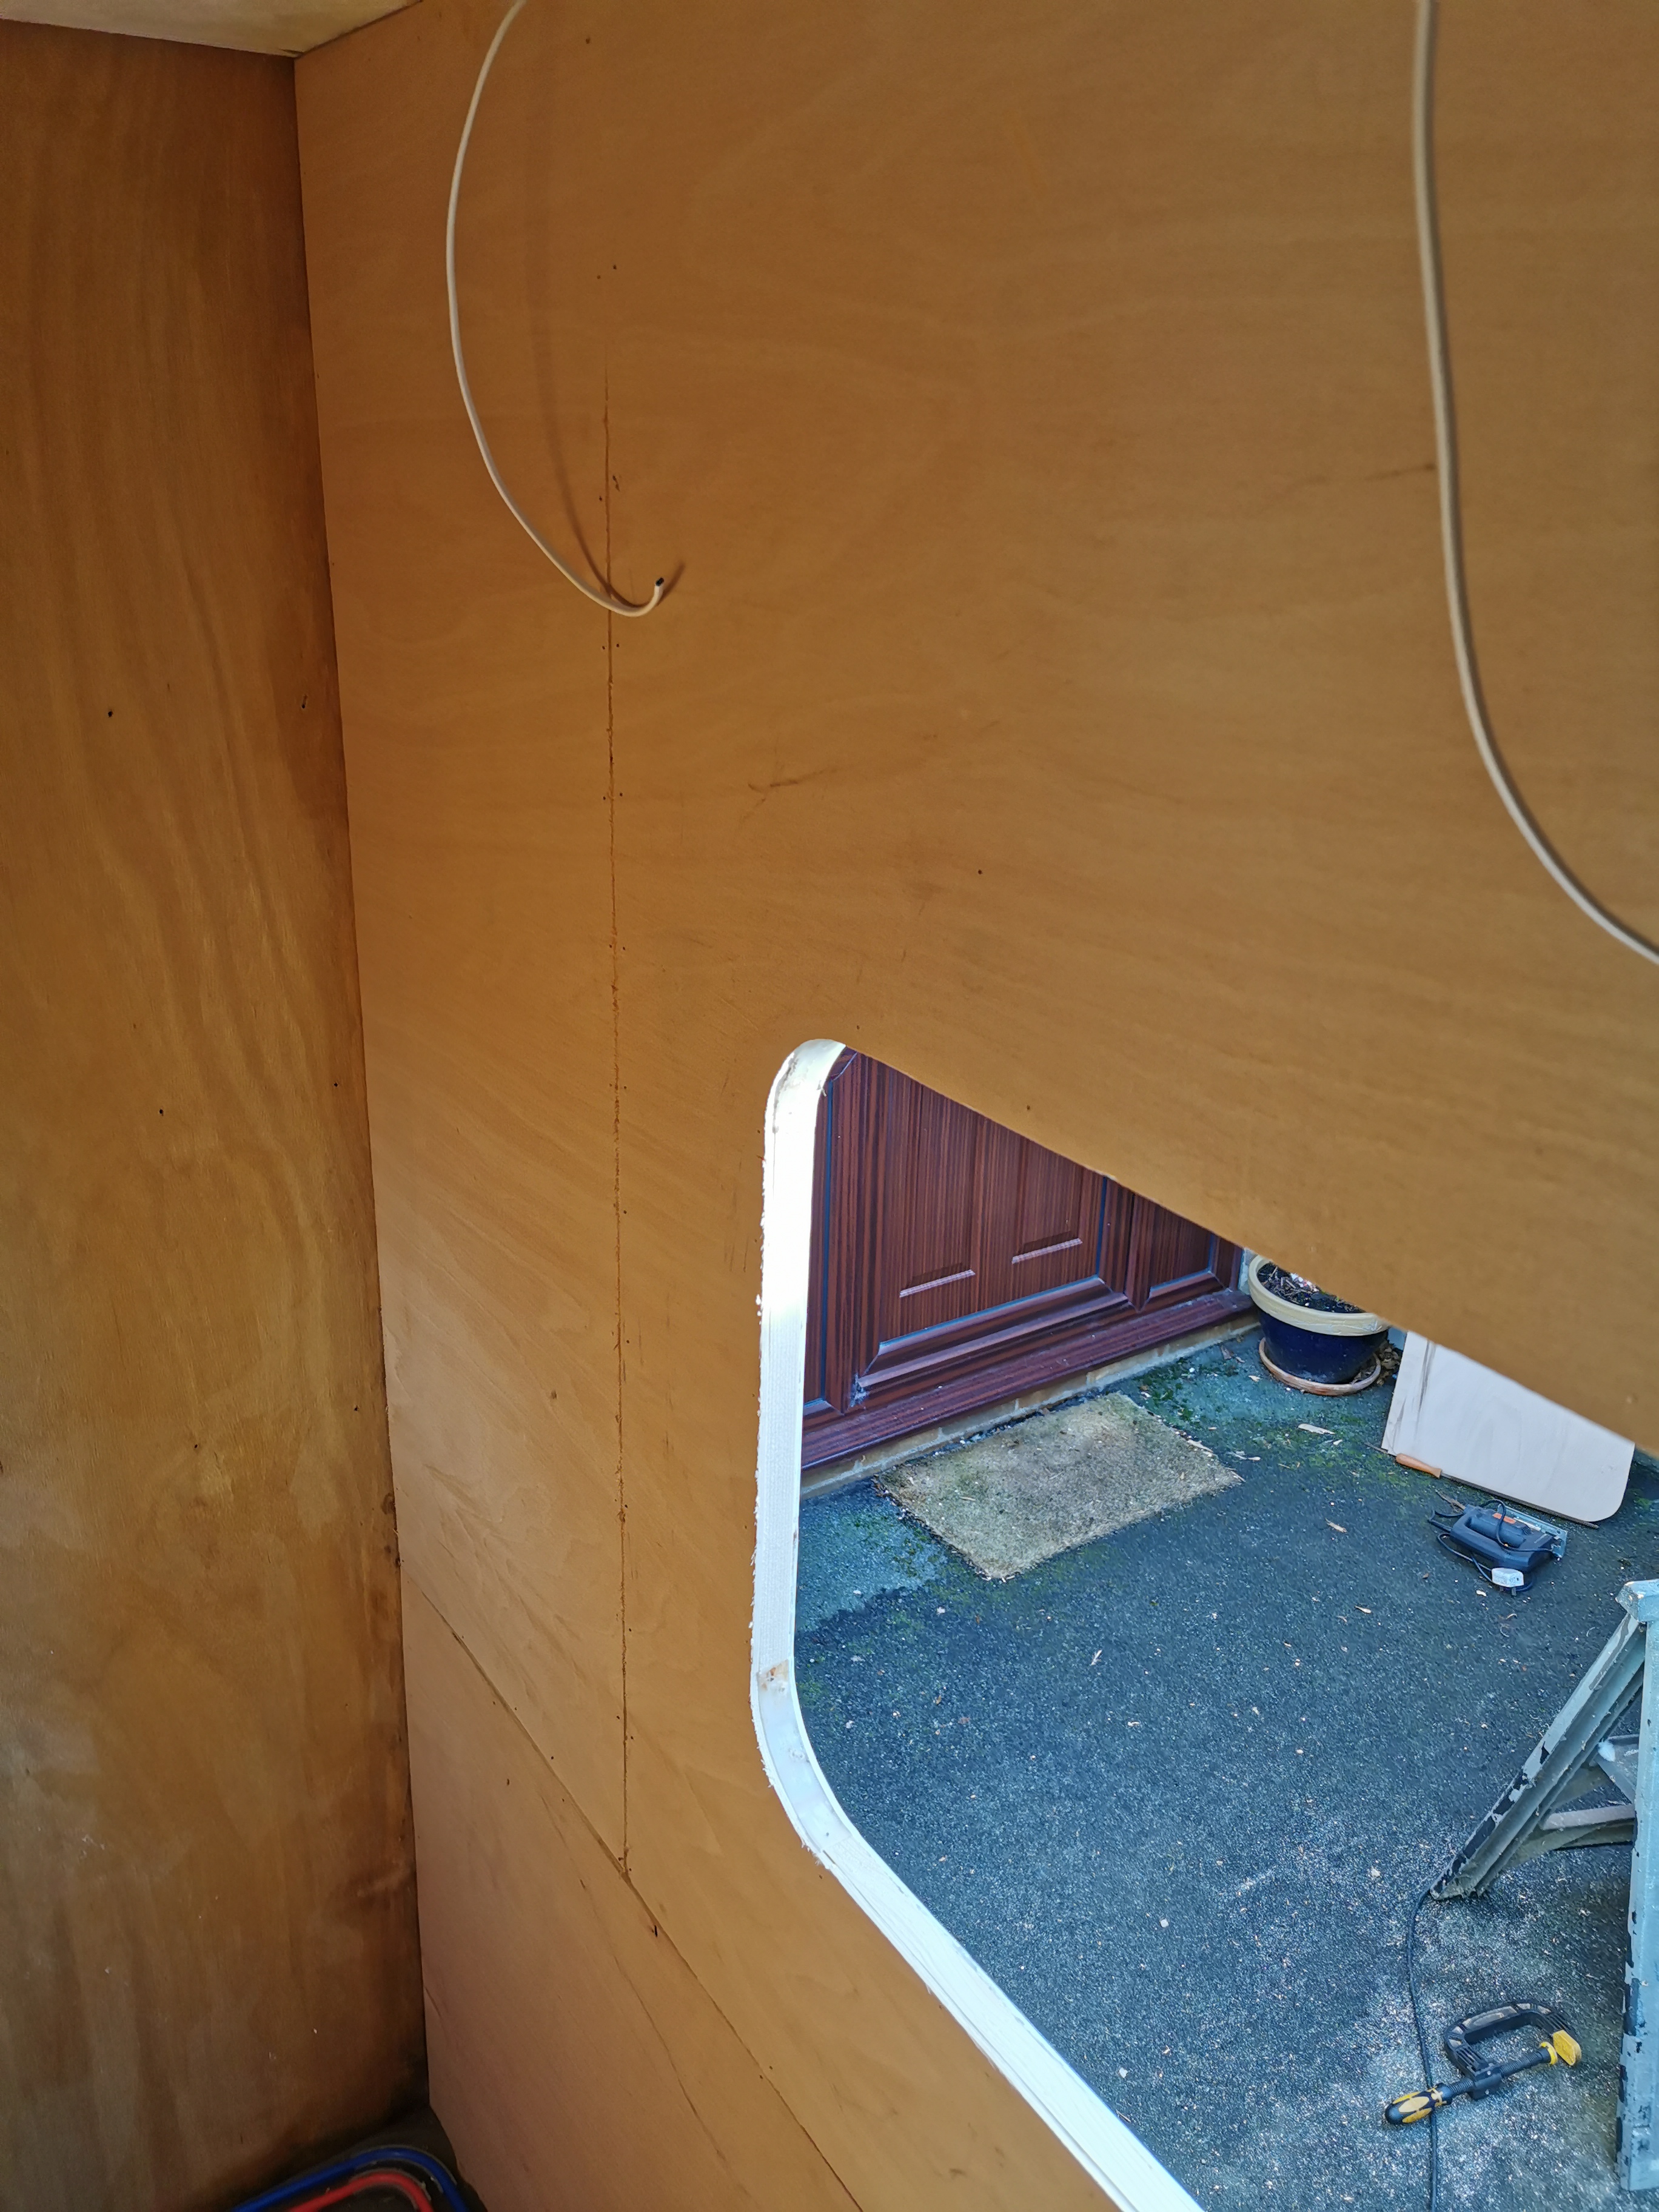
After removing the wardrobe and sink and mirror units we were then able to remove the back wall panel.
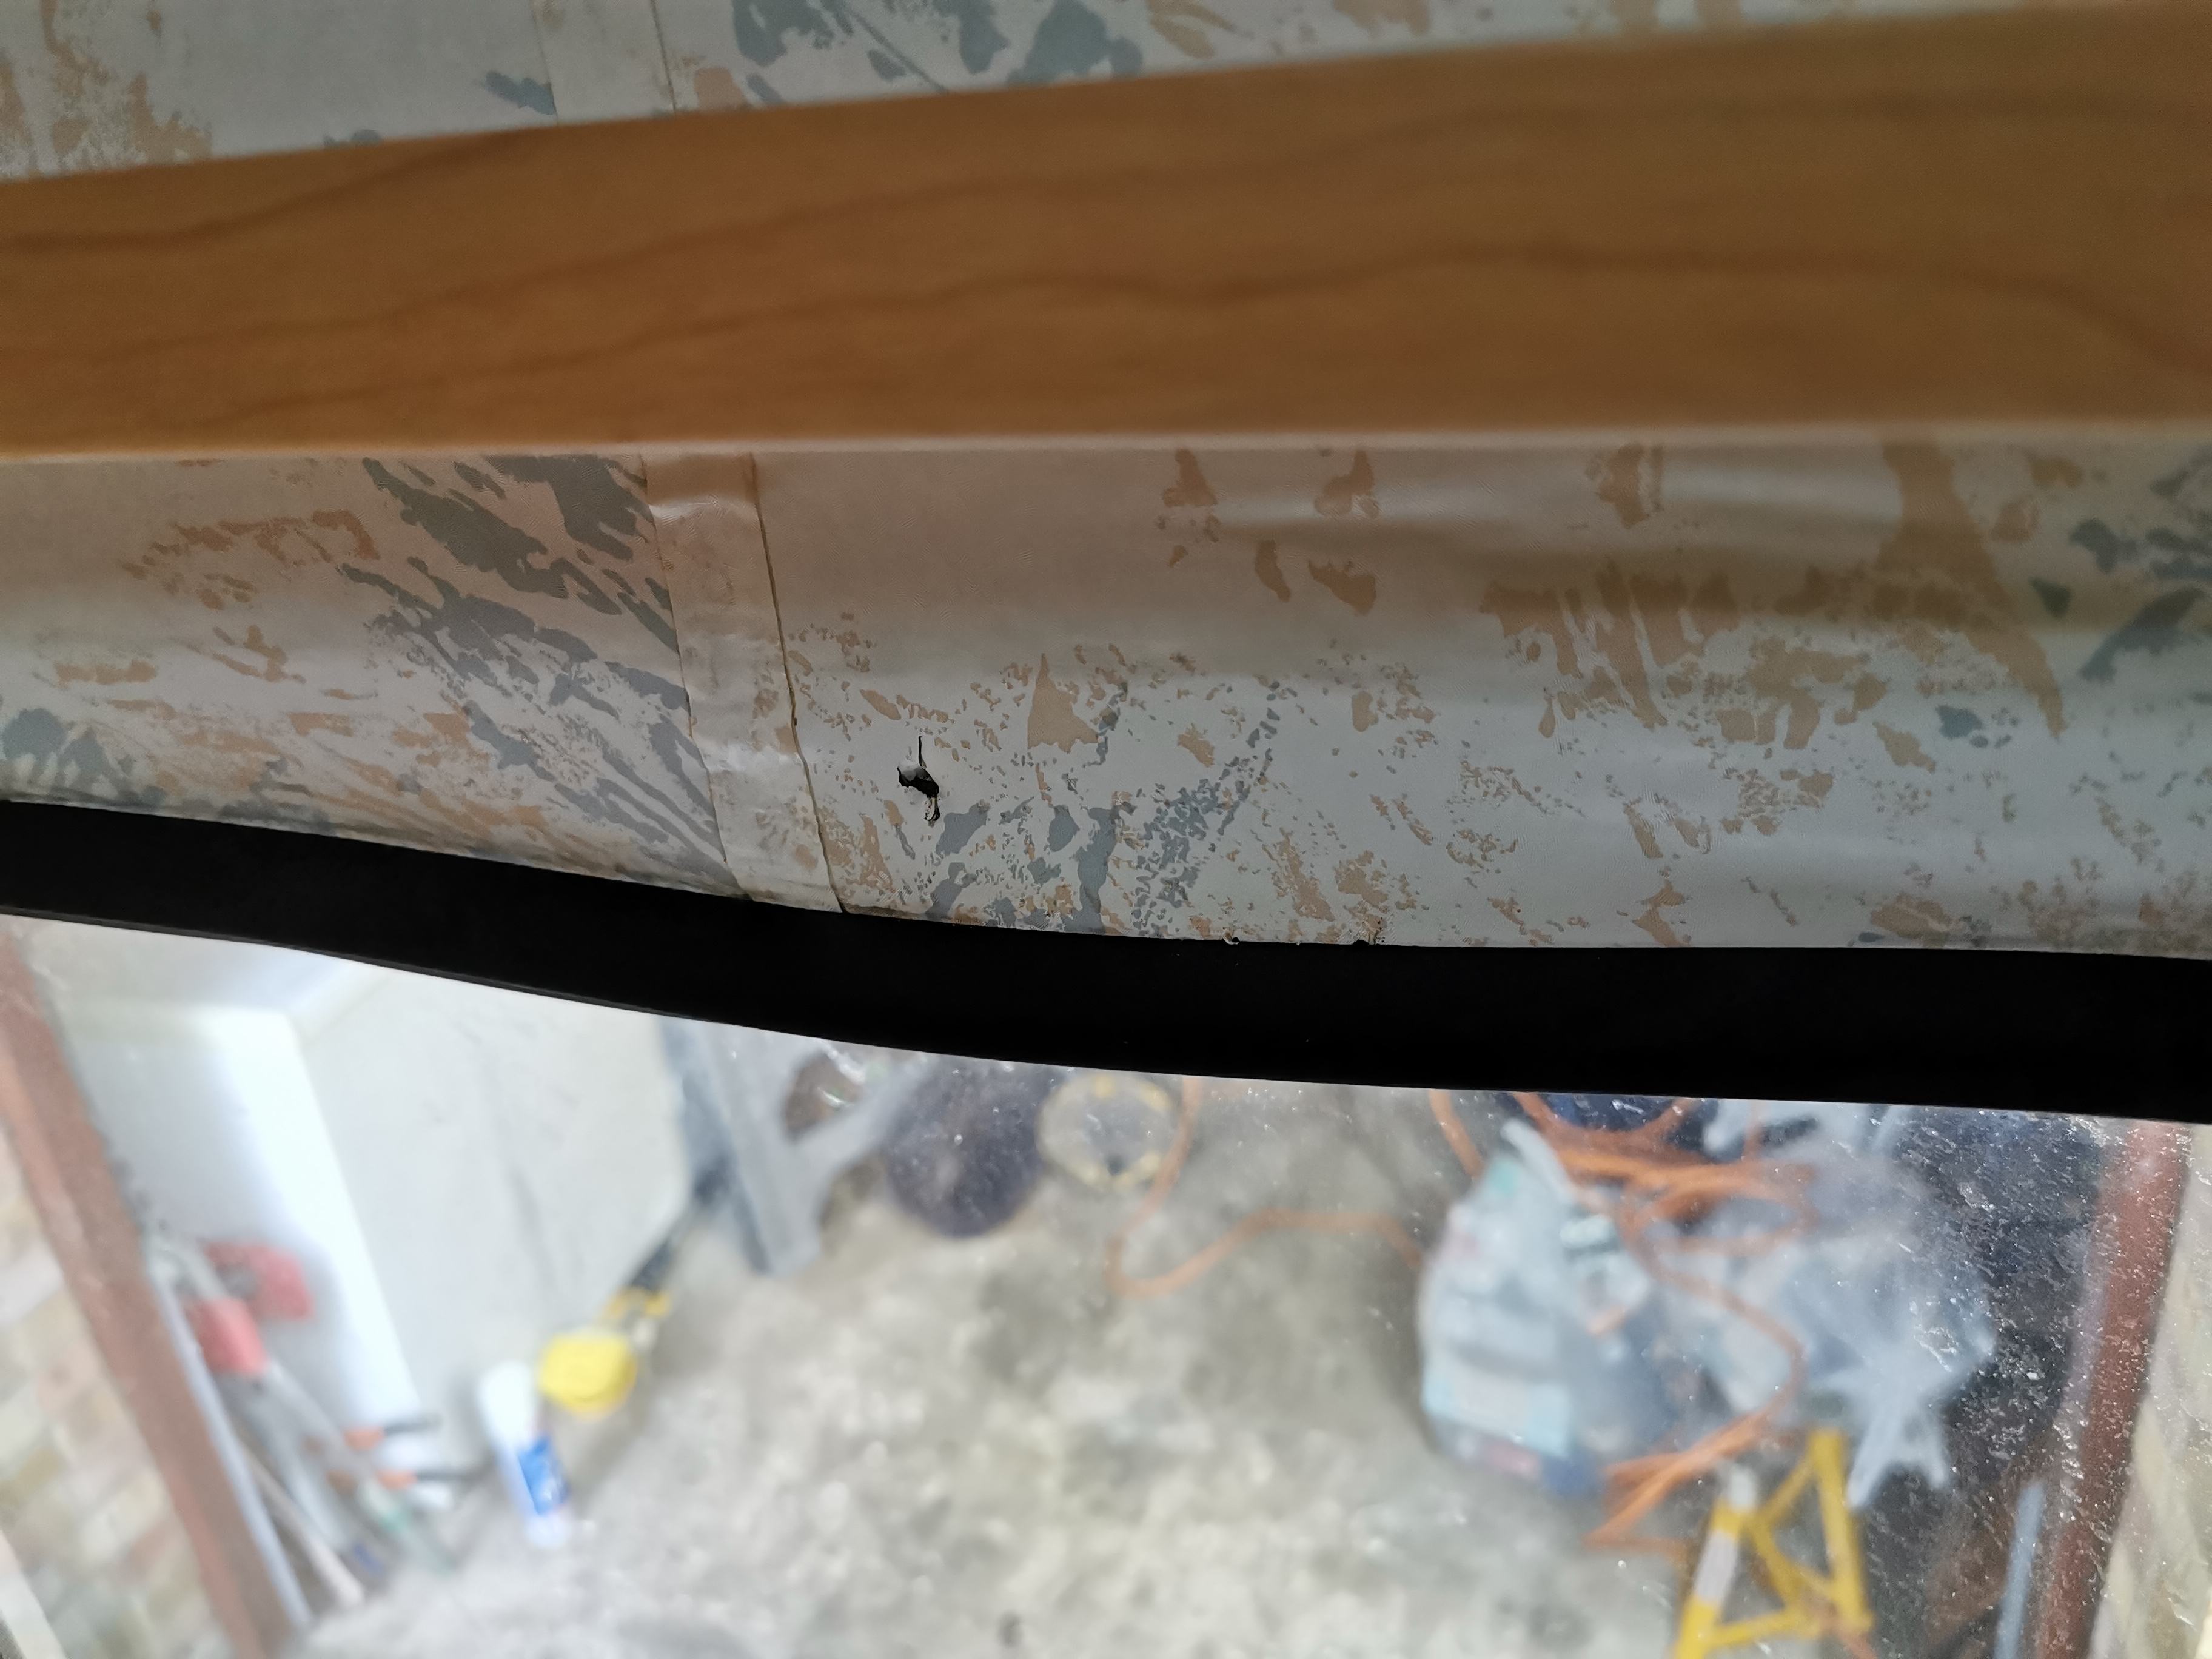
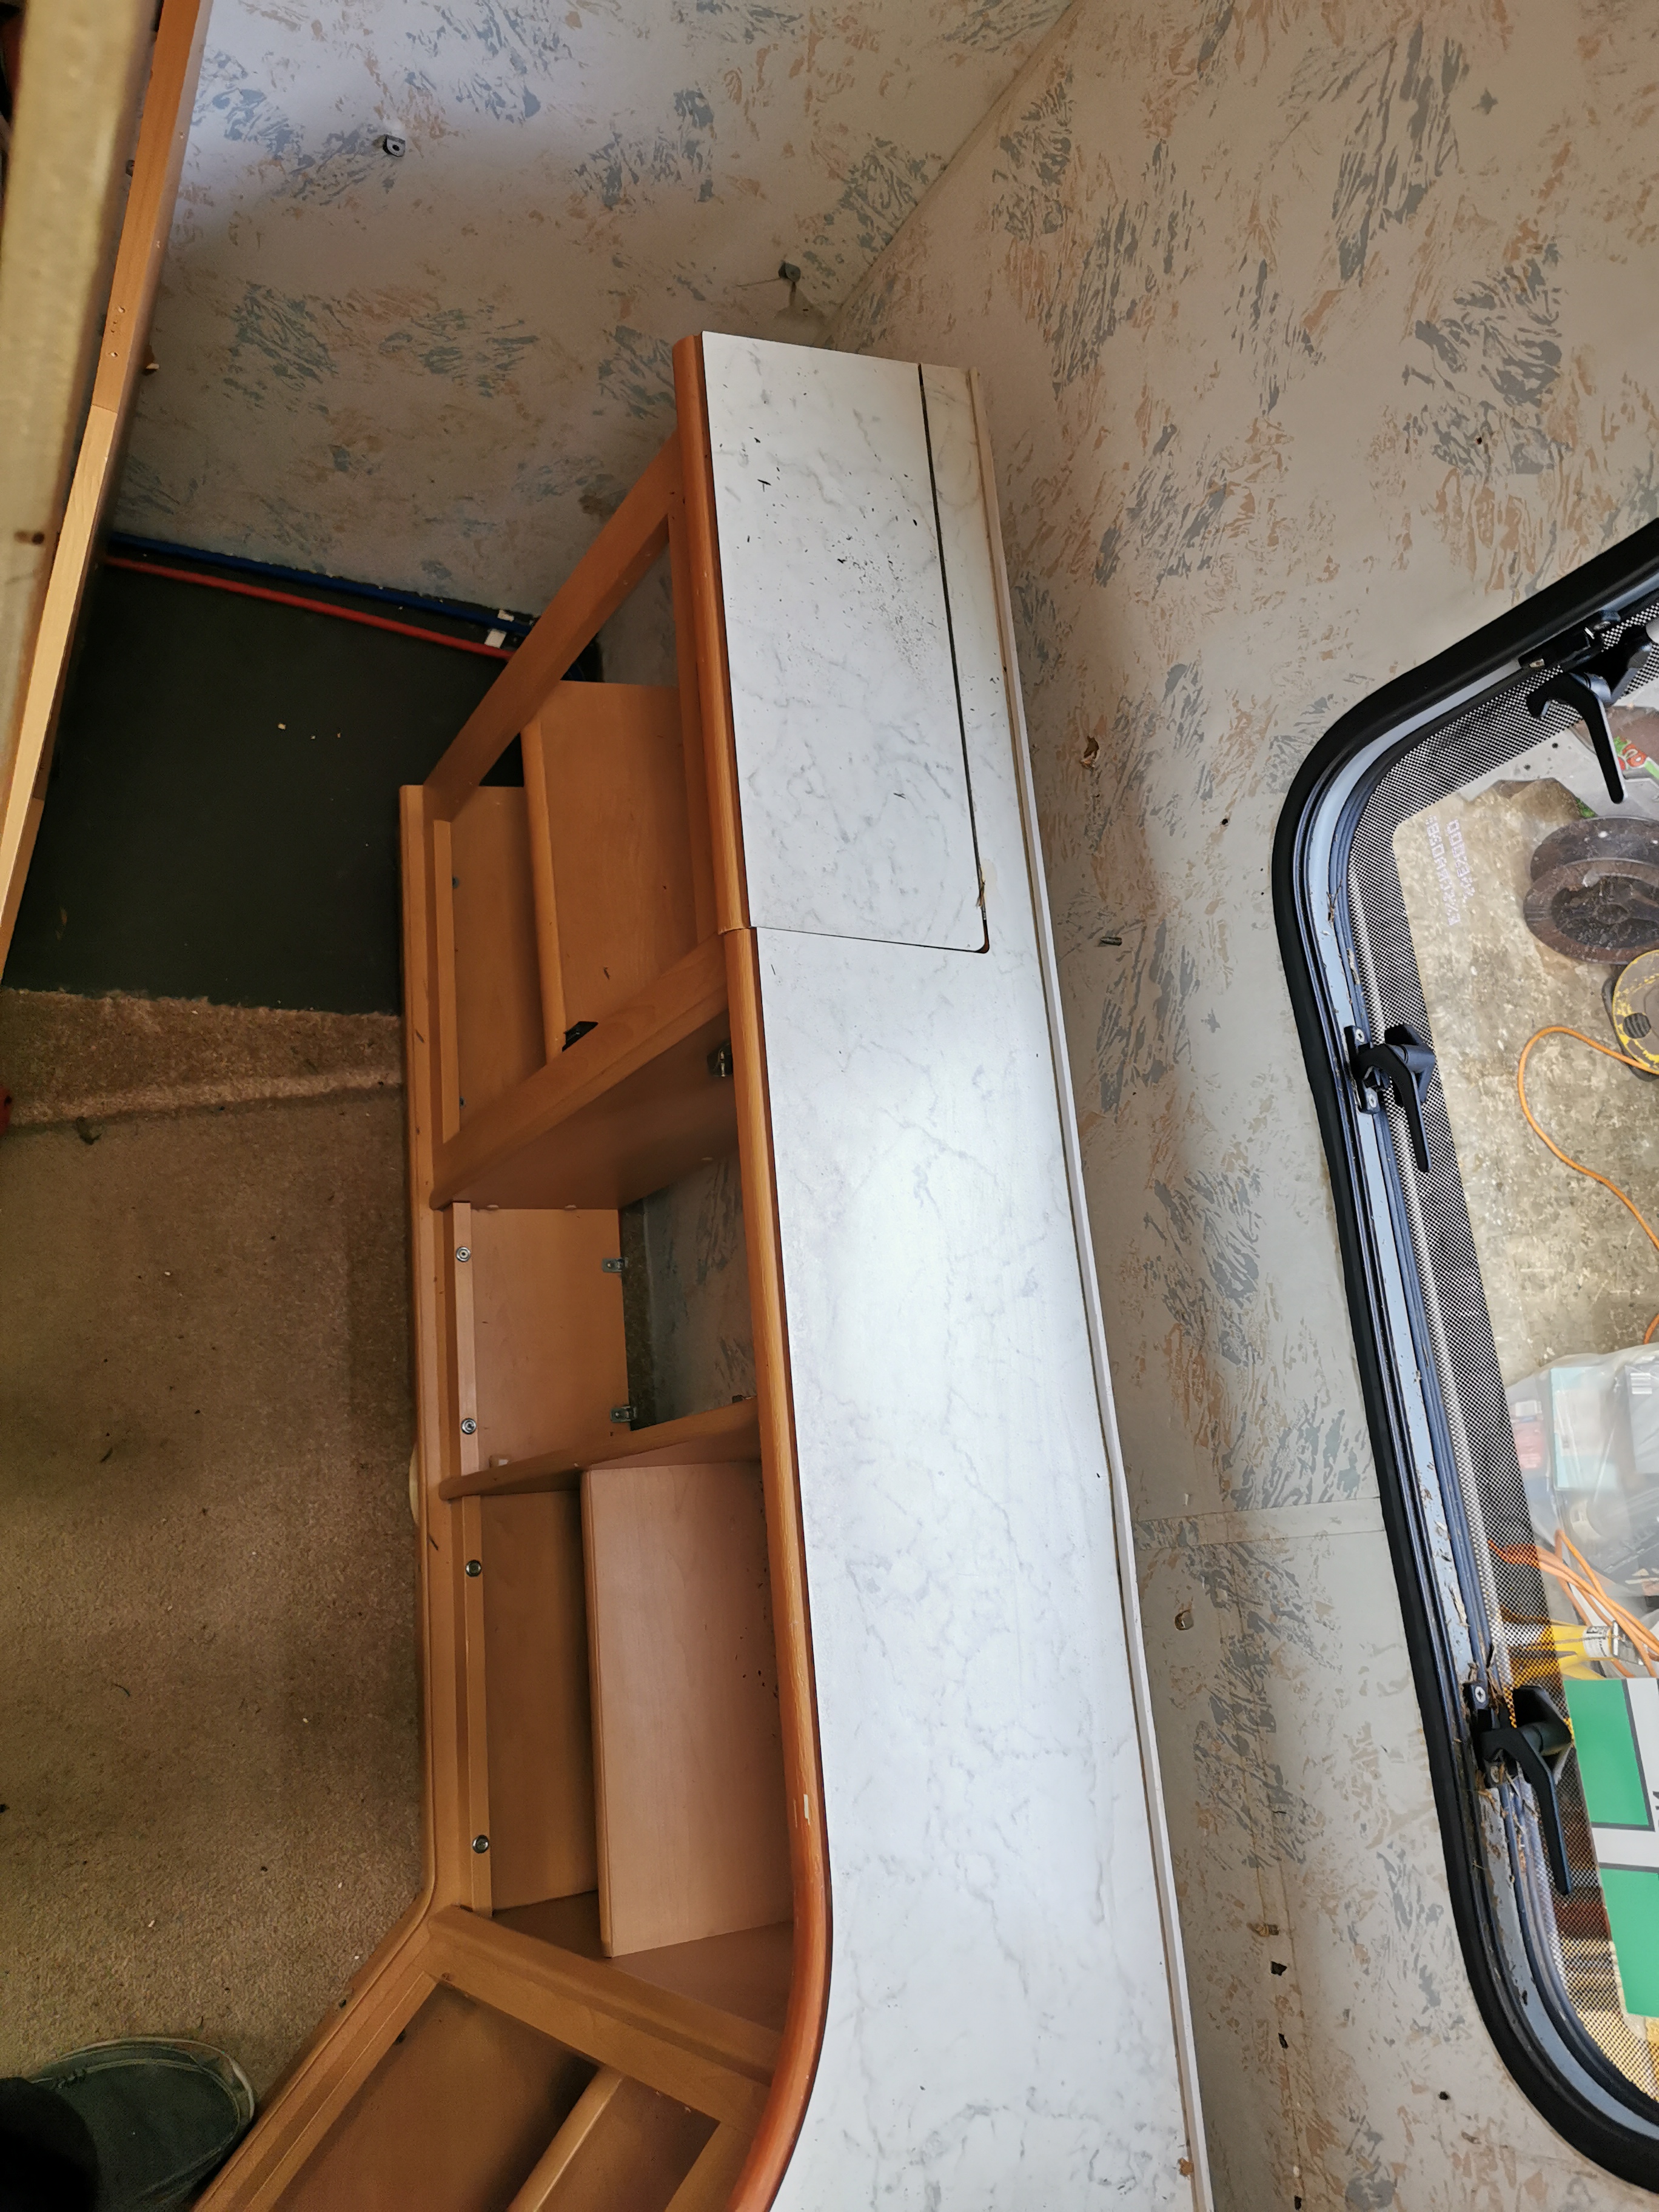
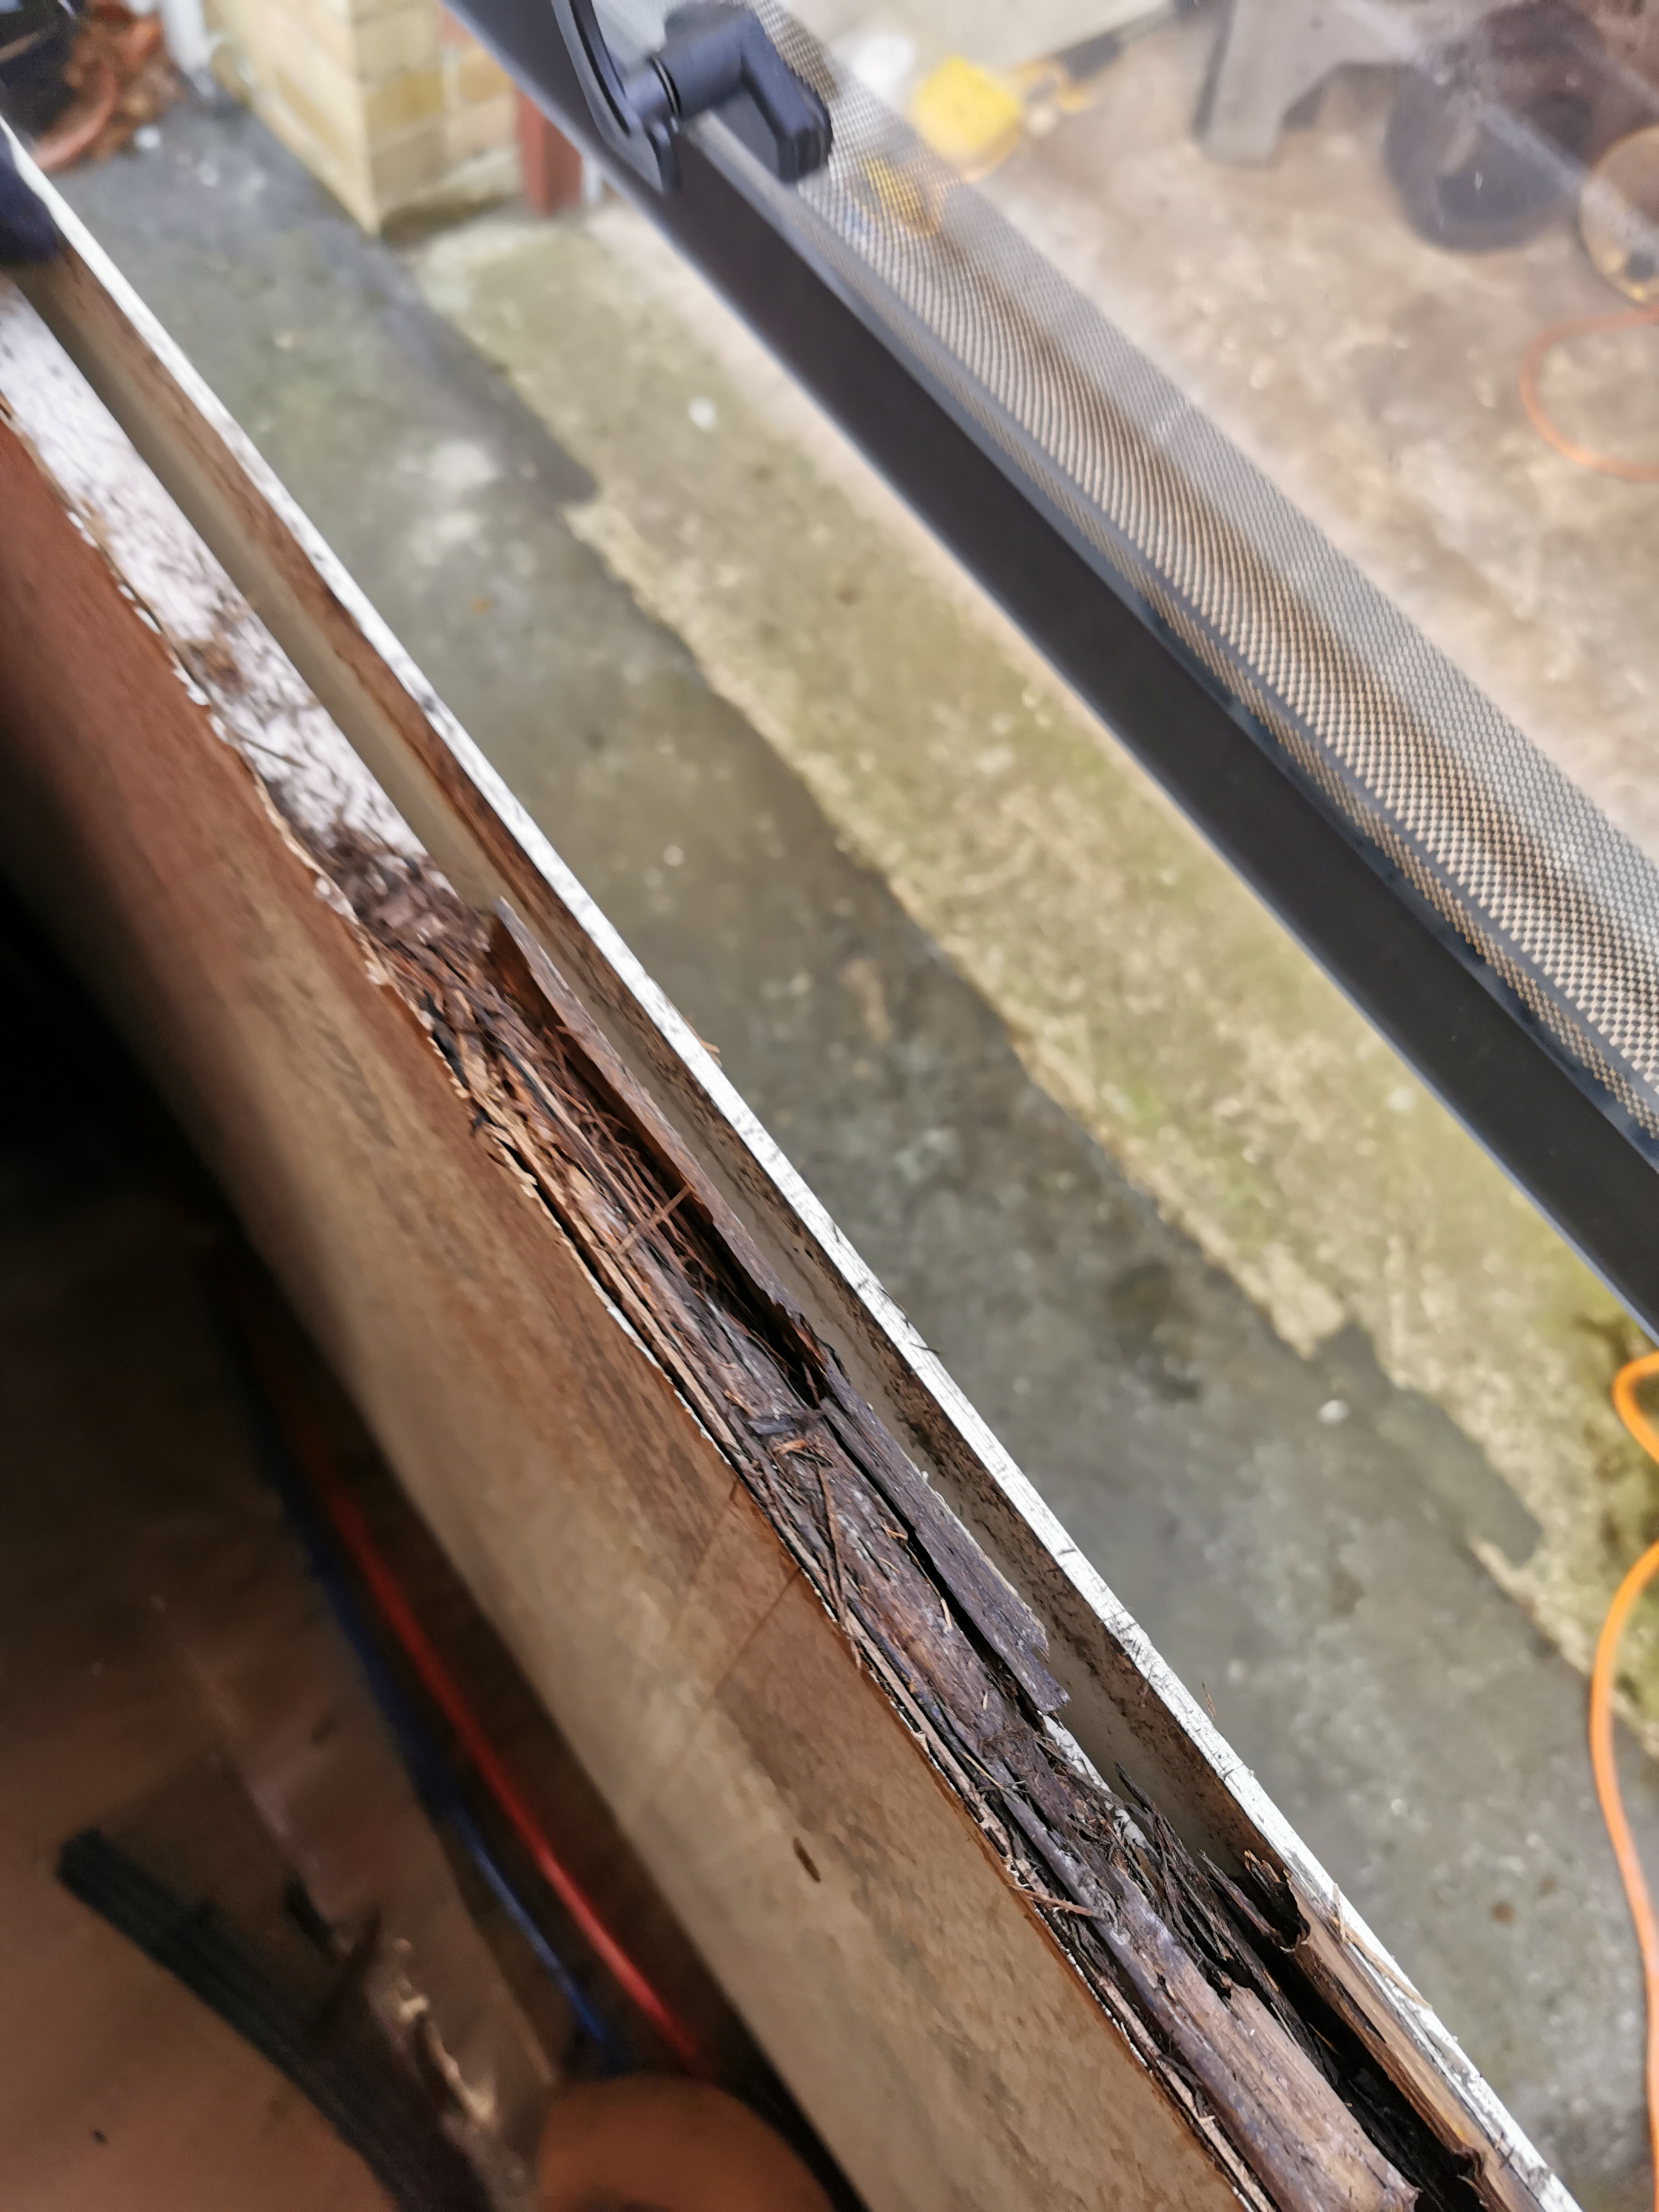
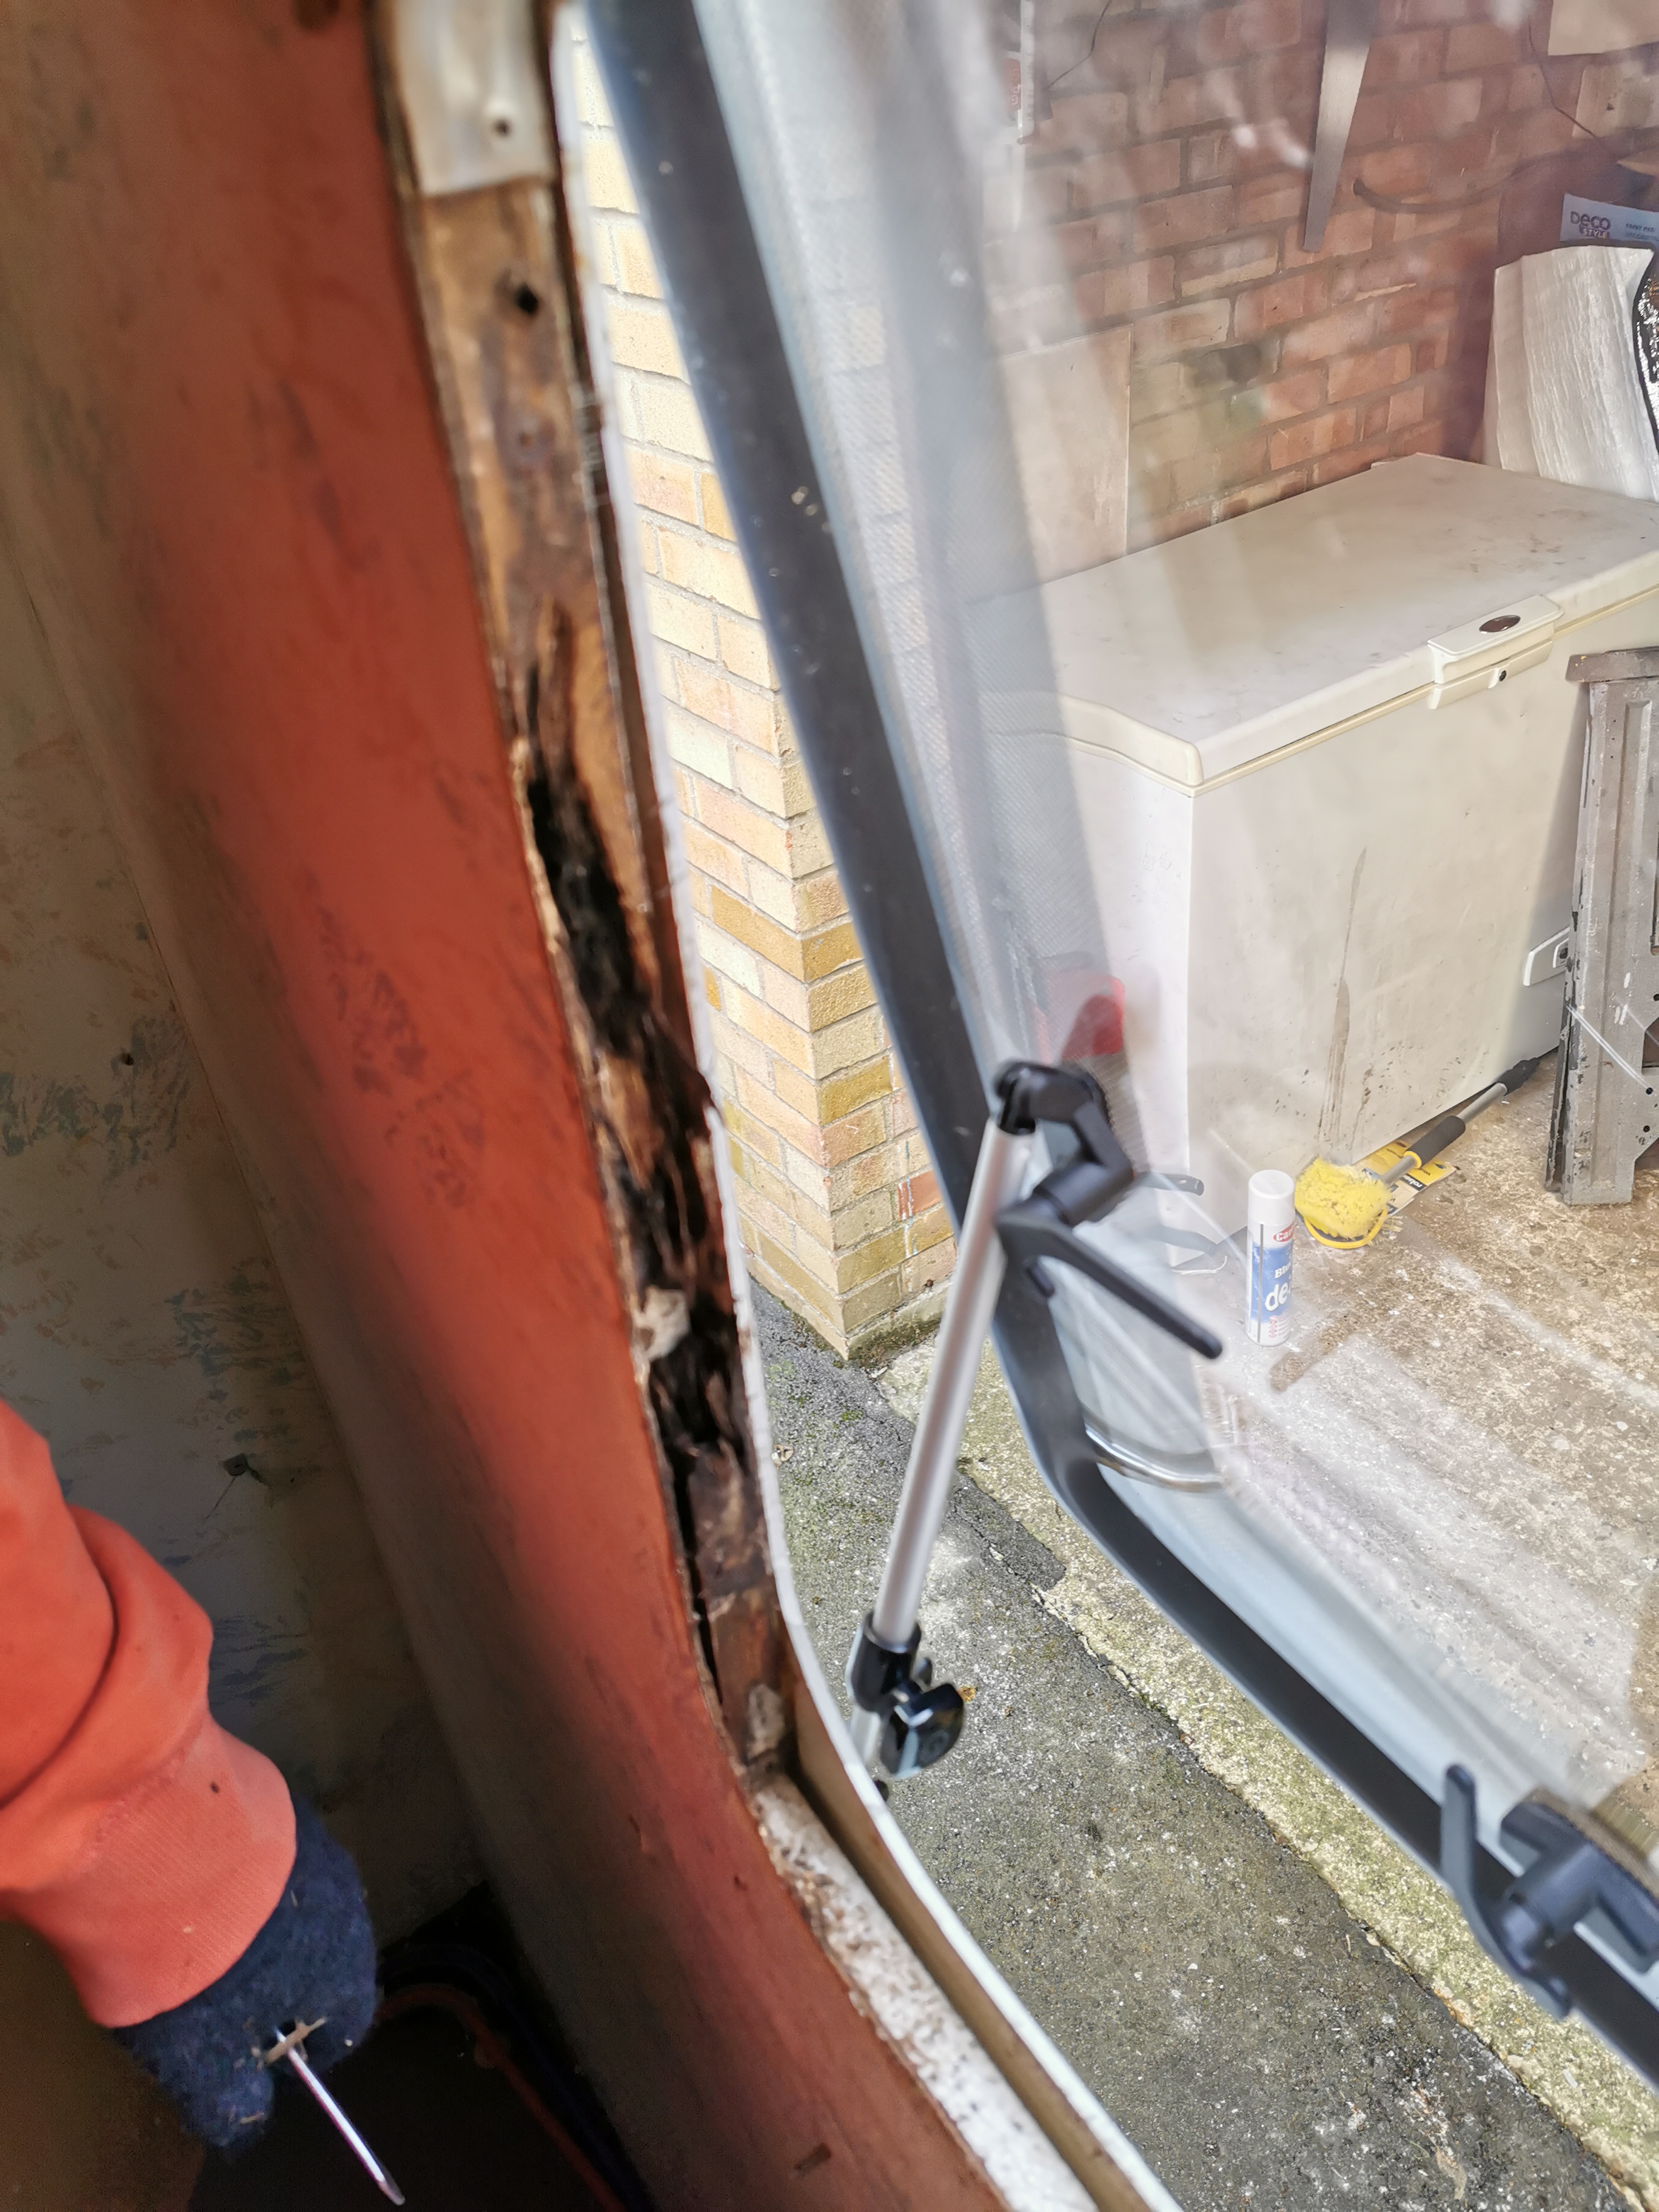
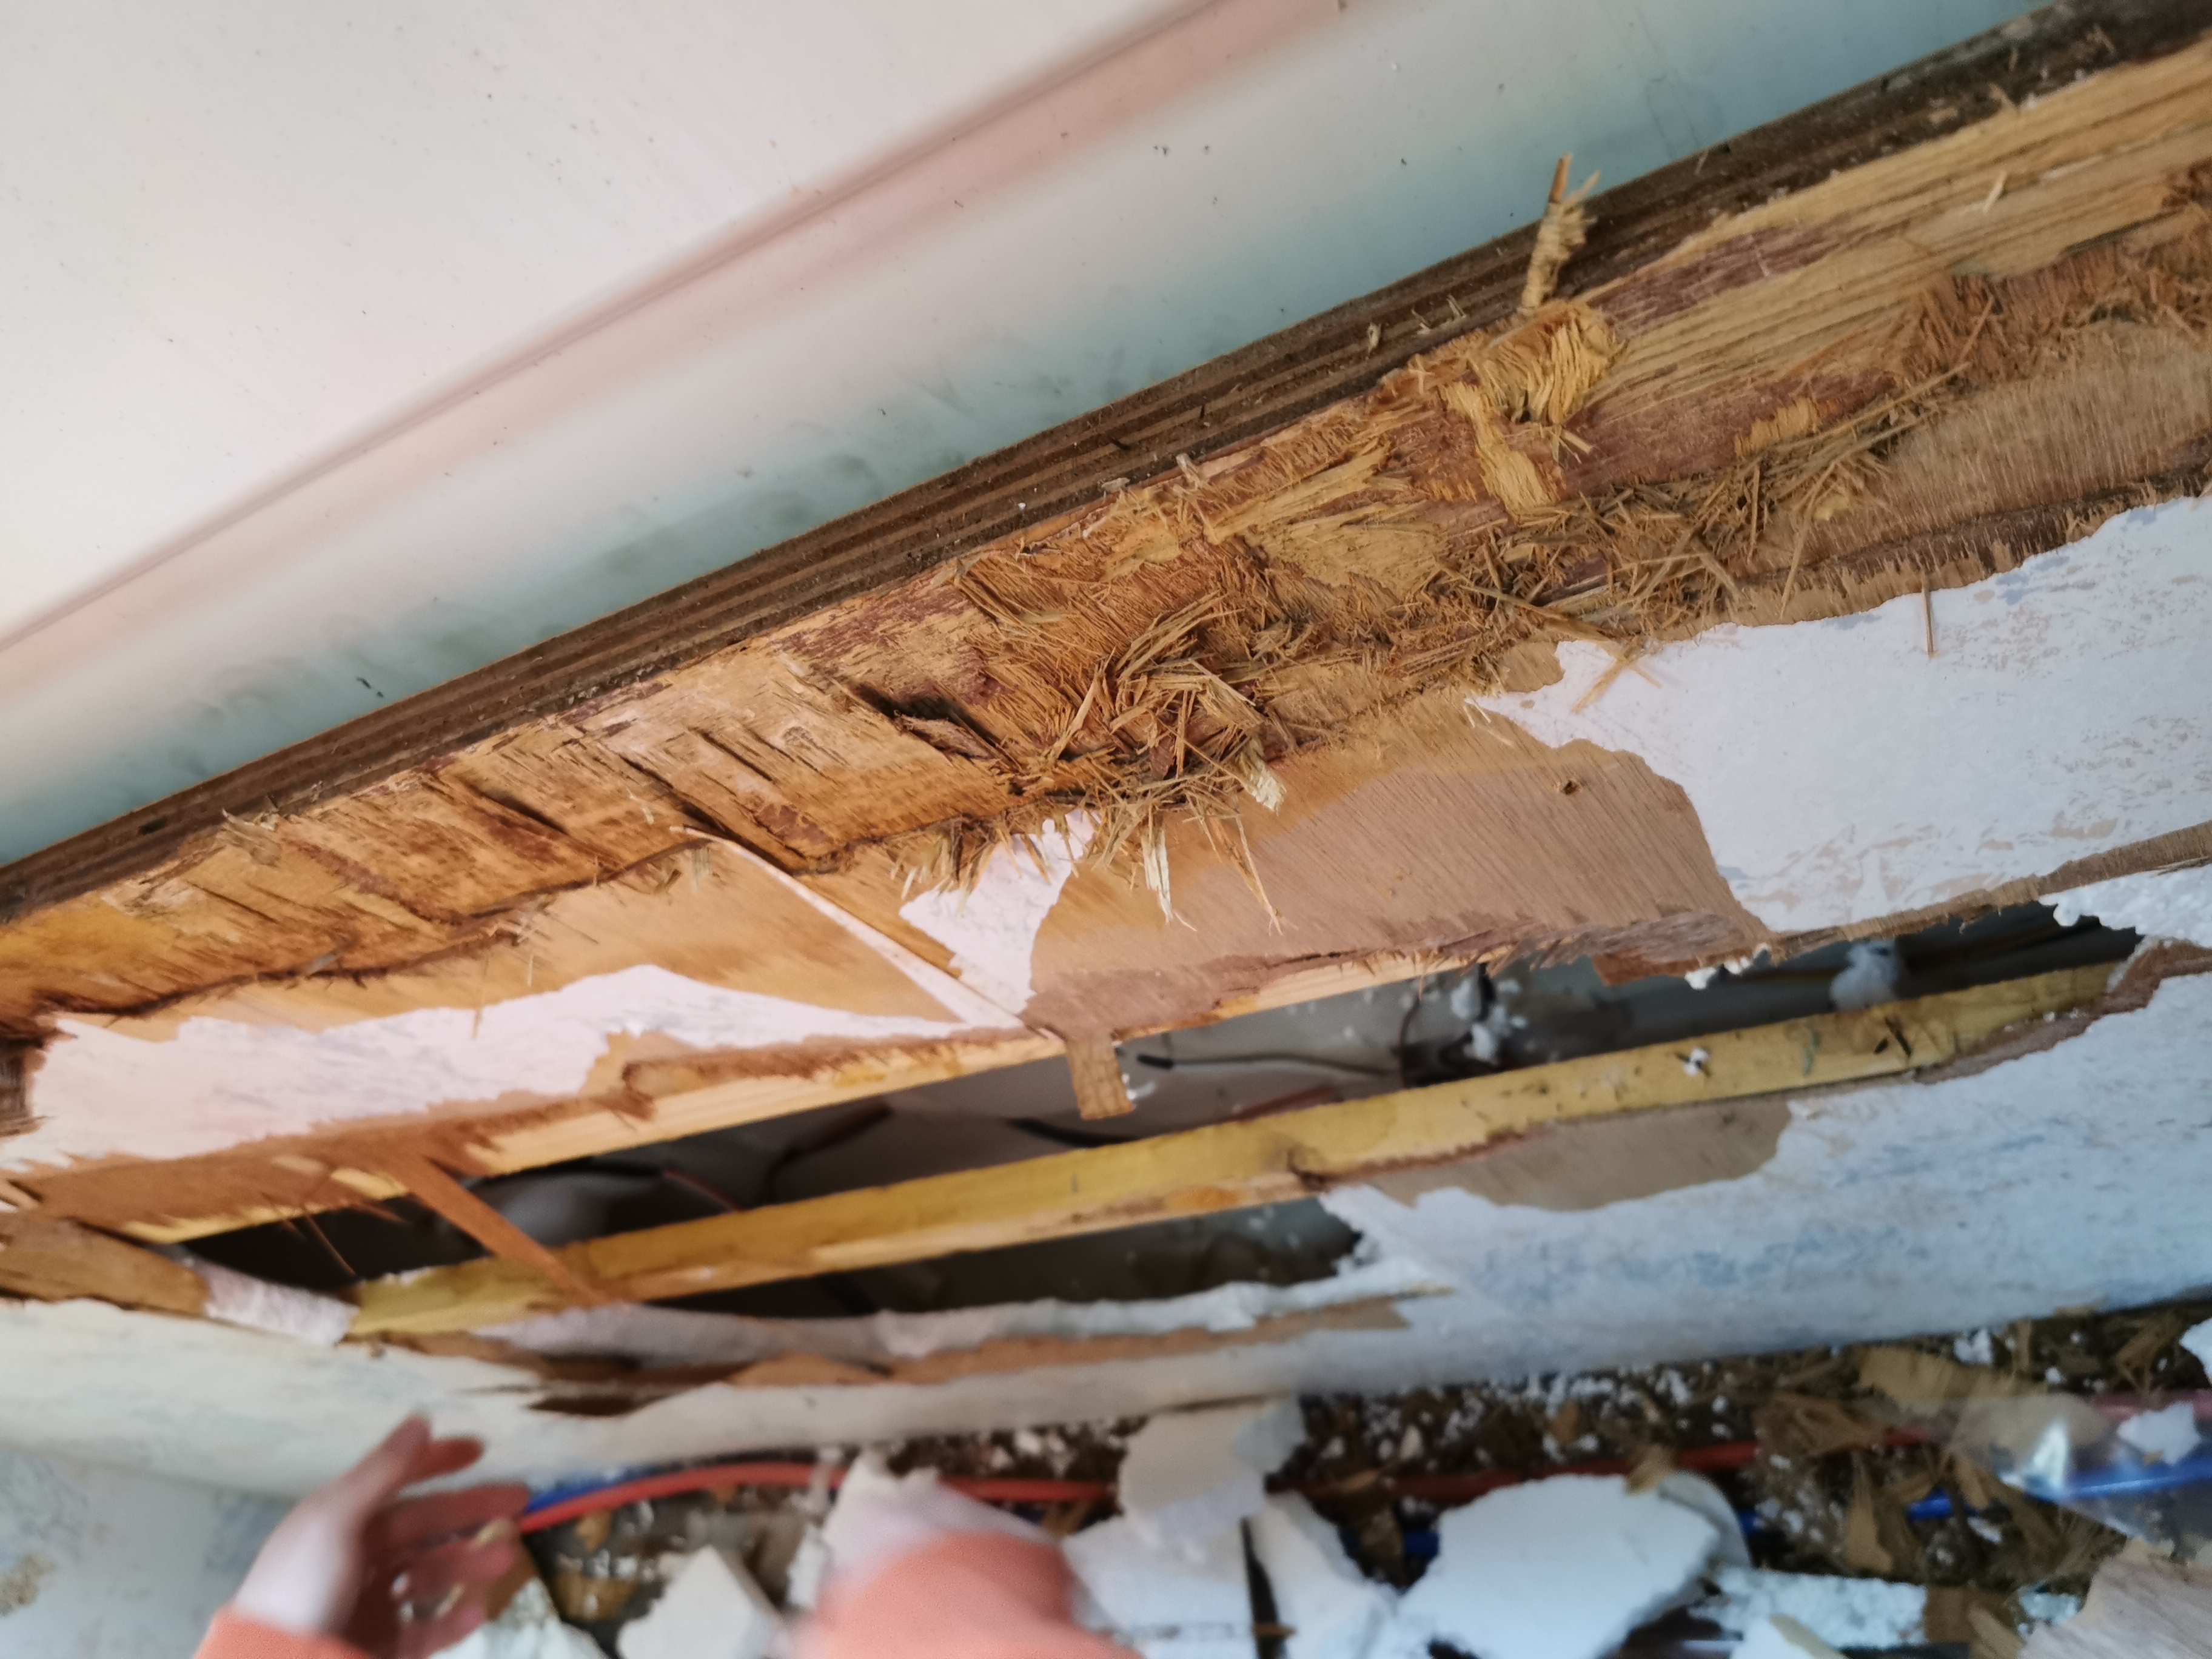
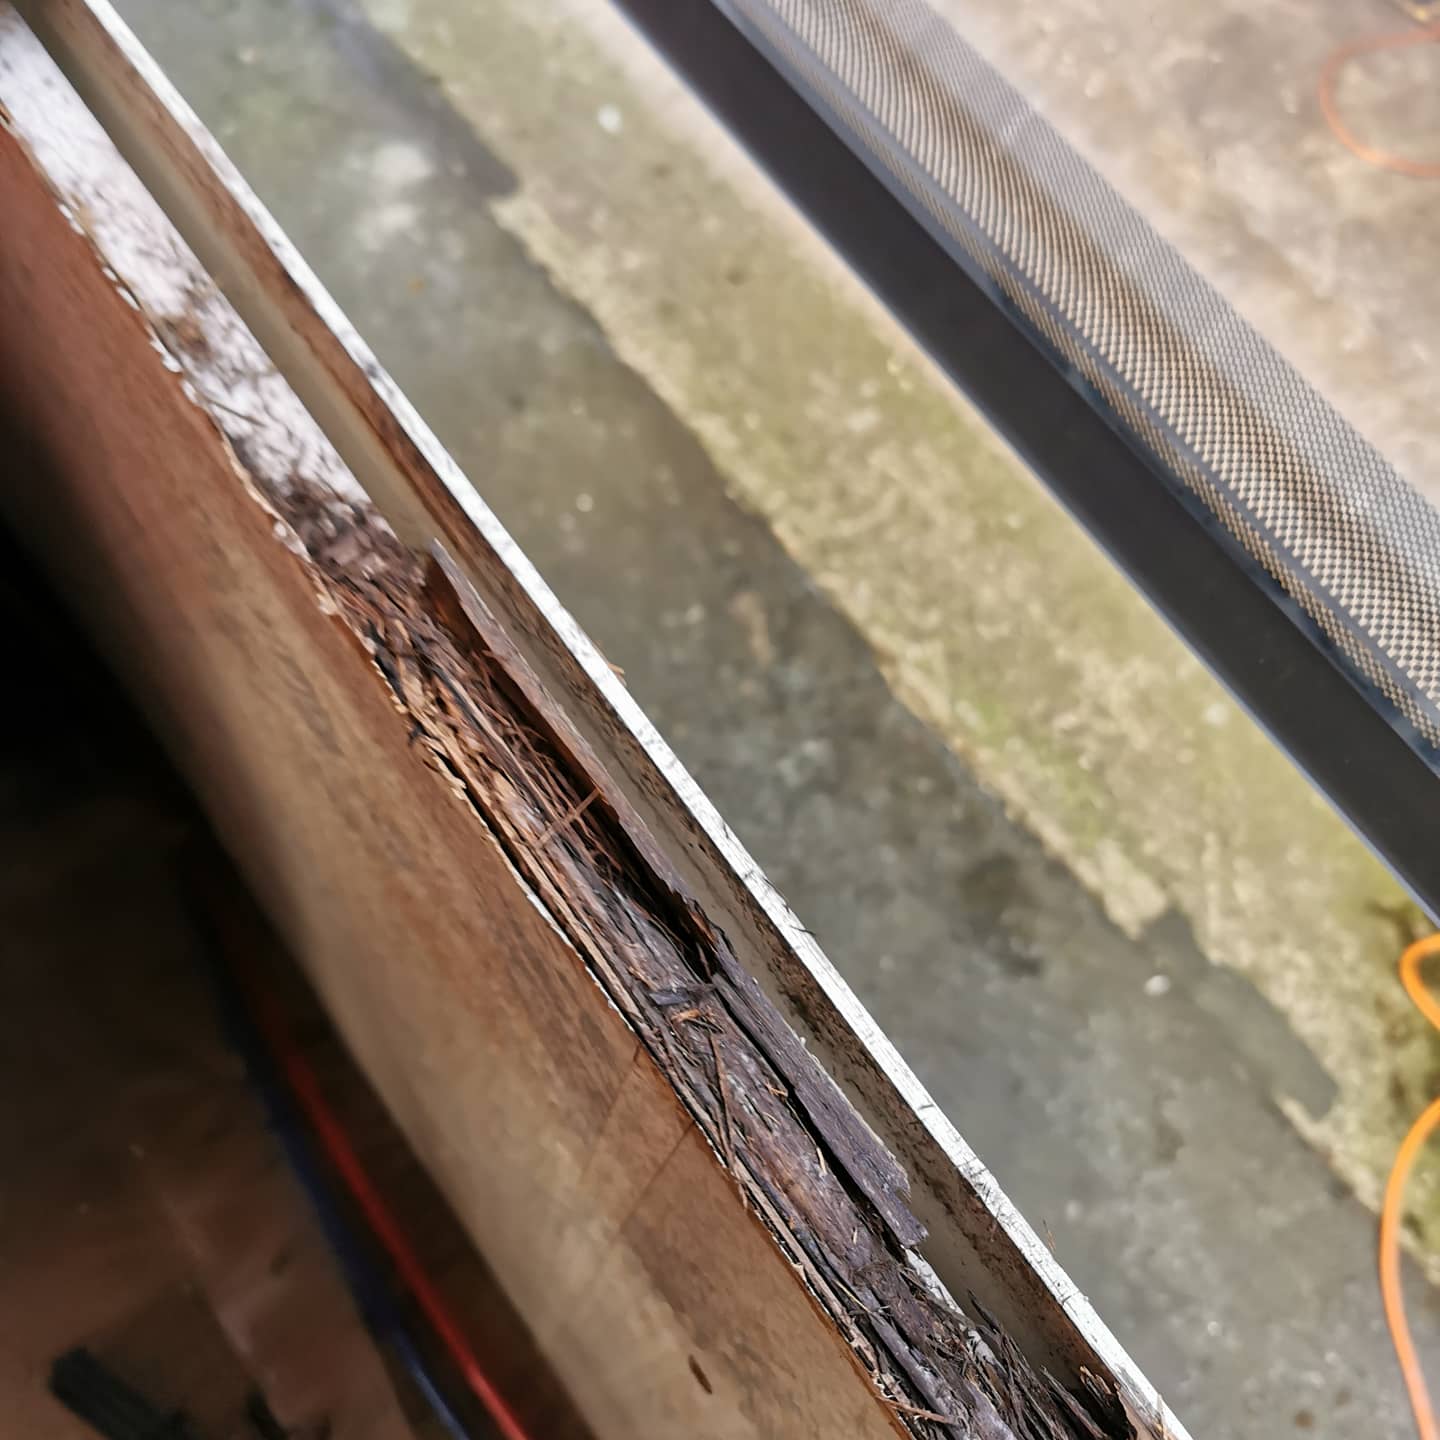
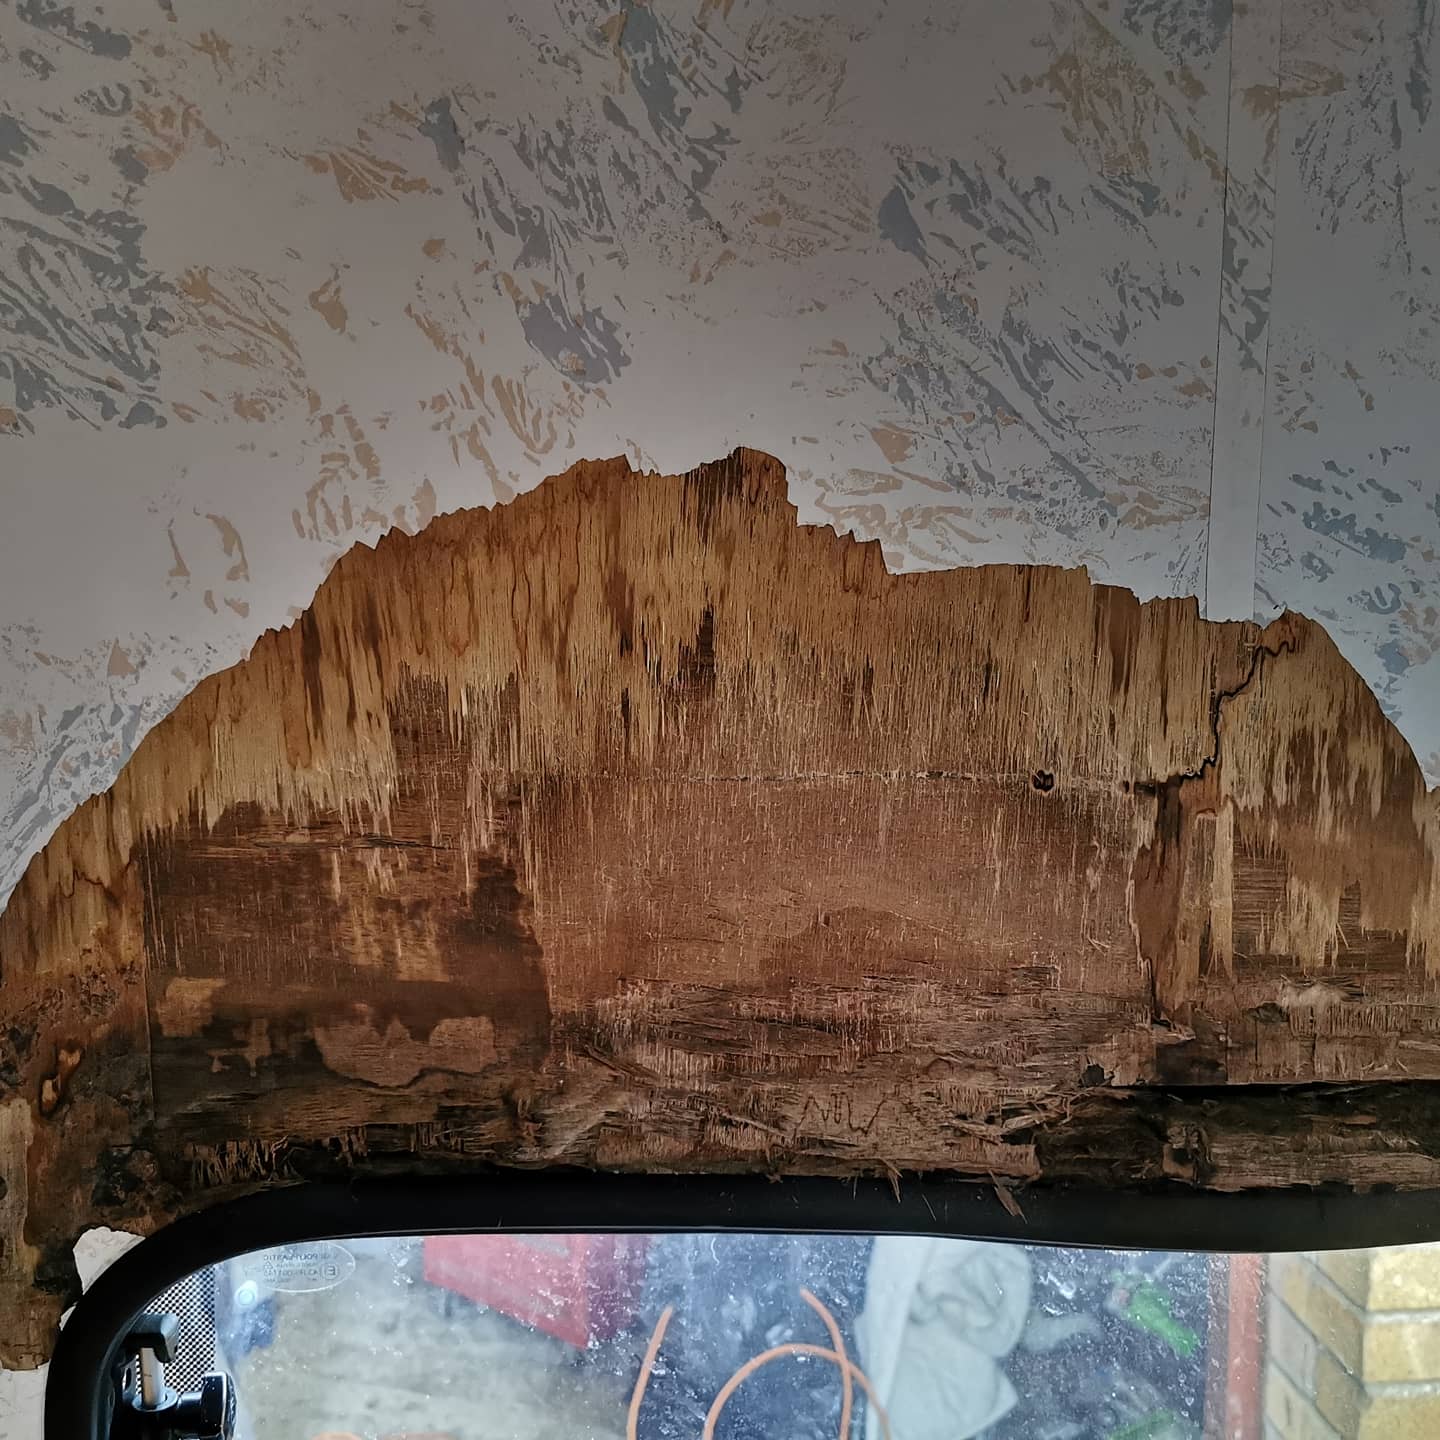
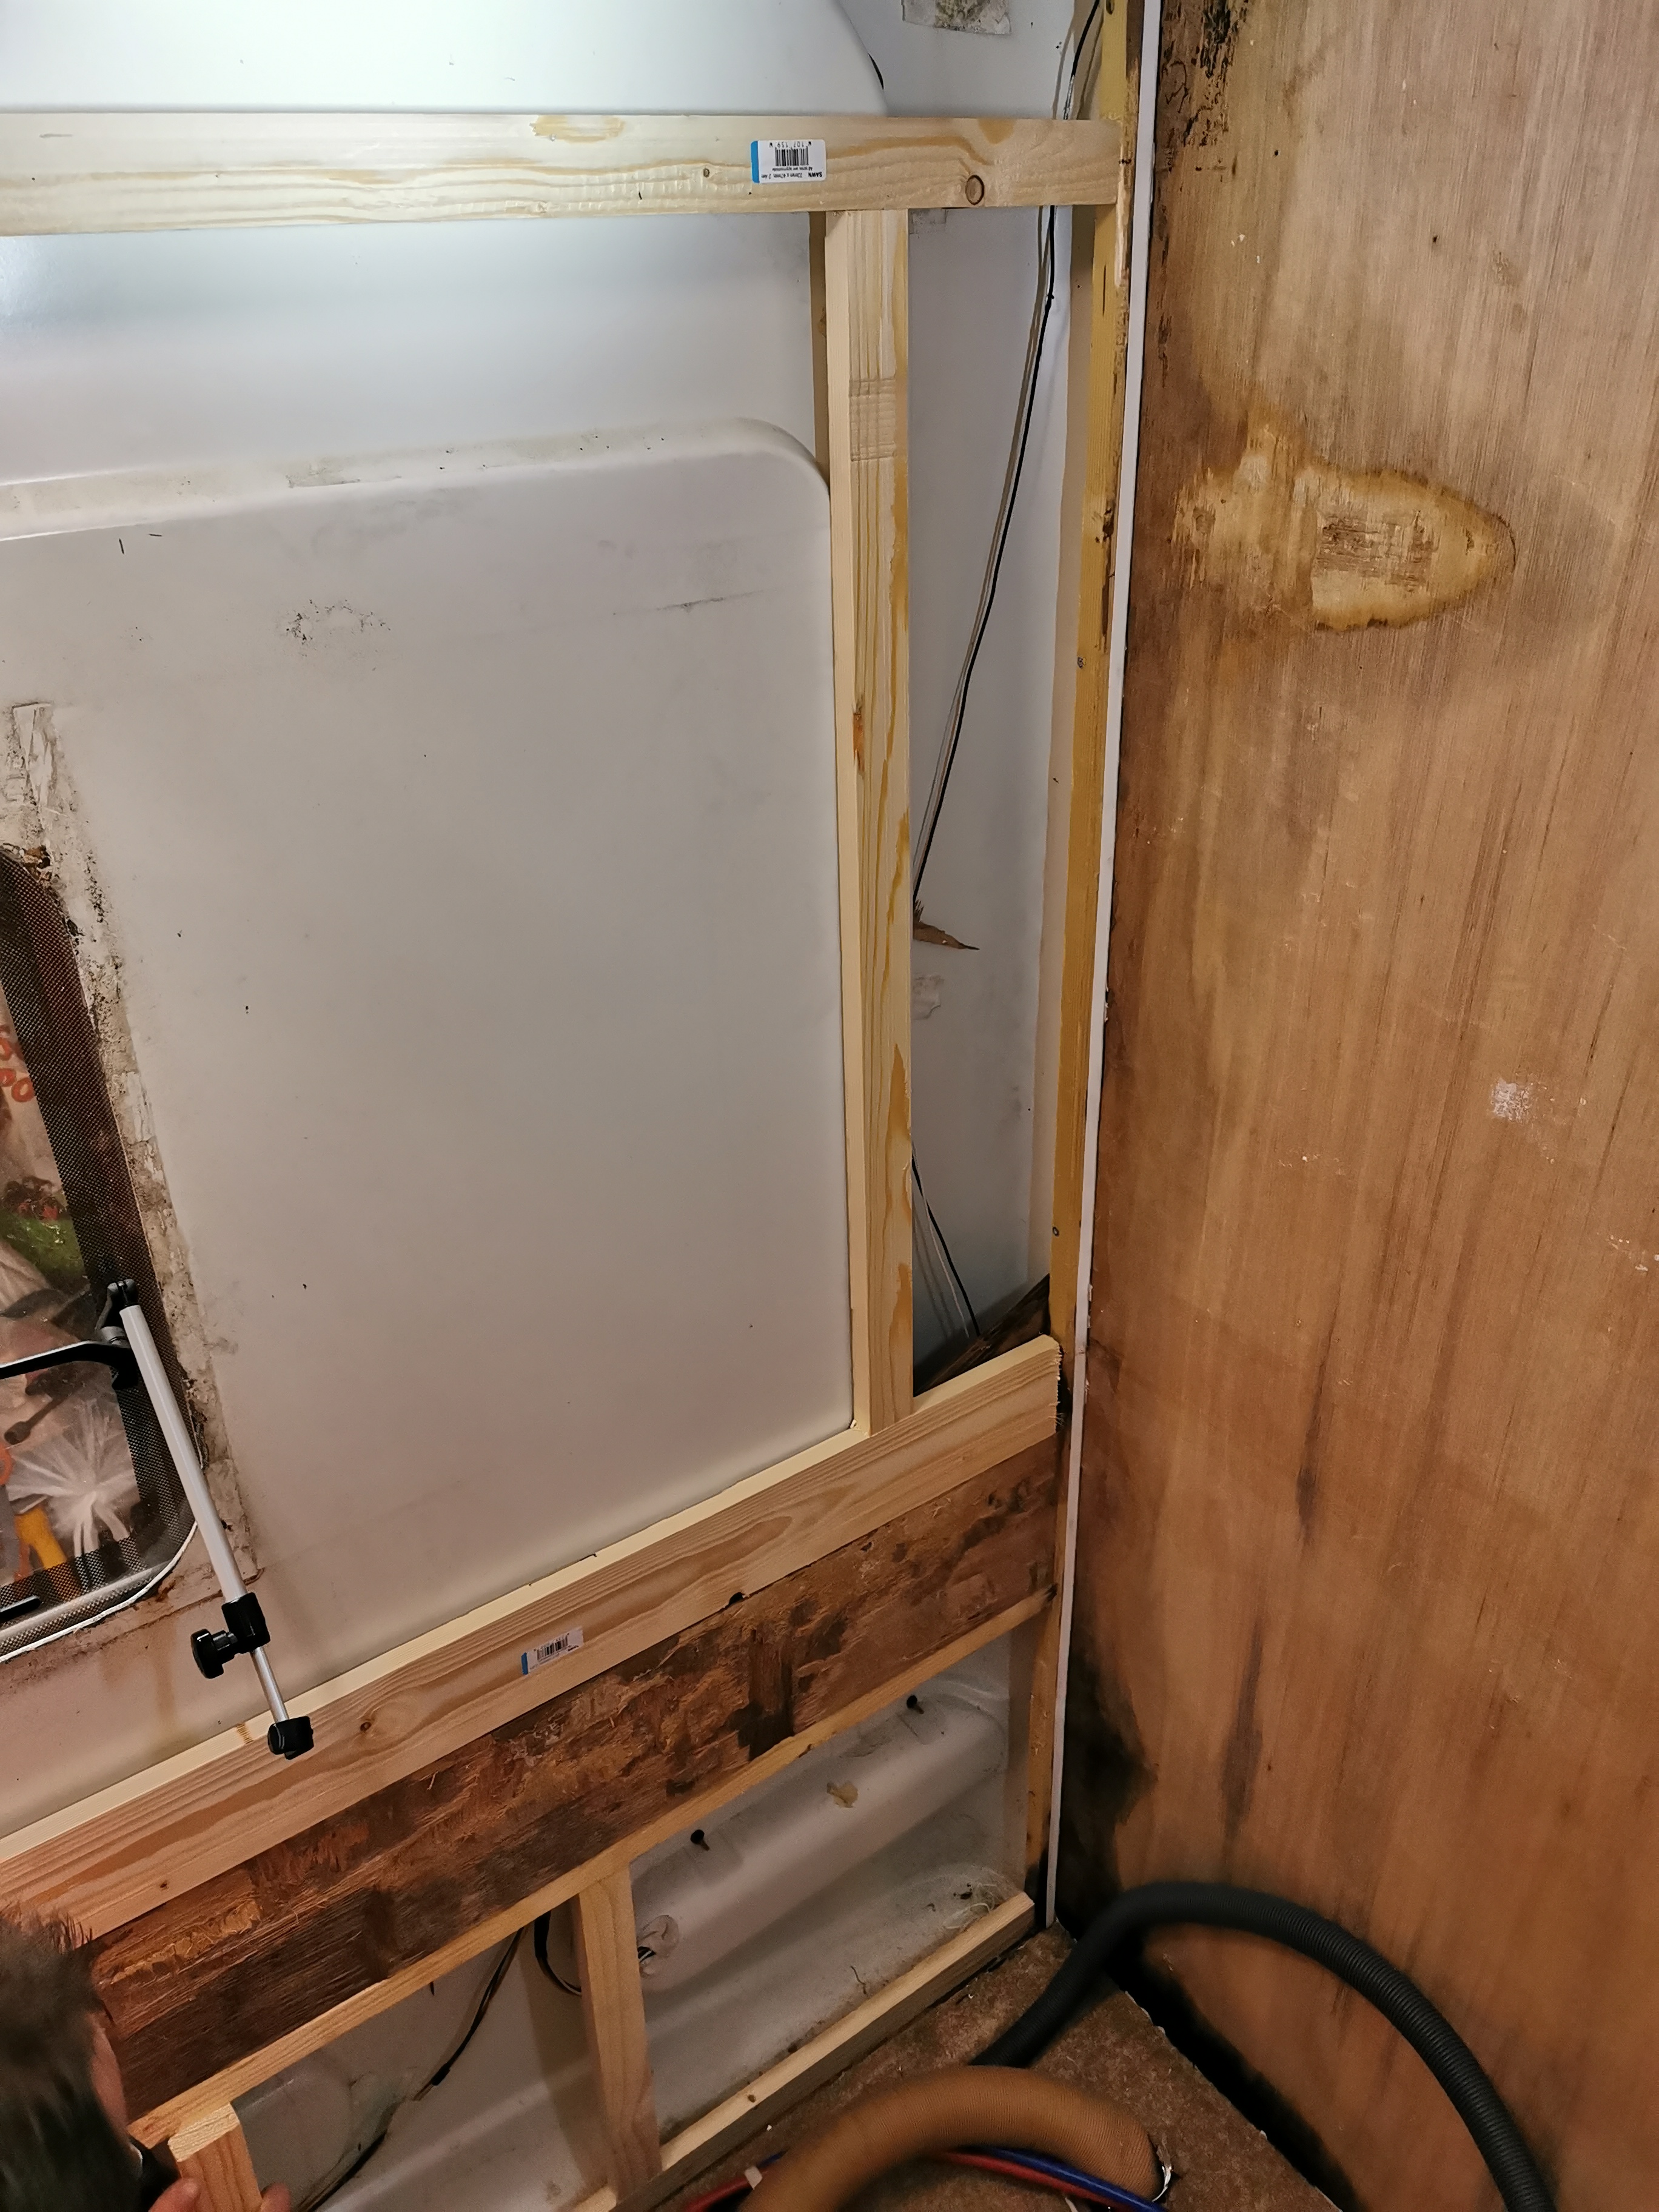
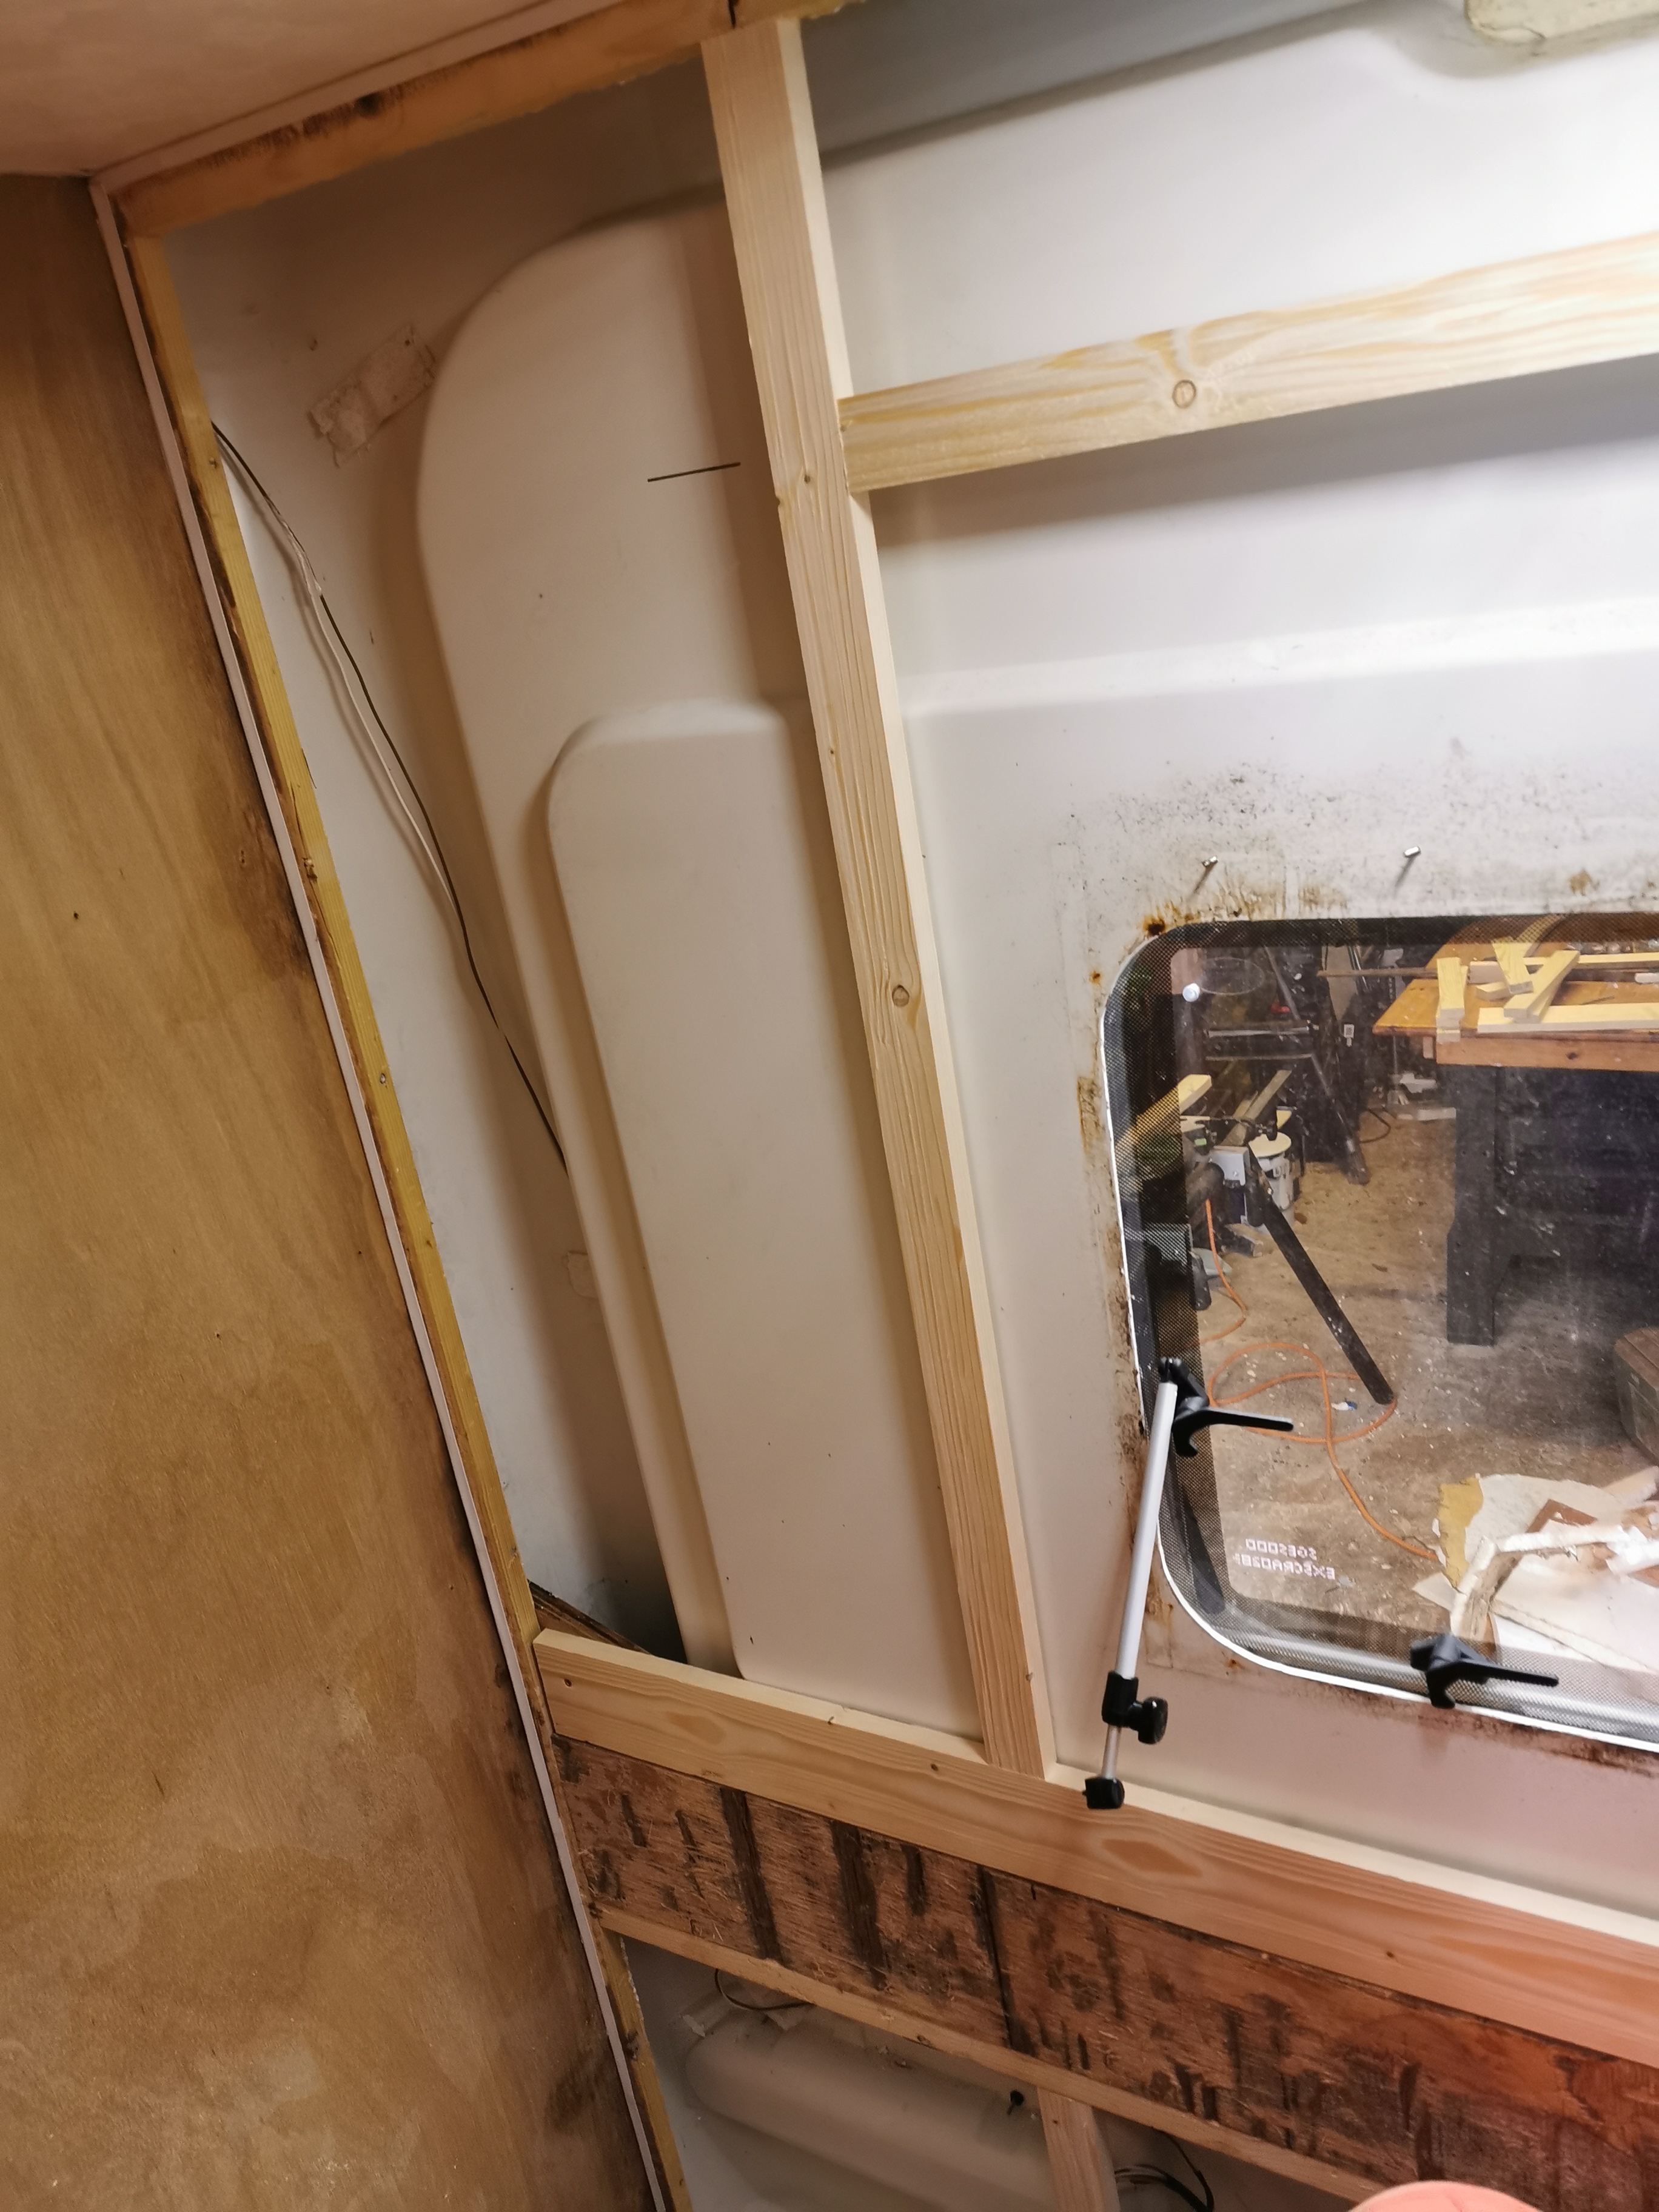
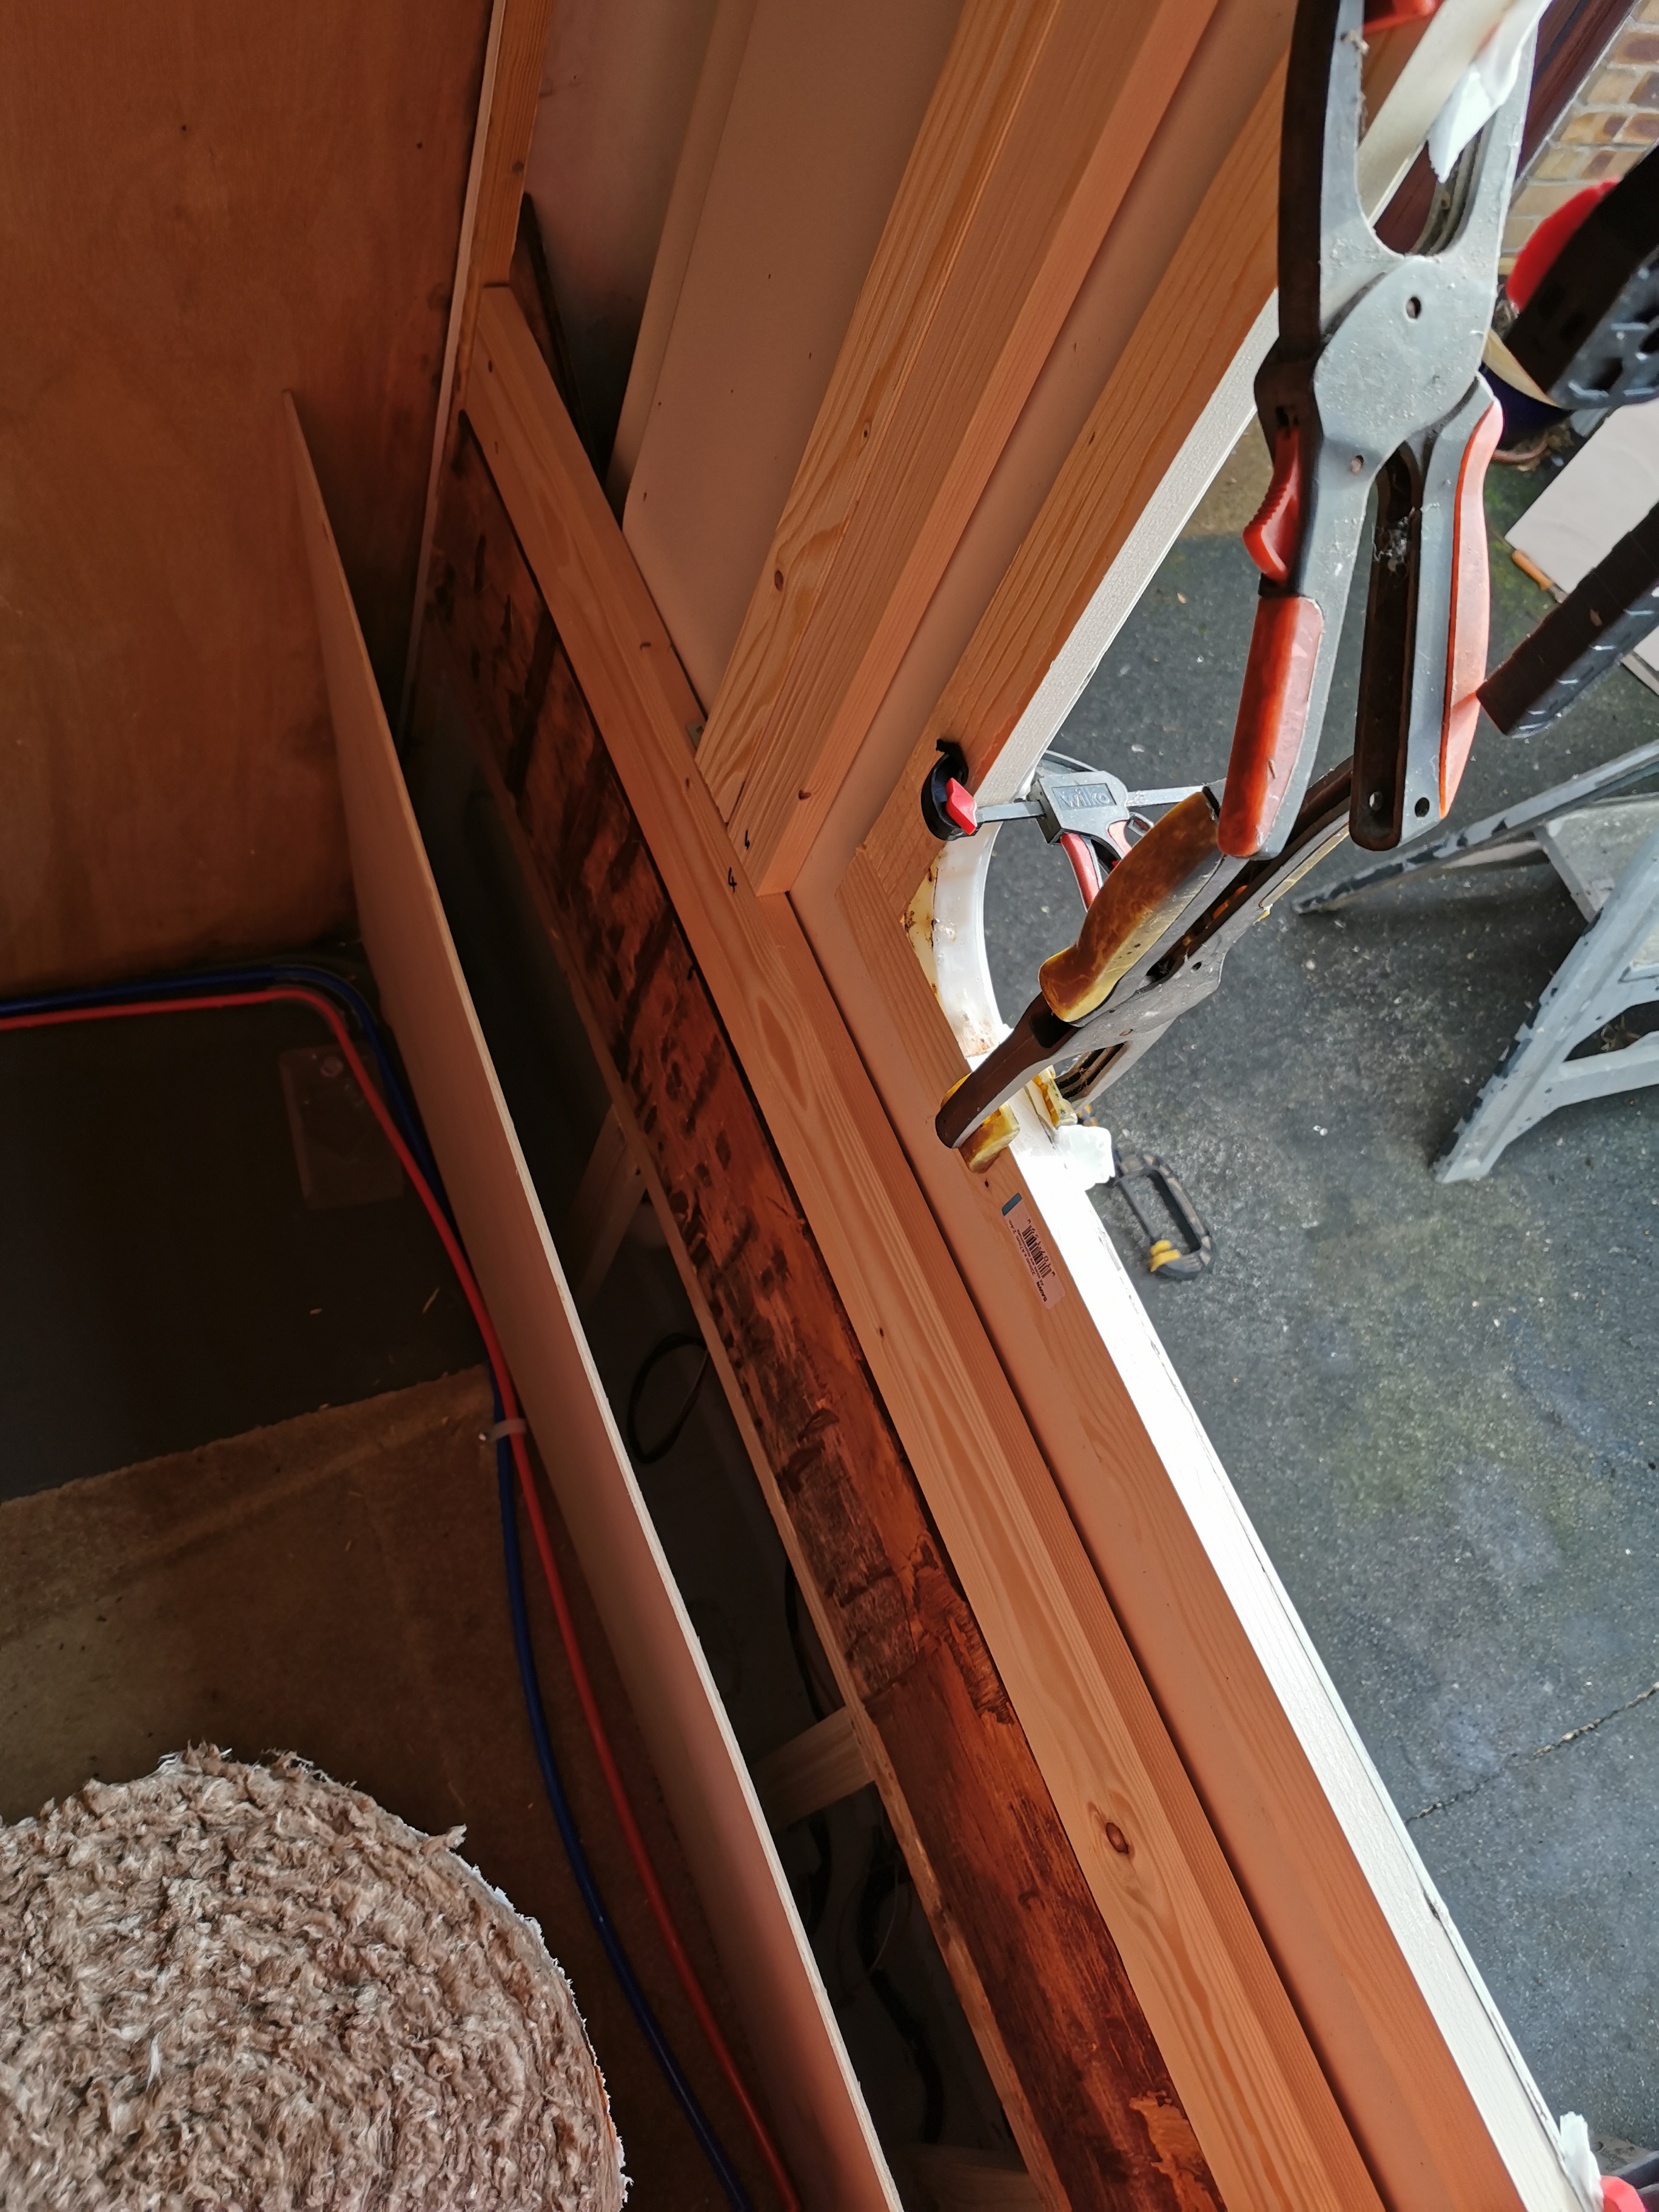
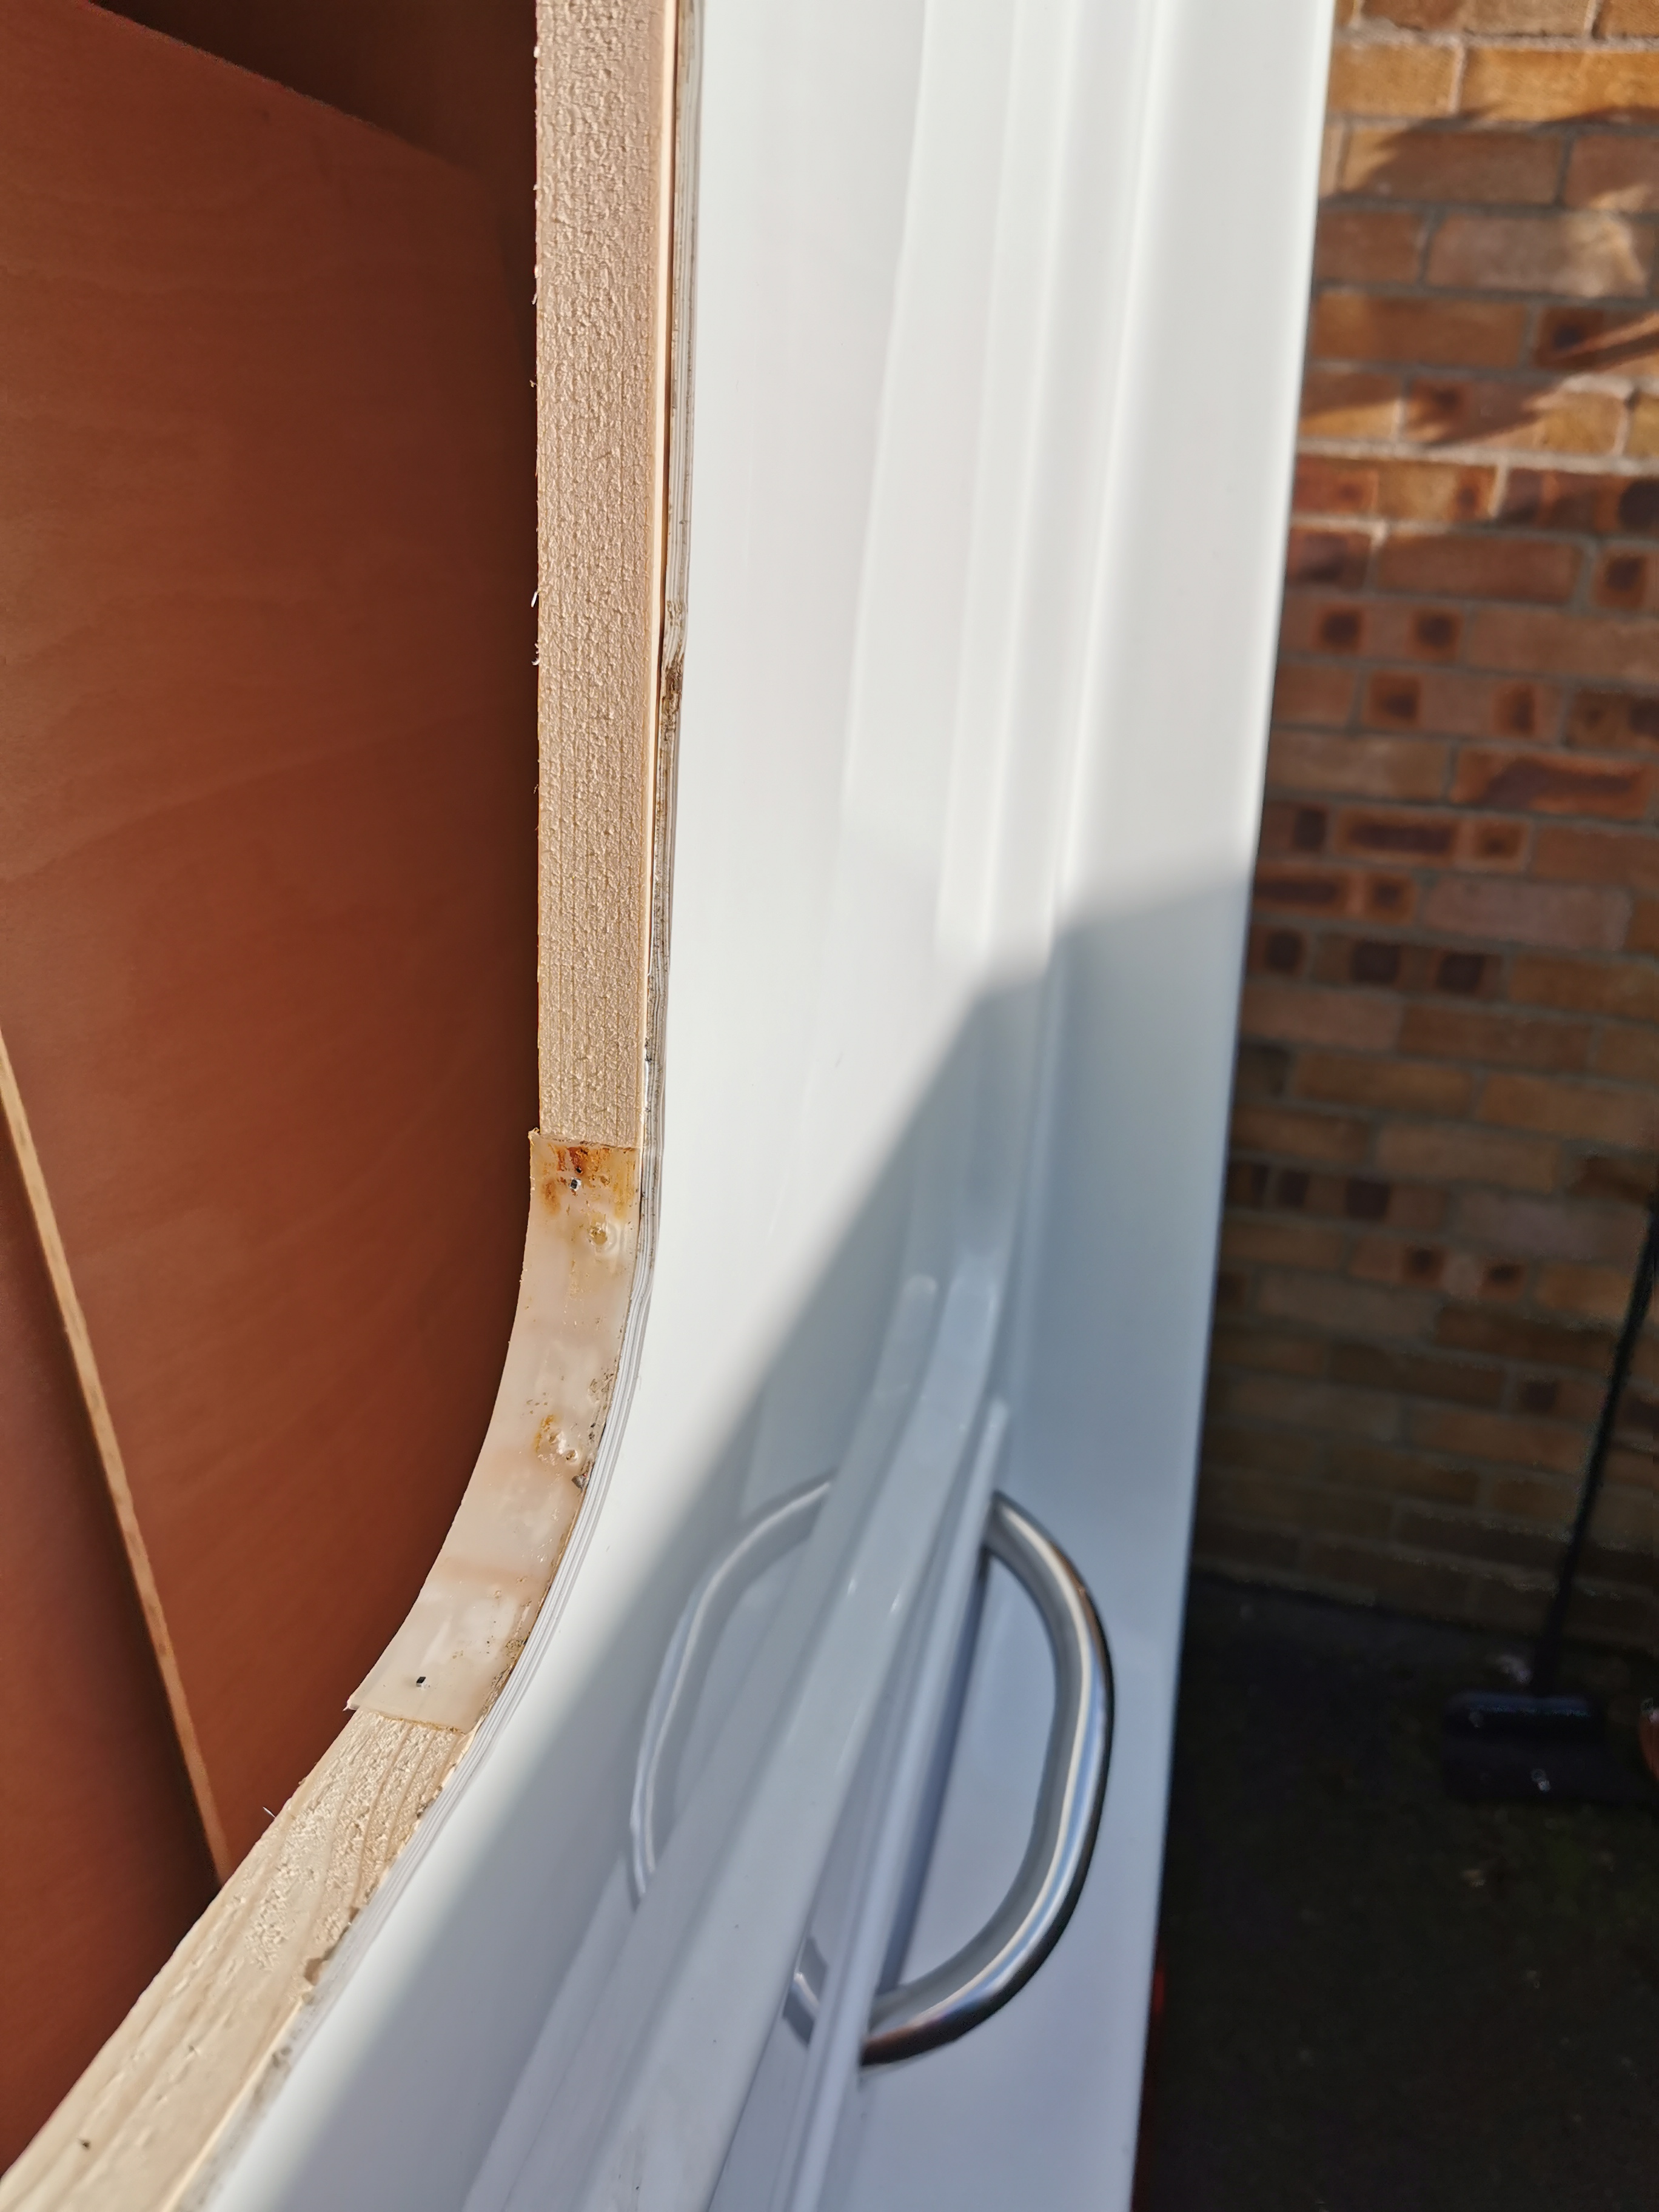
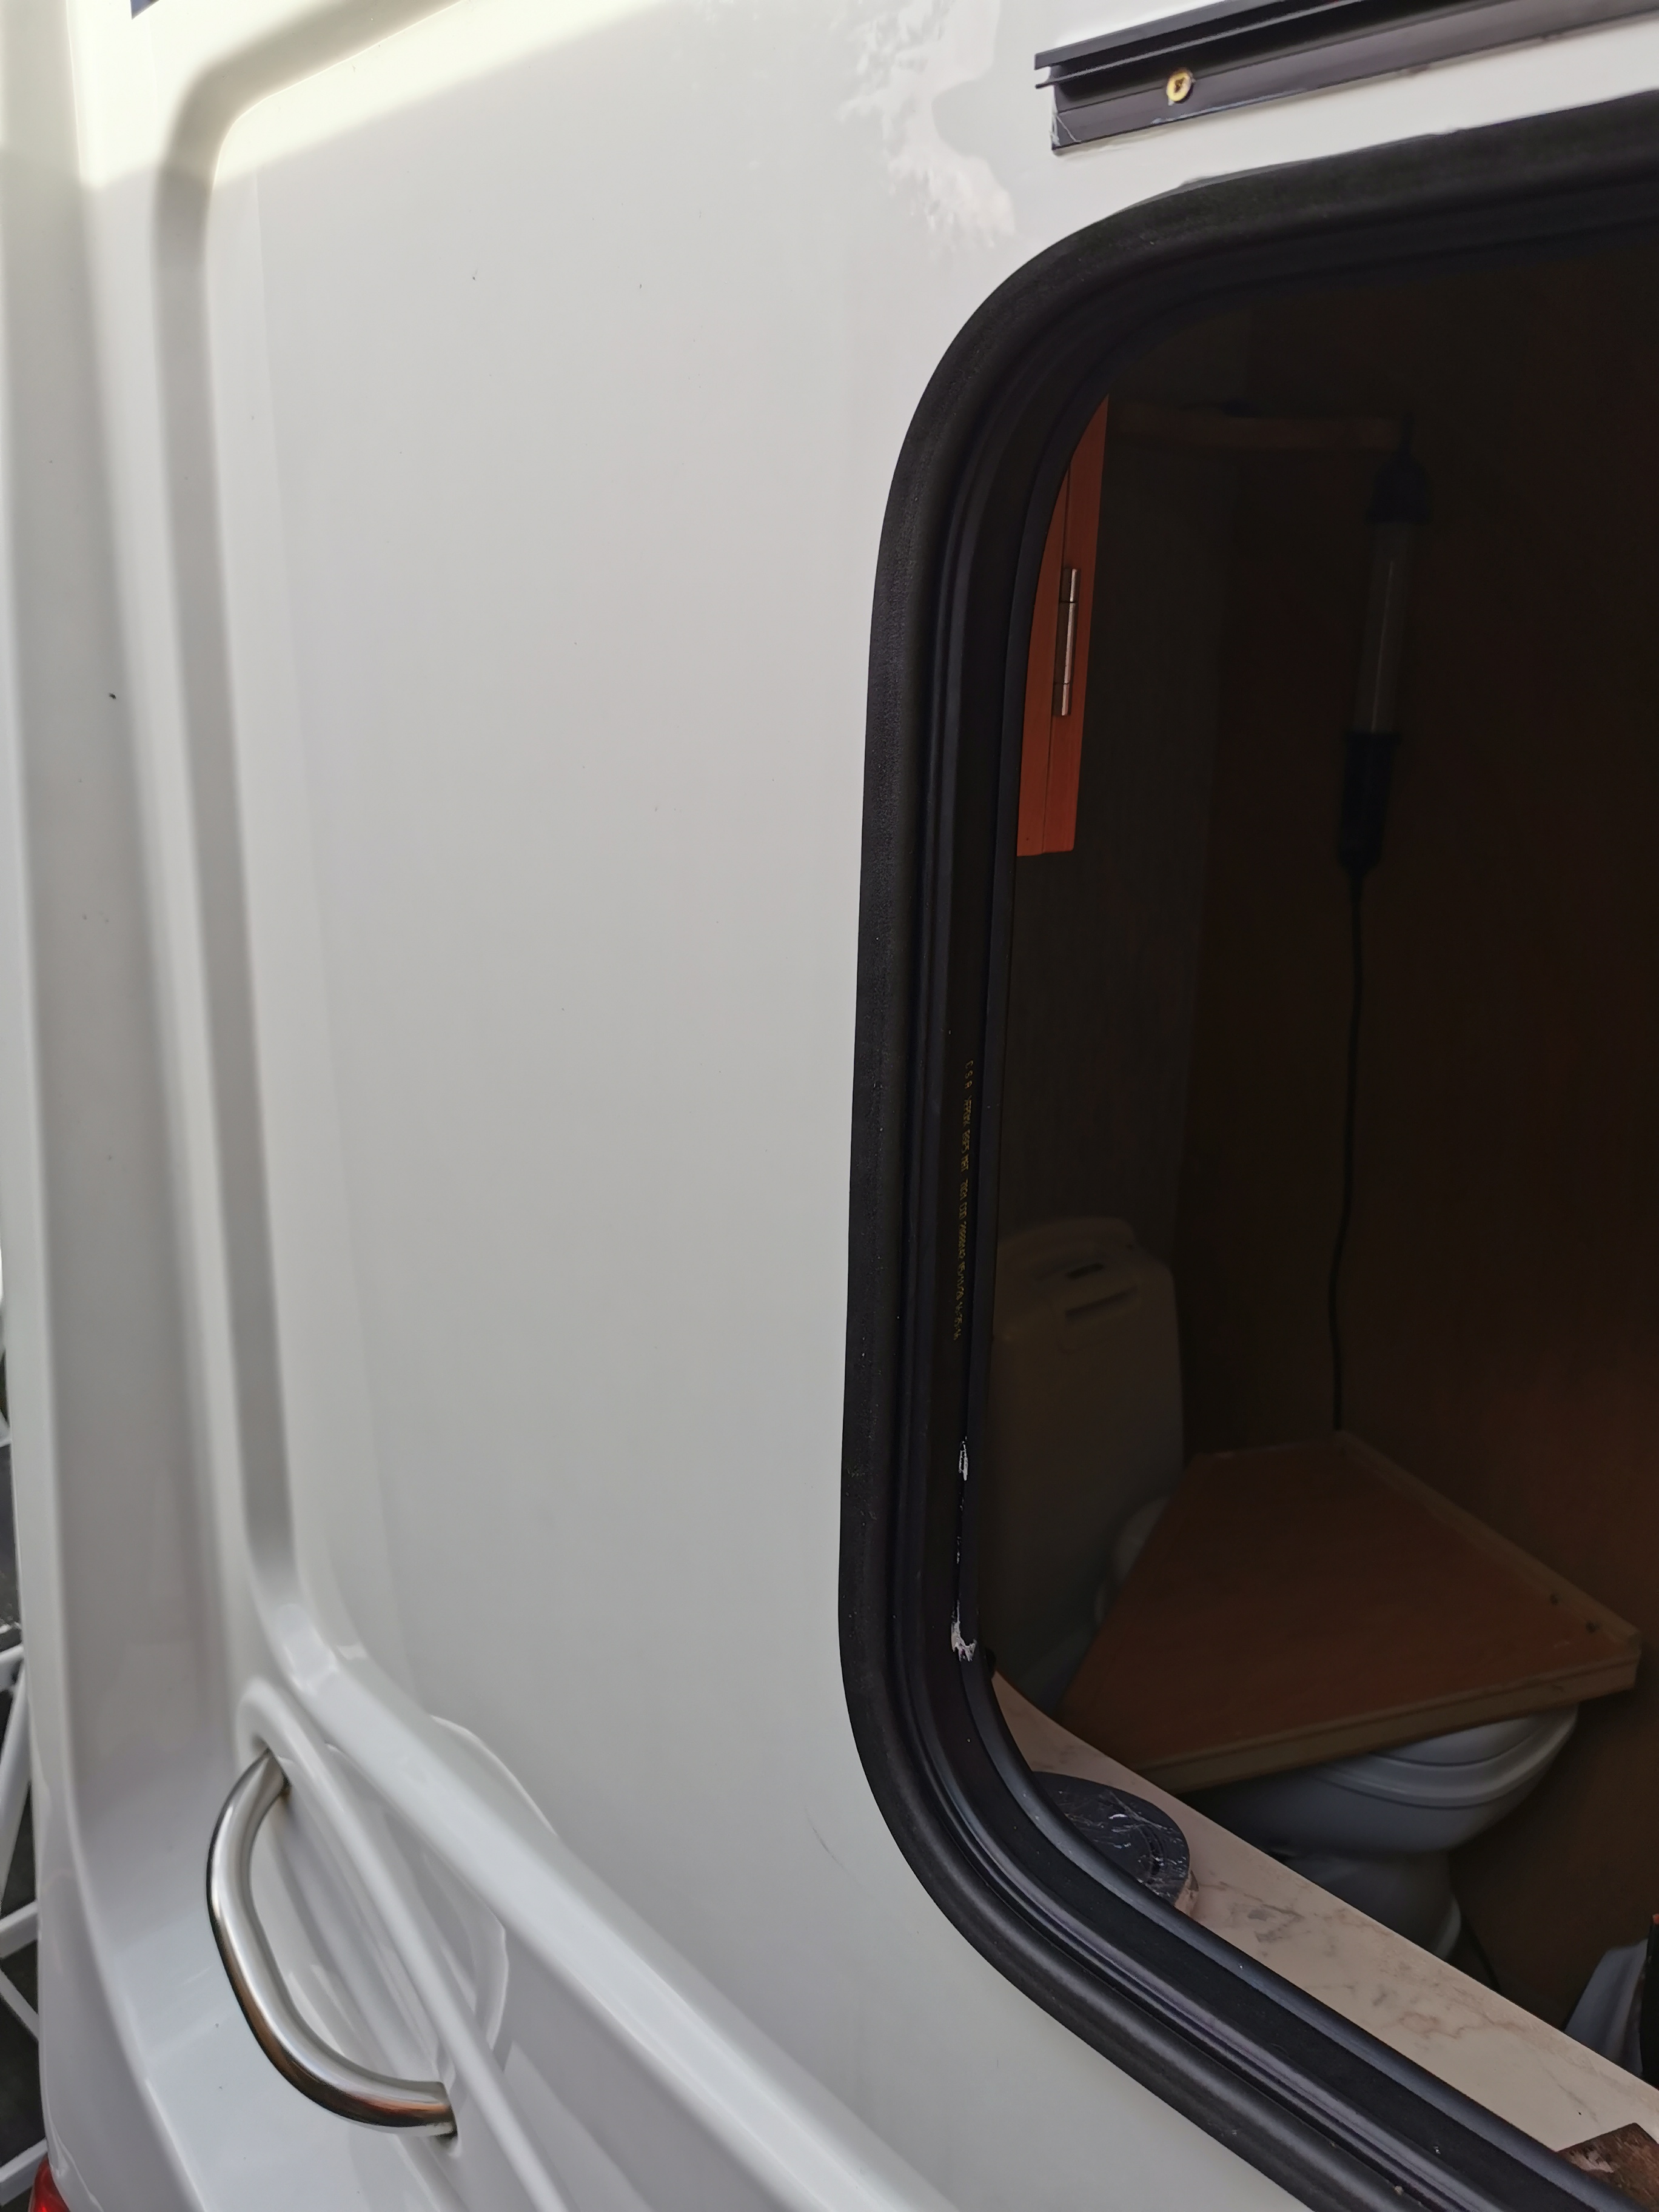
The water ingress had caused large scale rott in the window frame and the surrounding wood. This ment that all of the wall needed to be removed. A large structural cross member had started to decay, so any wood that couldn’t be remove was treated with Ronseal Wood Harder.
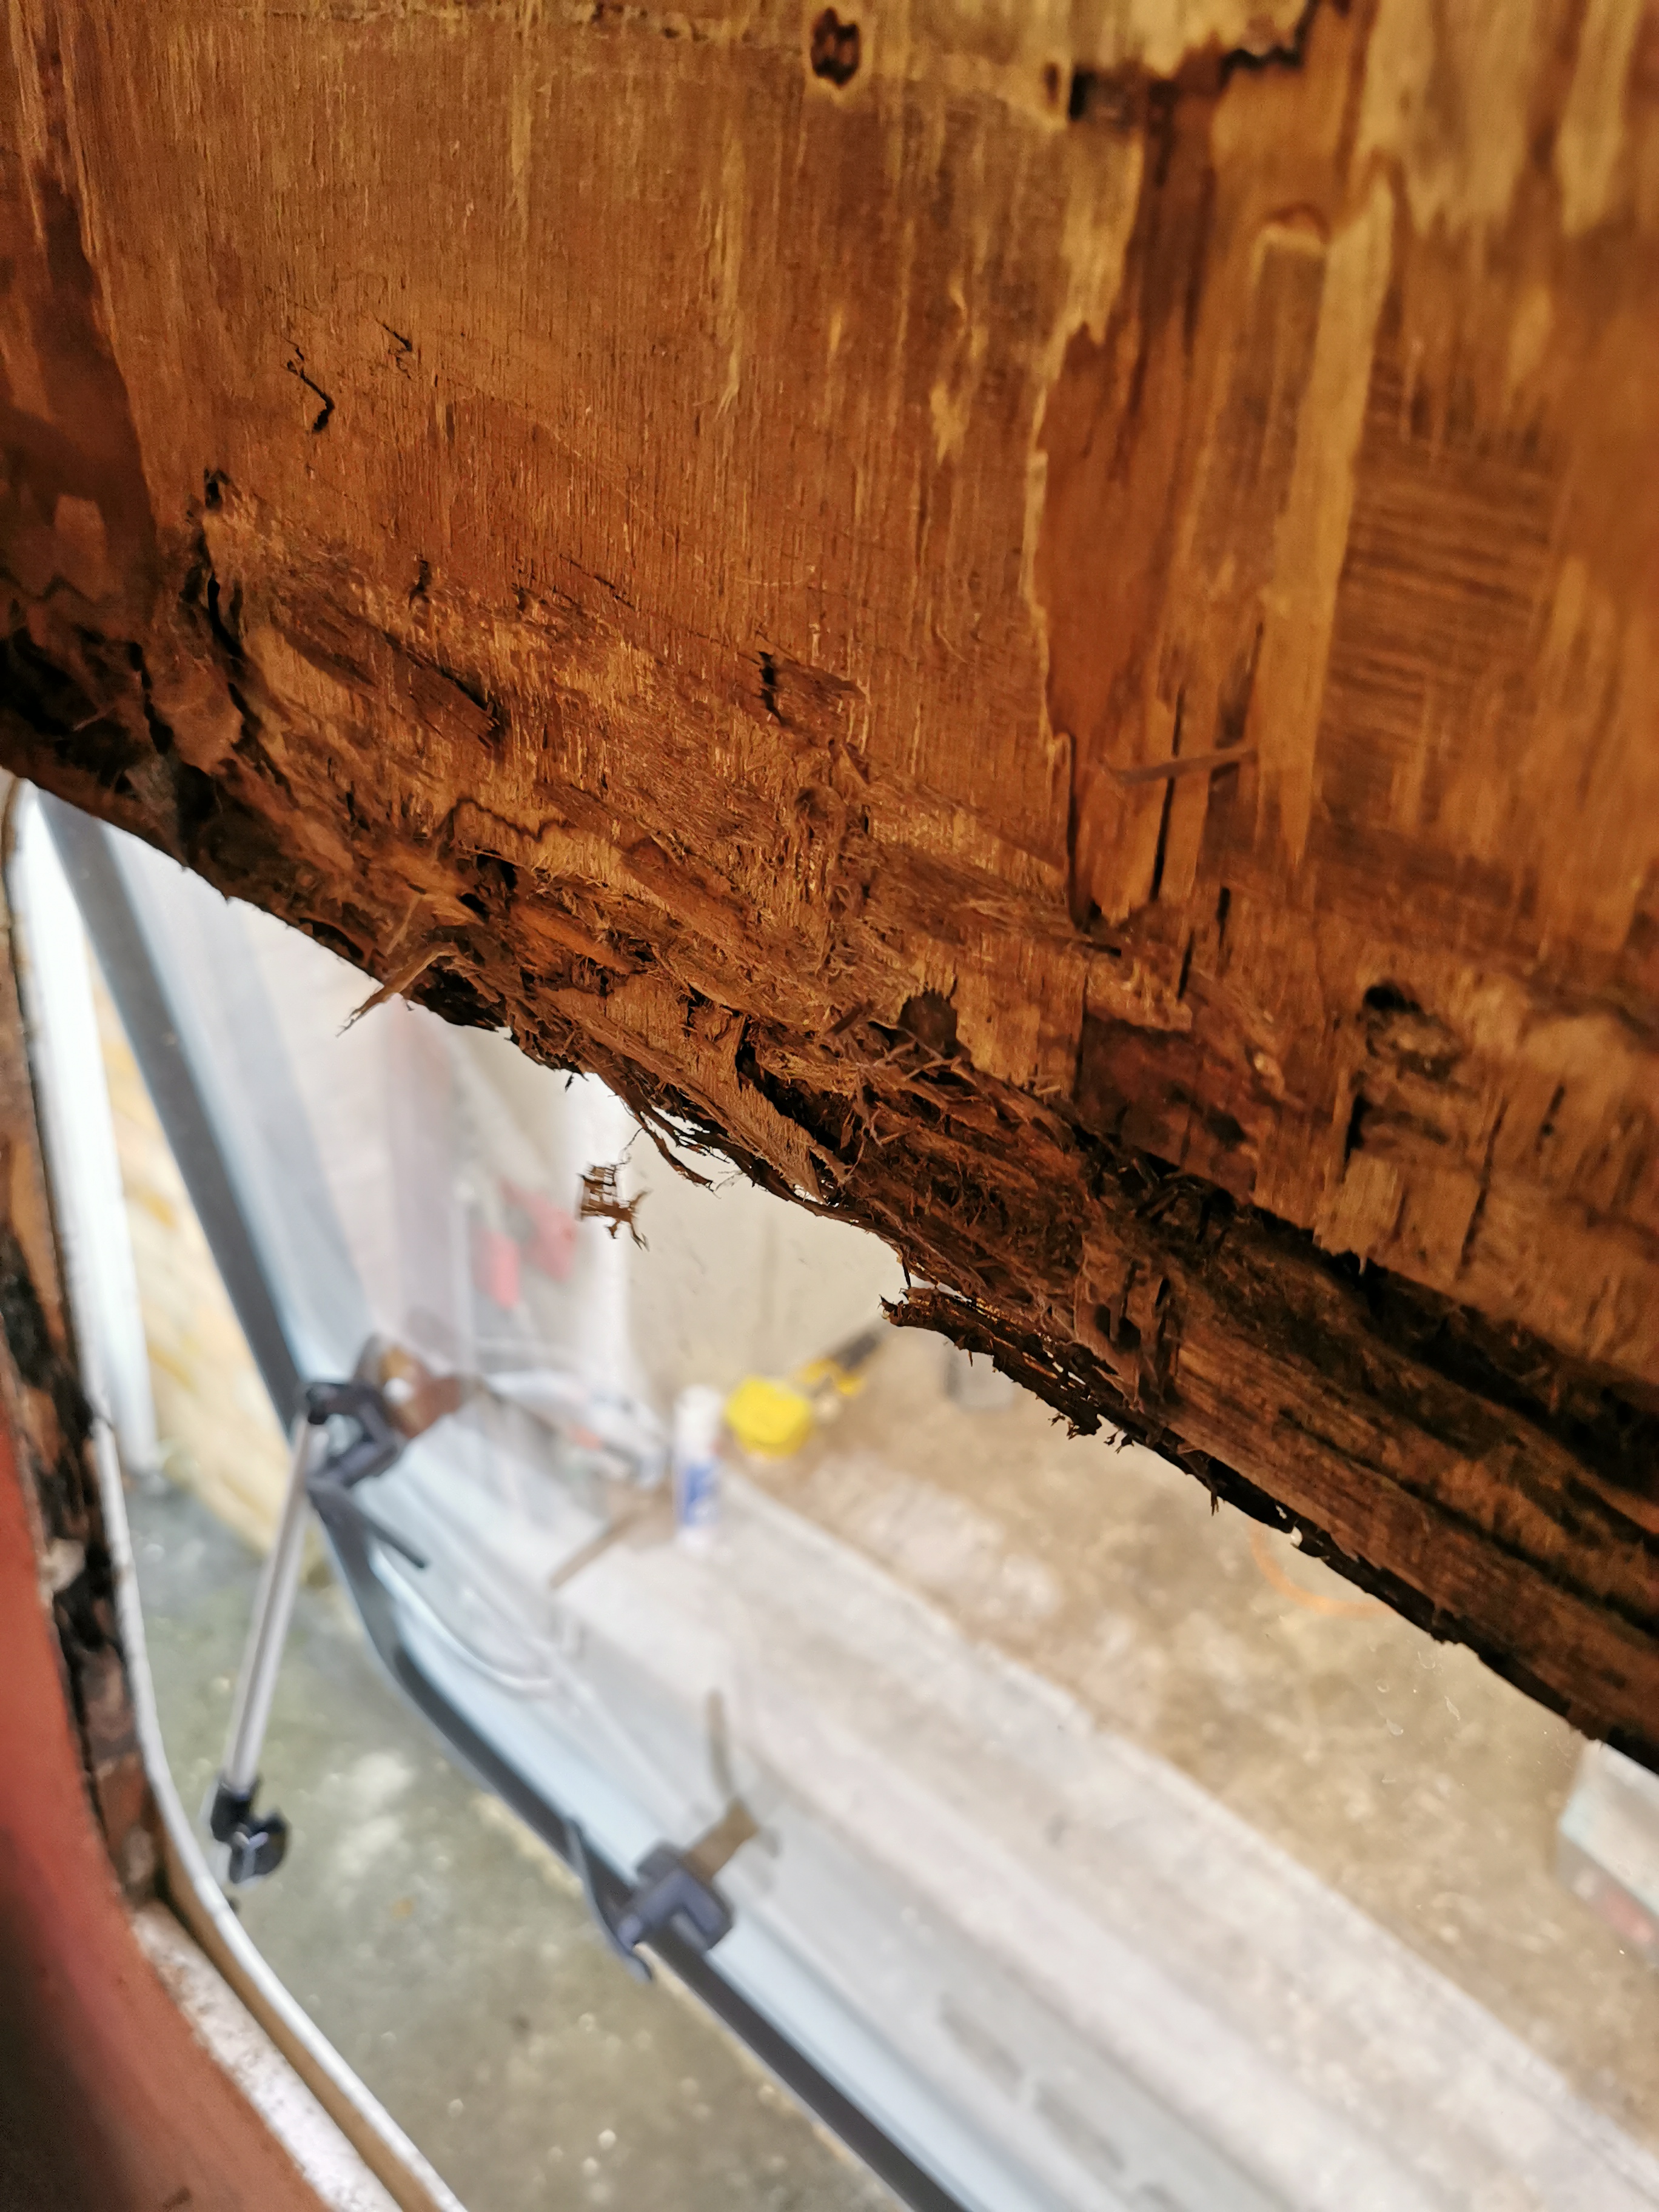
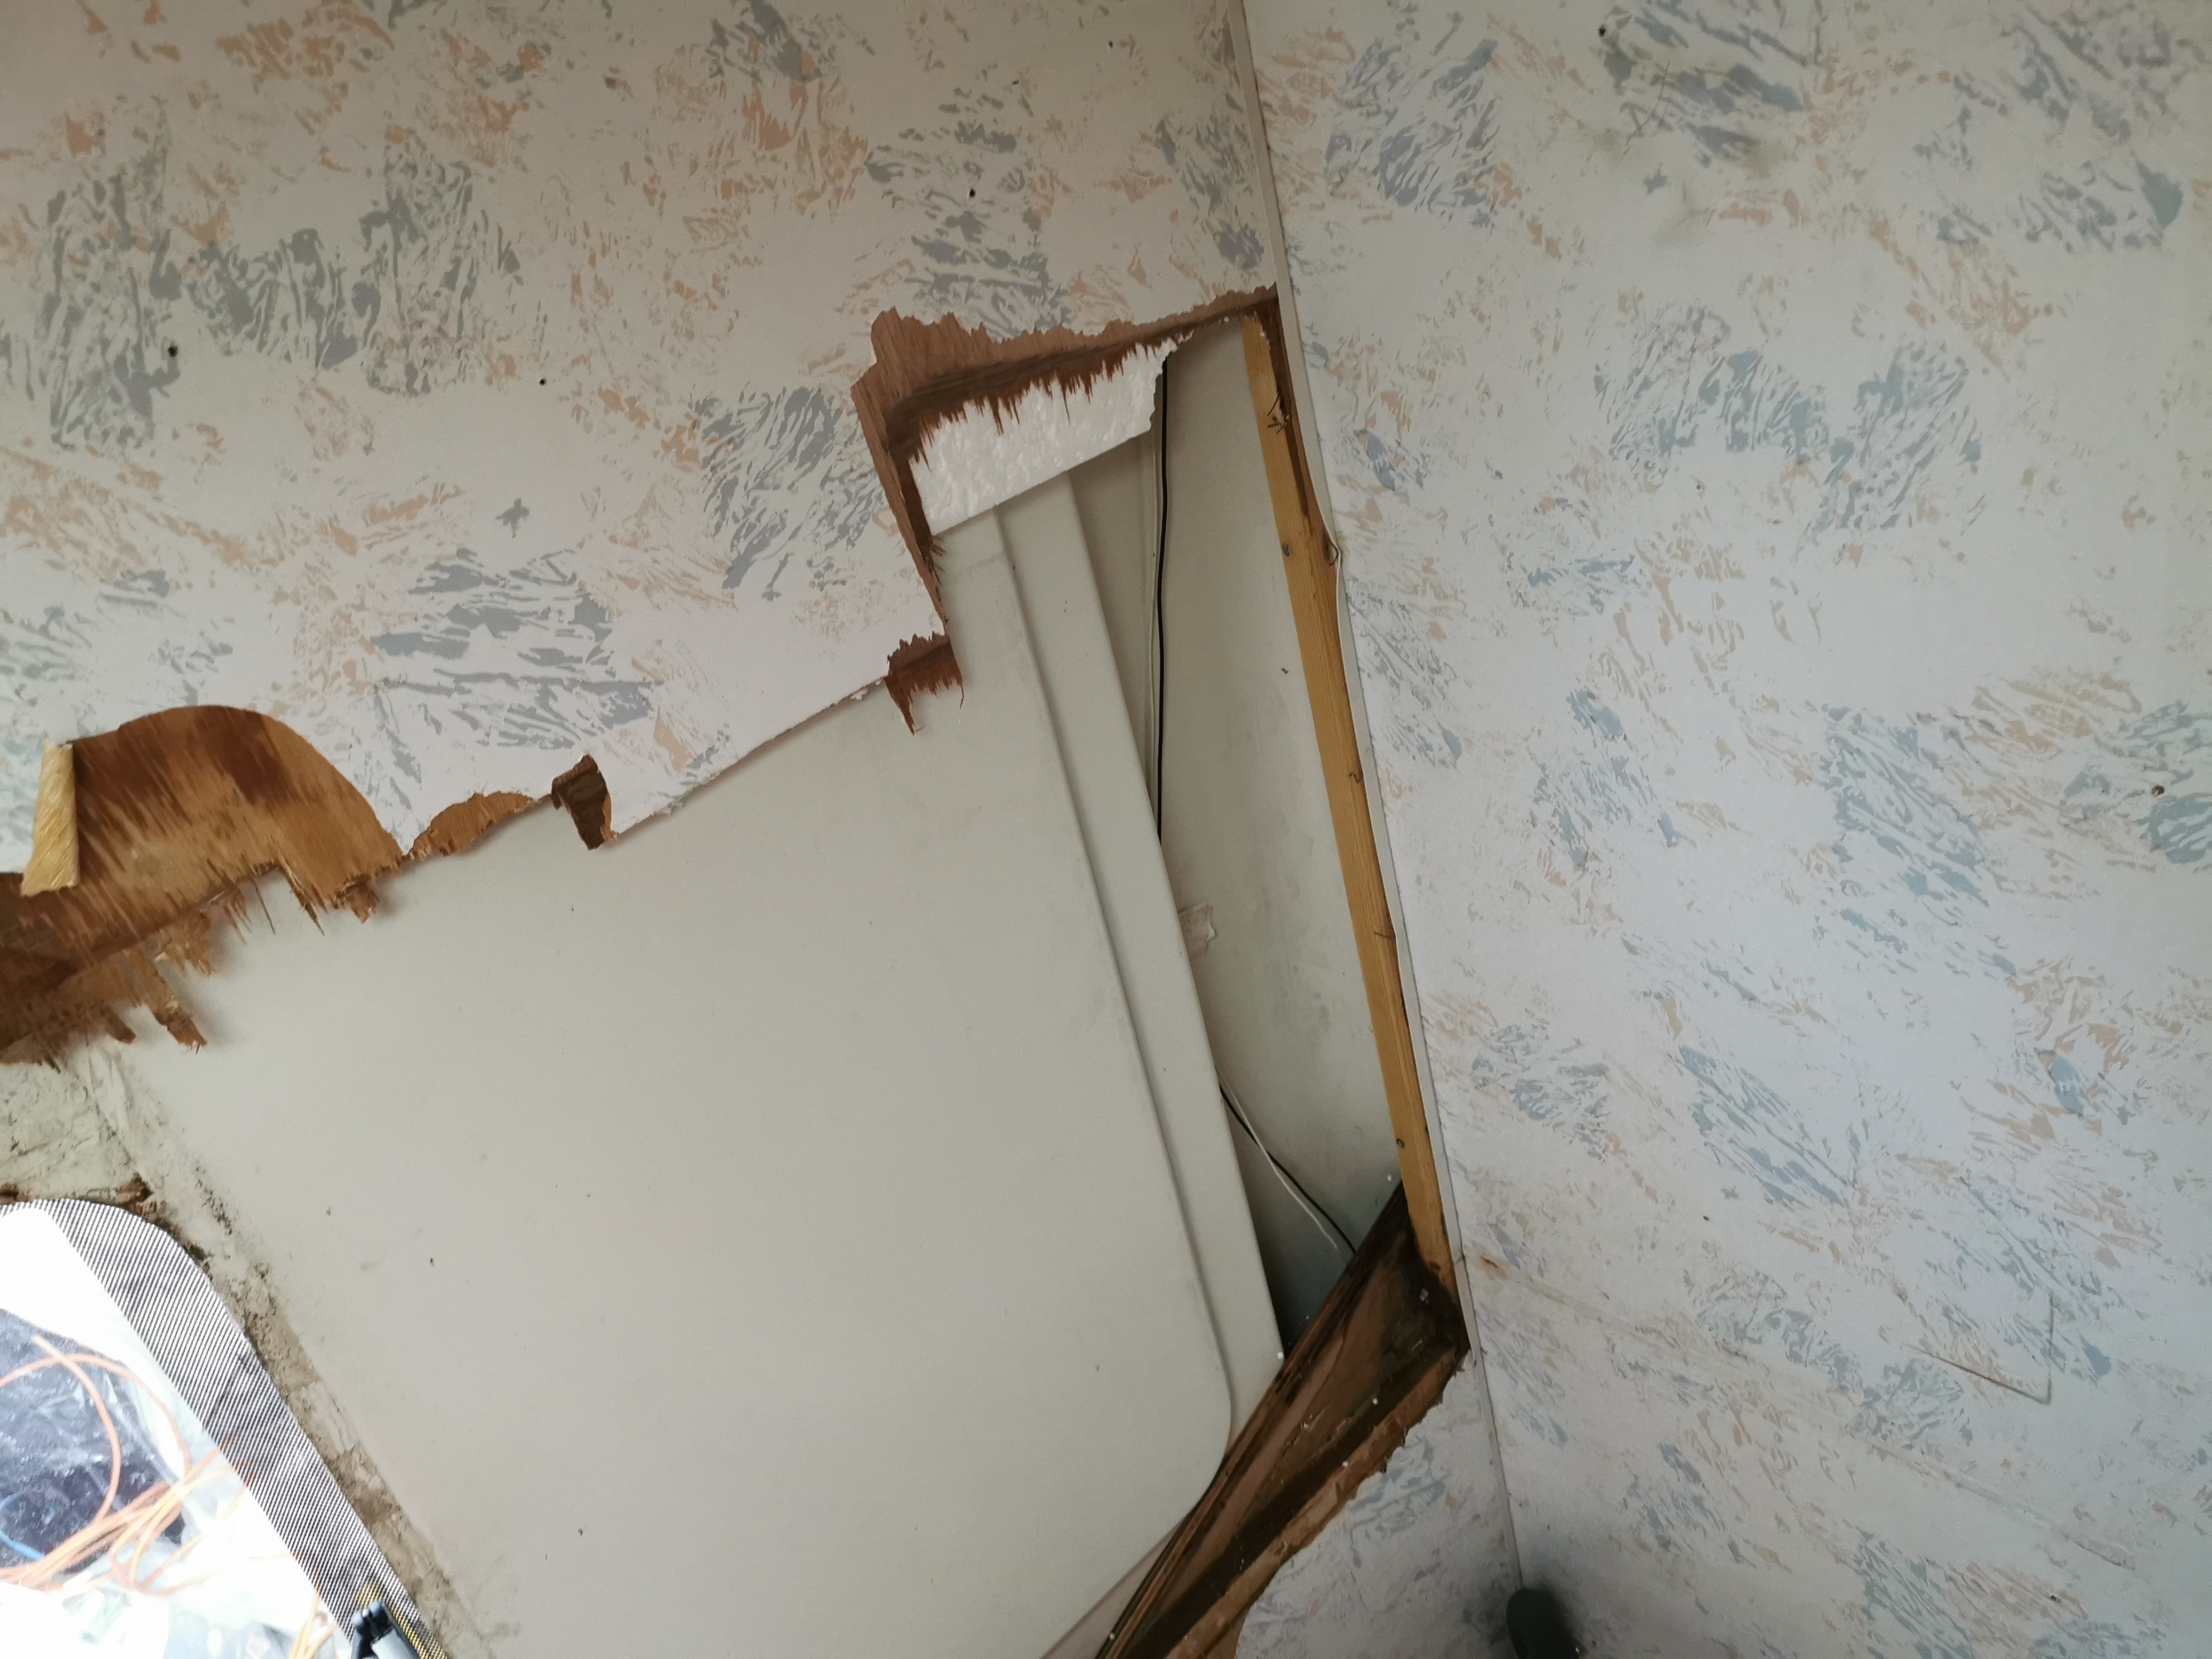
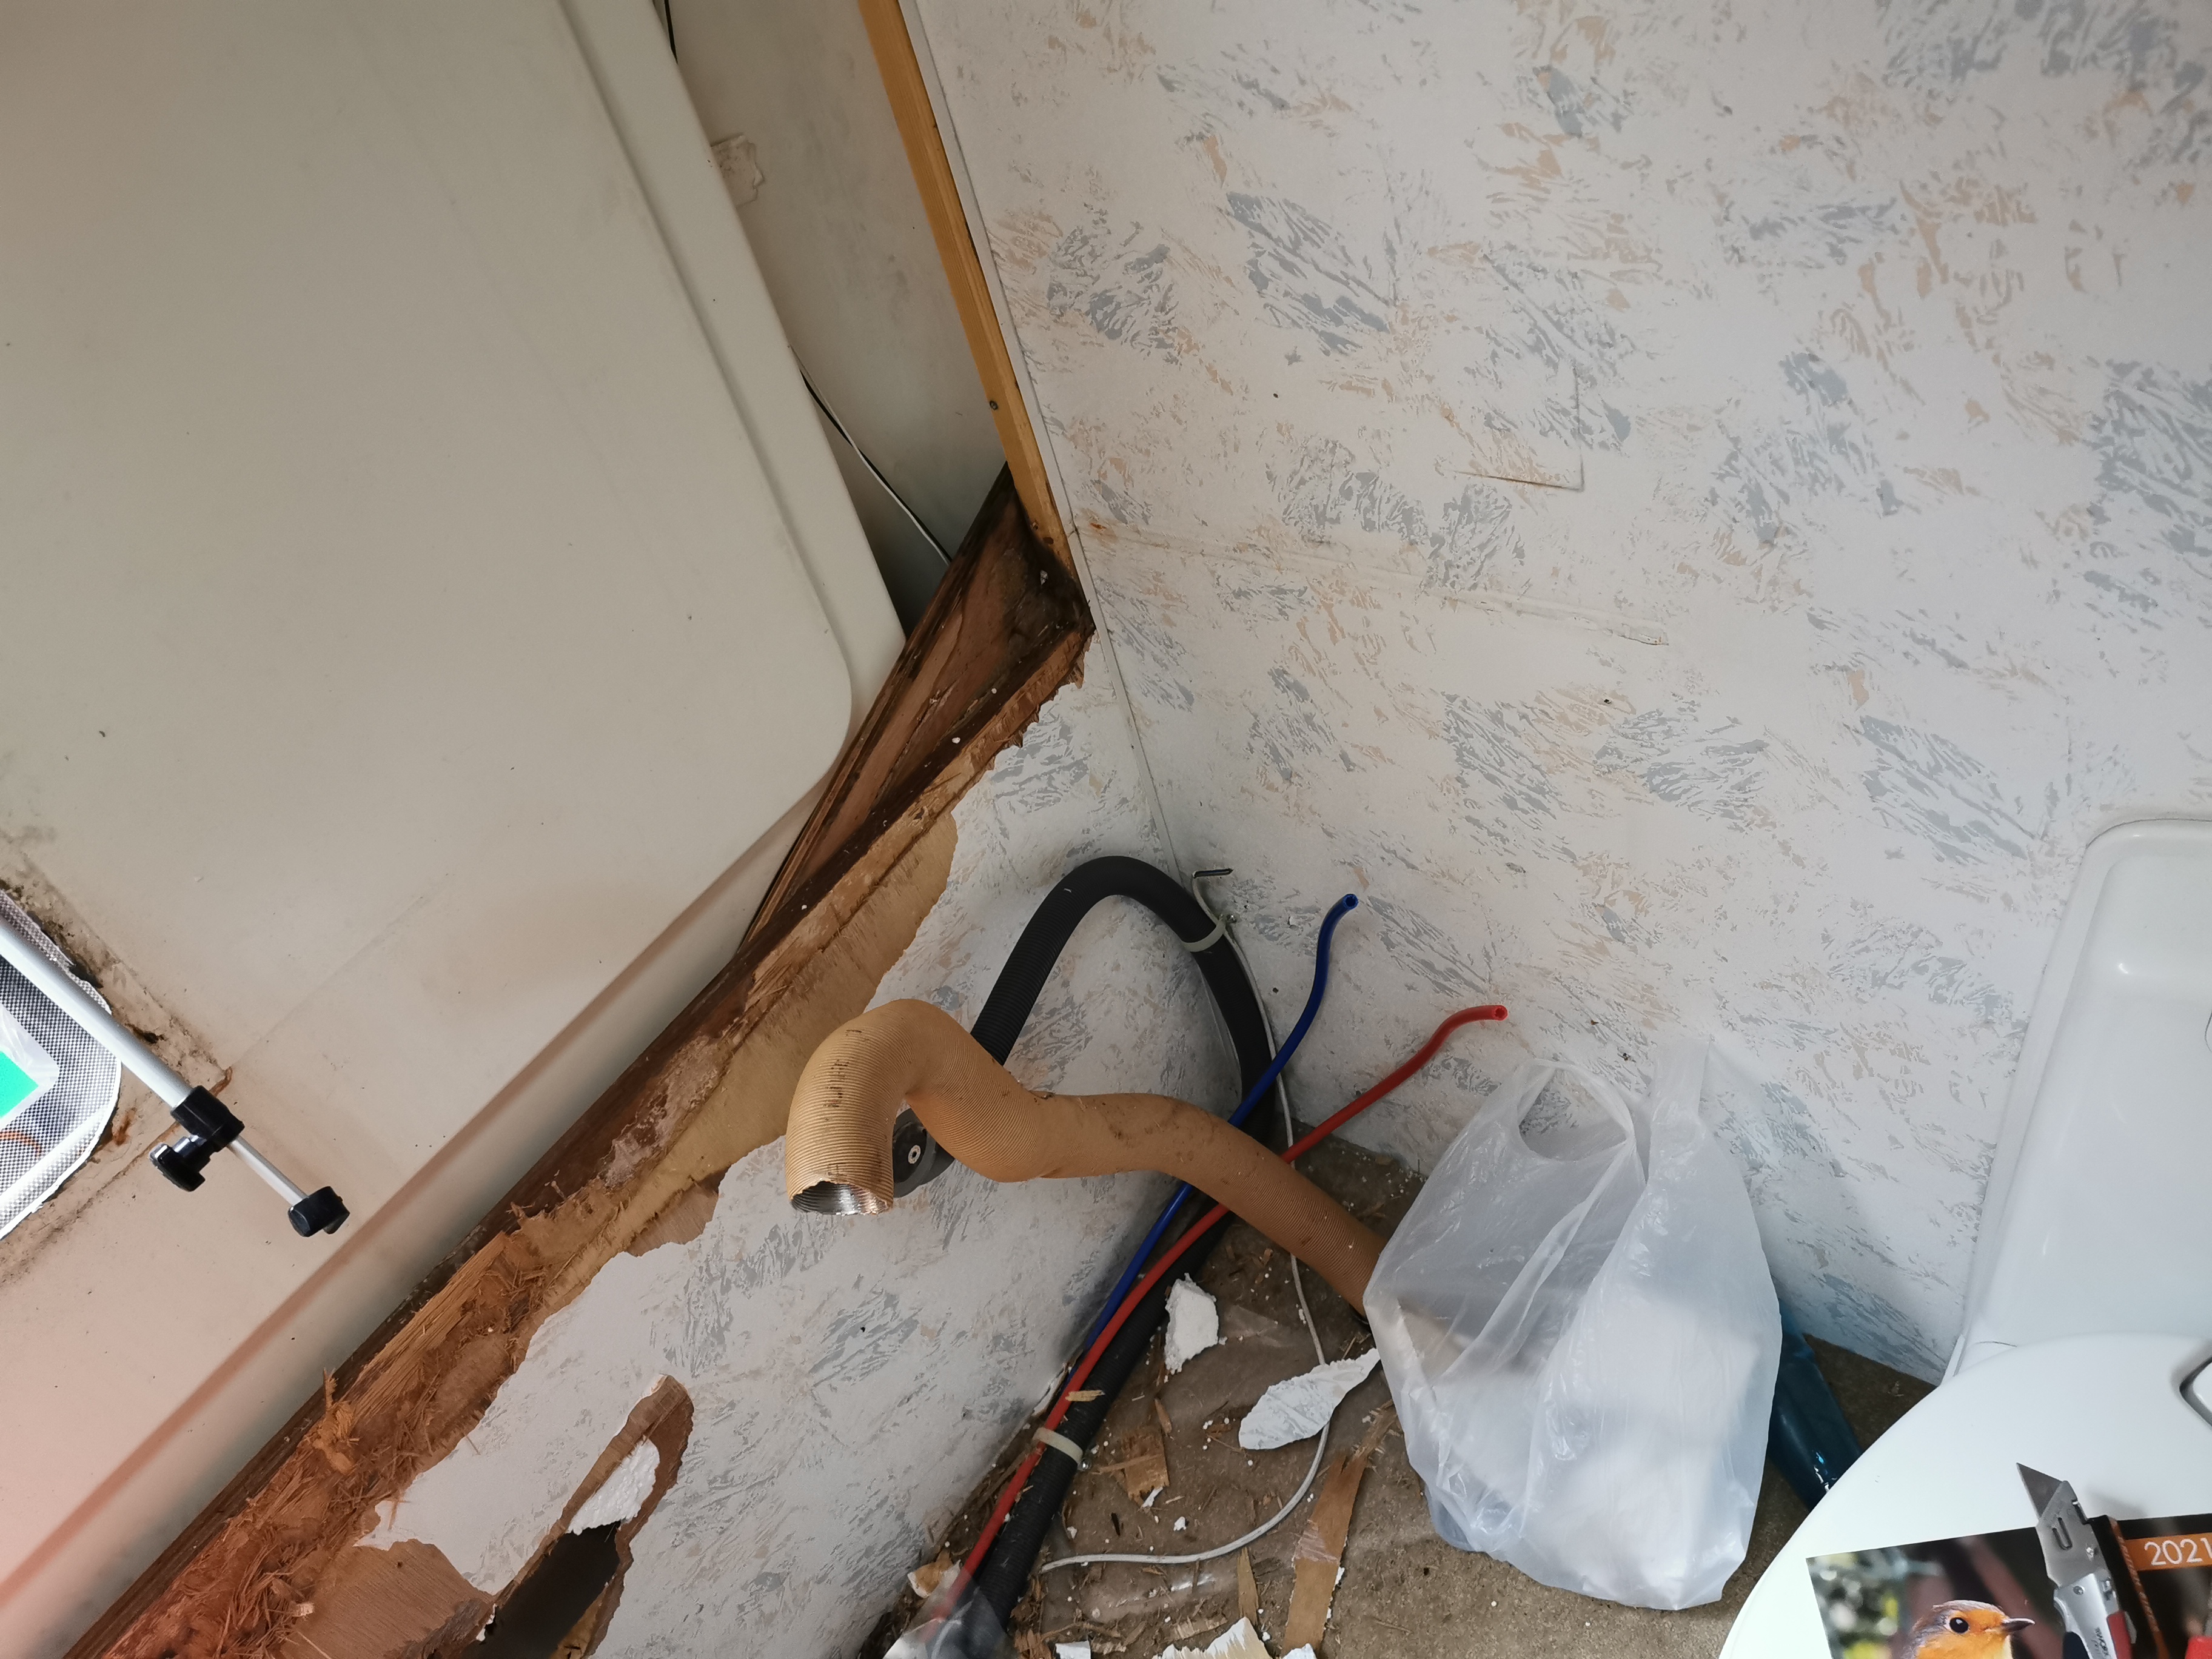

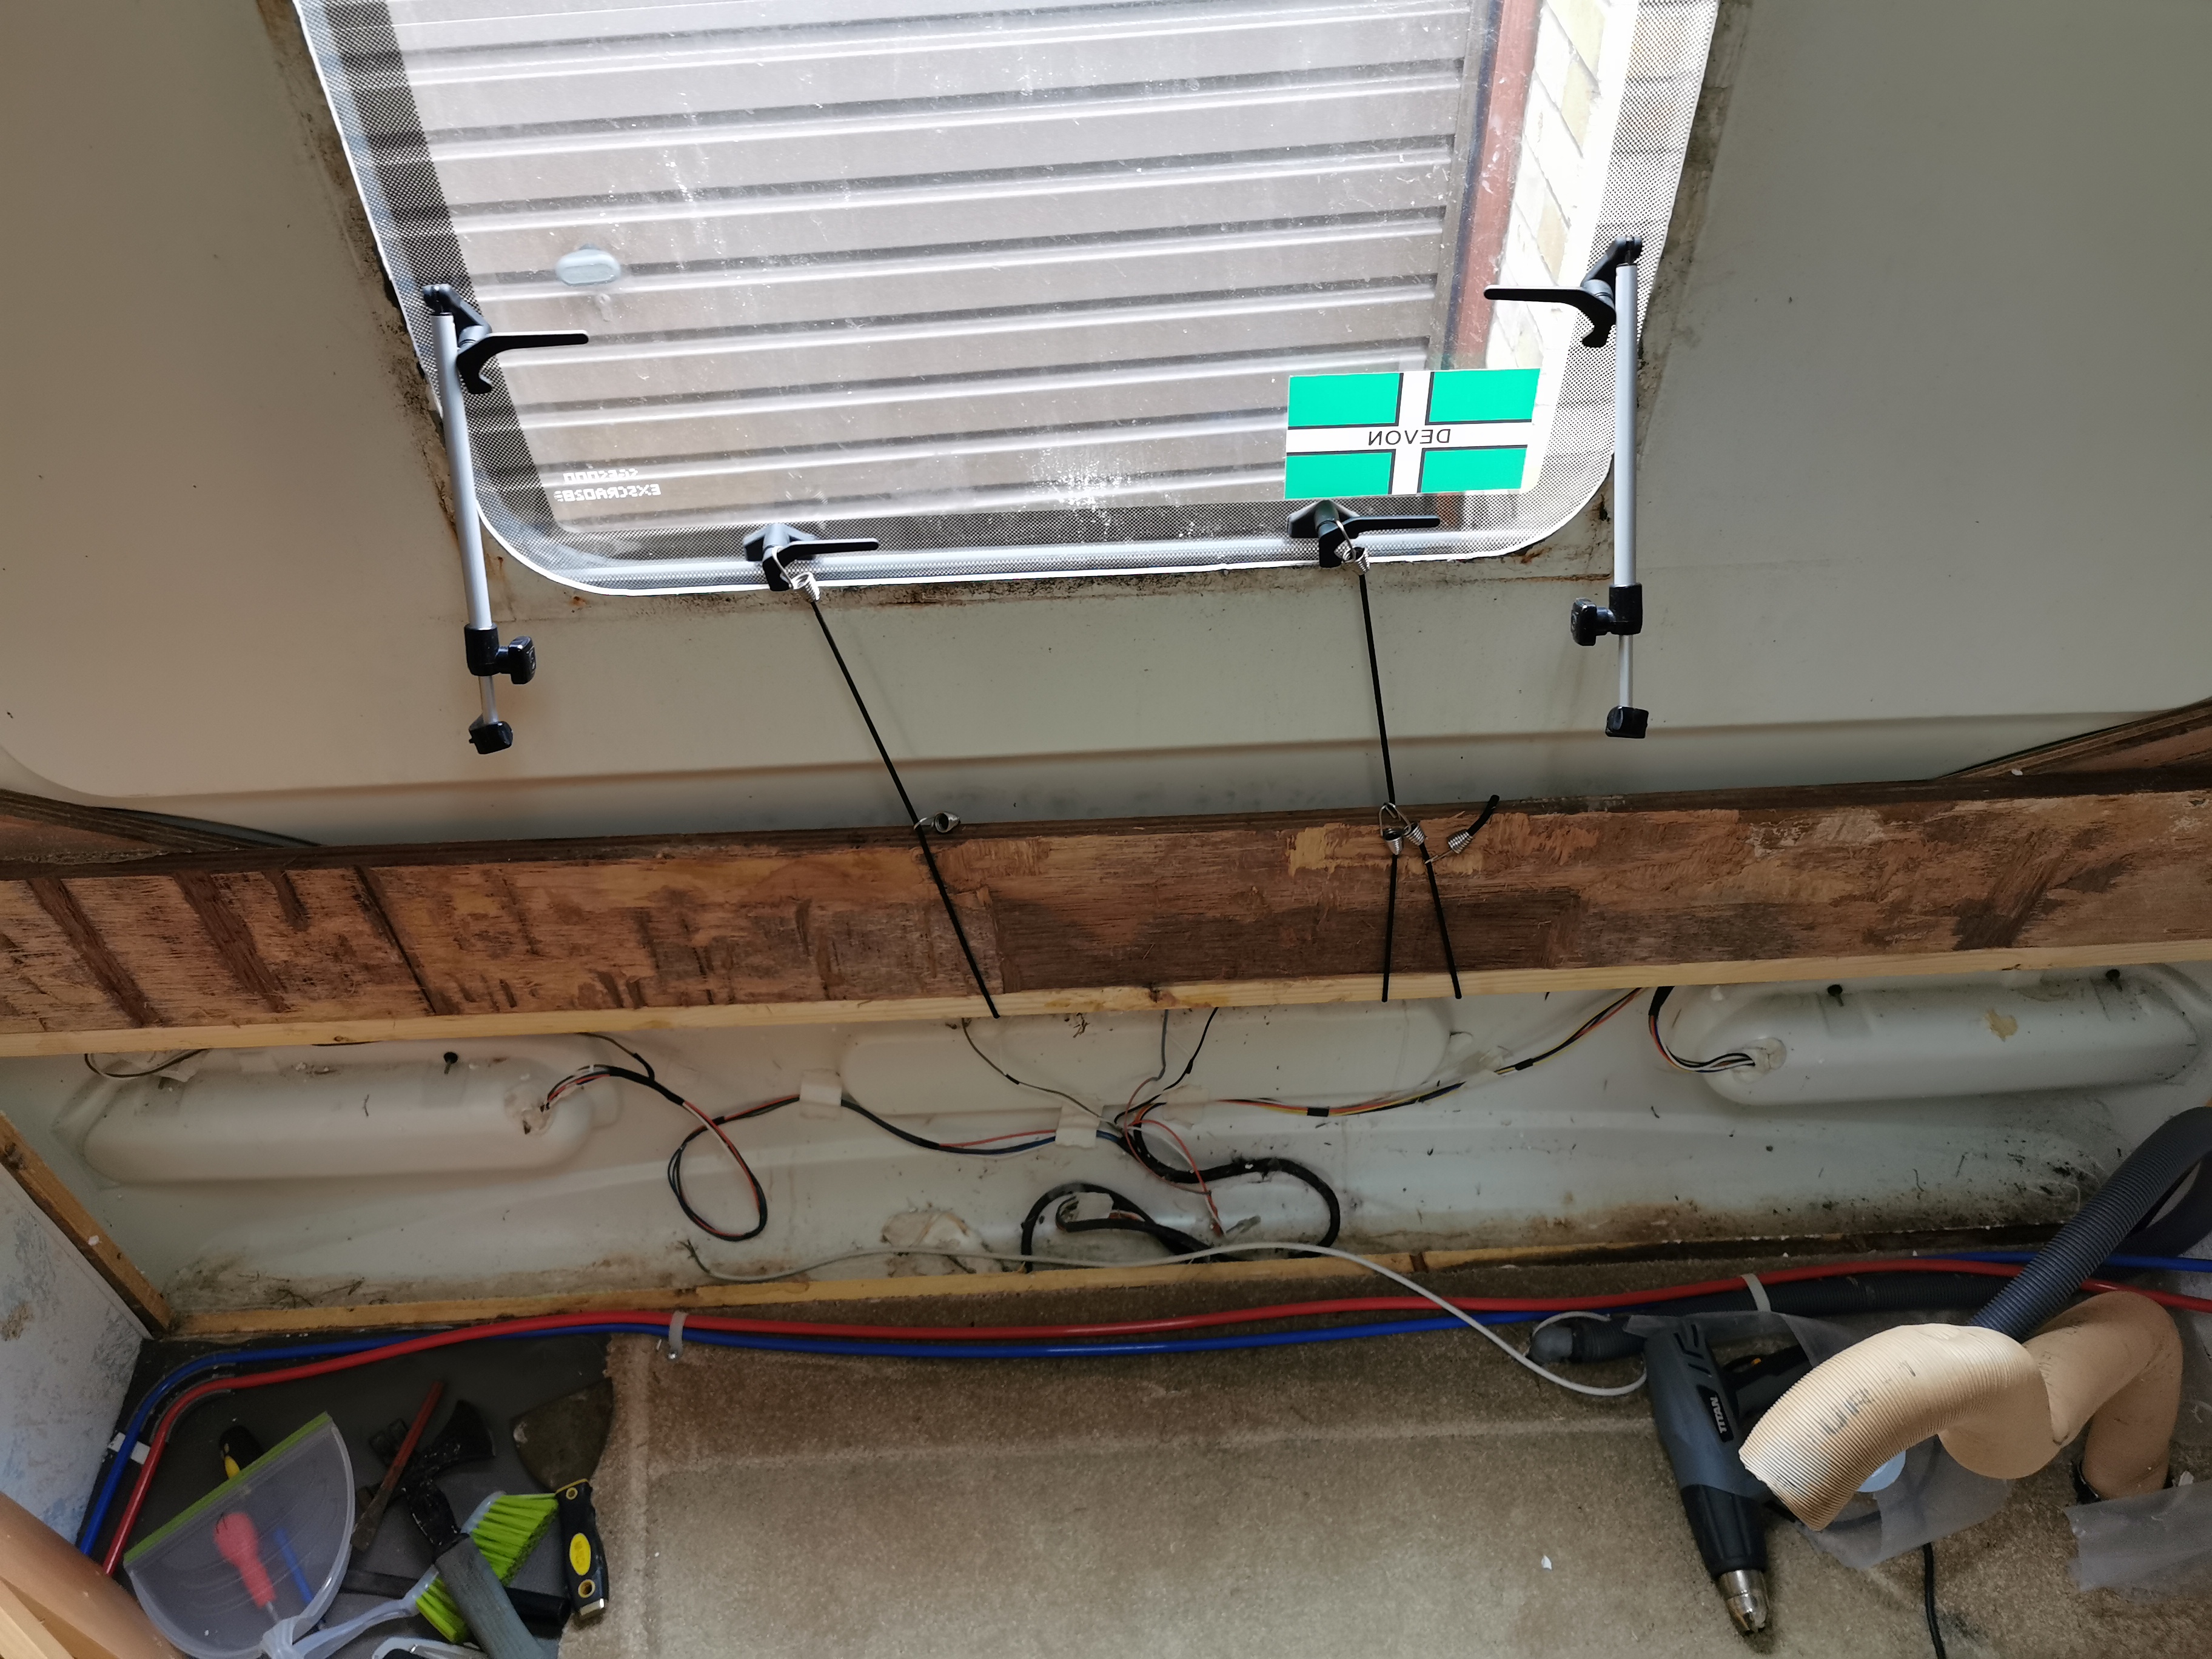
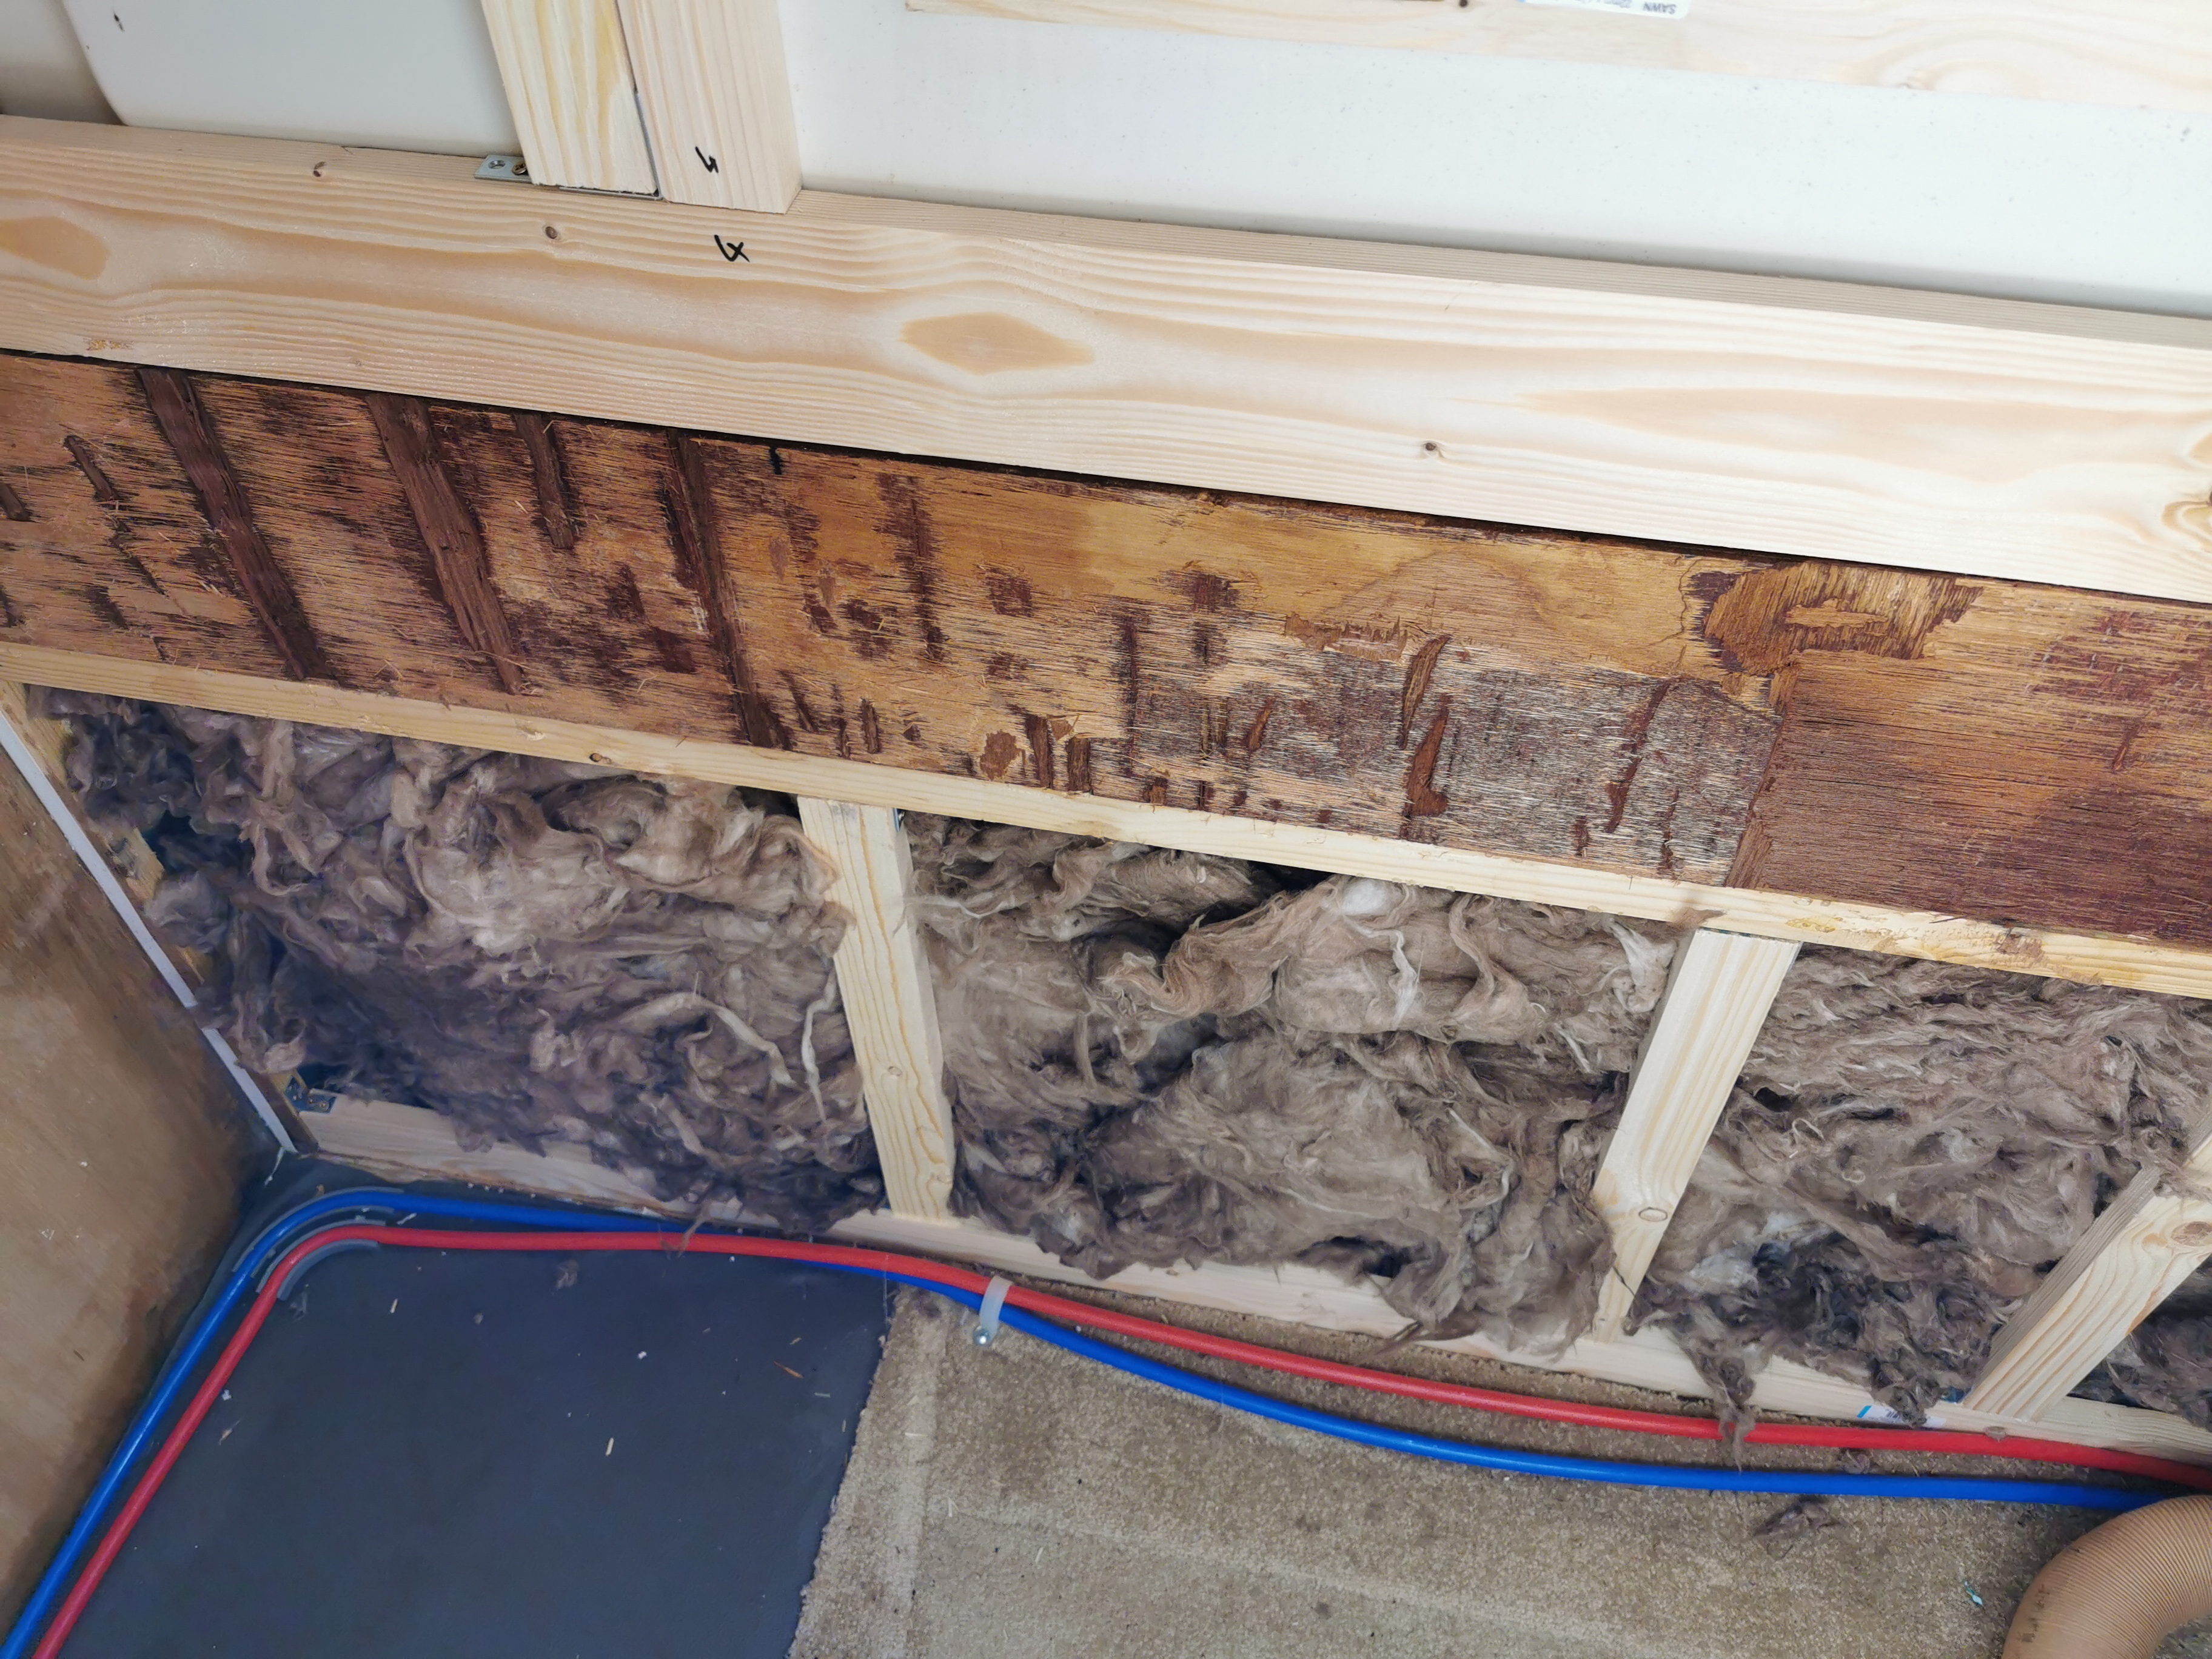
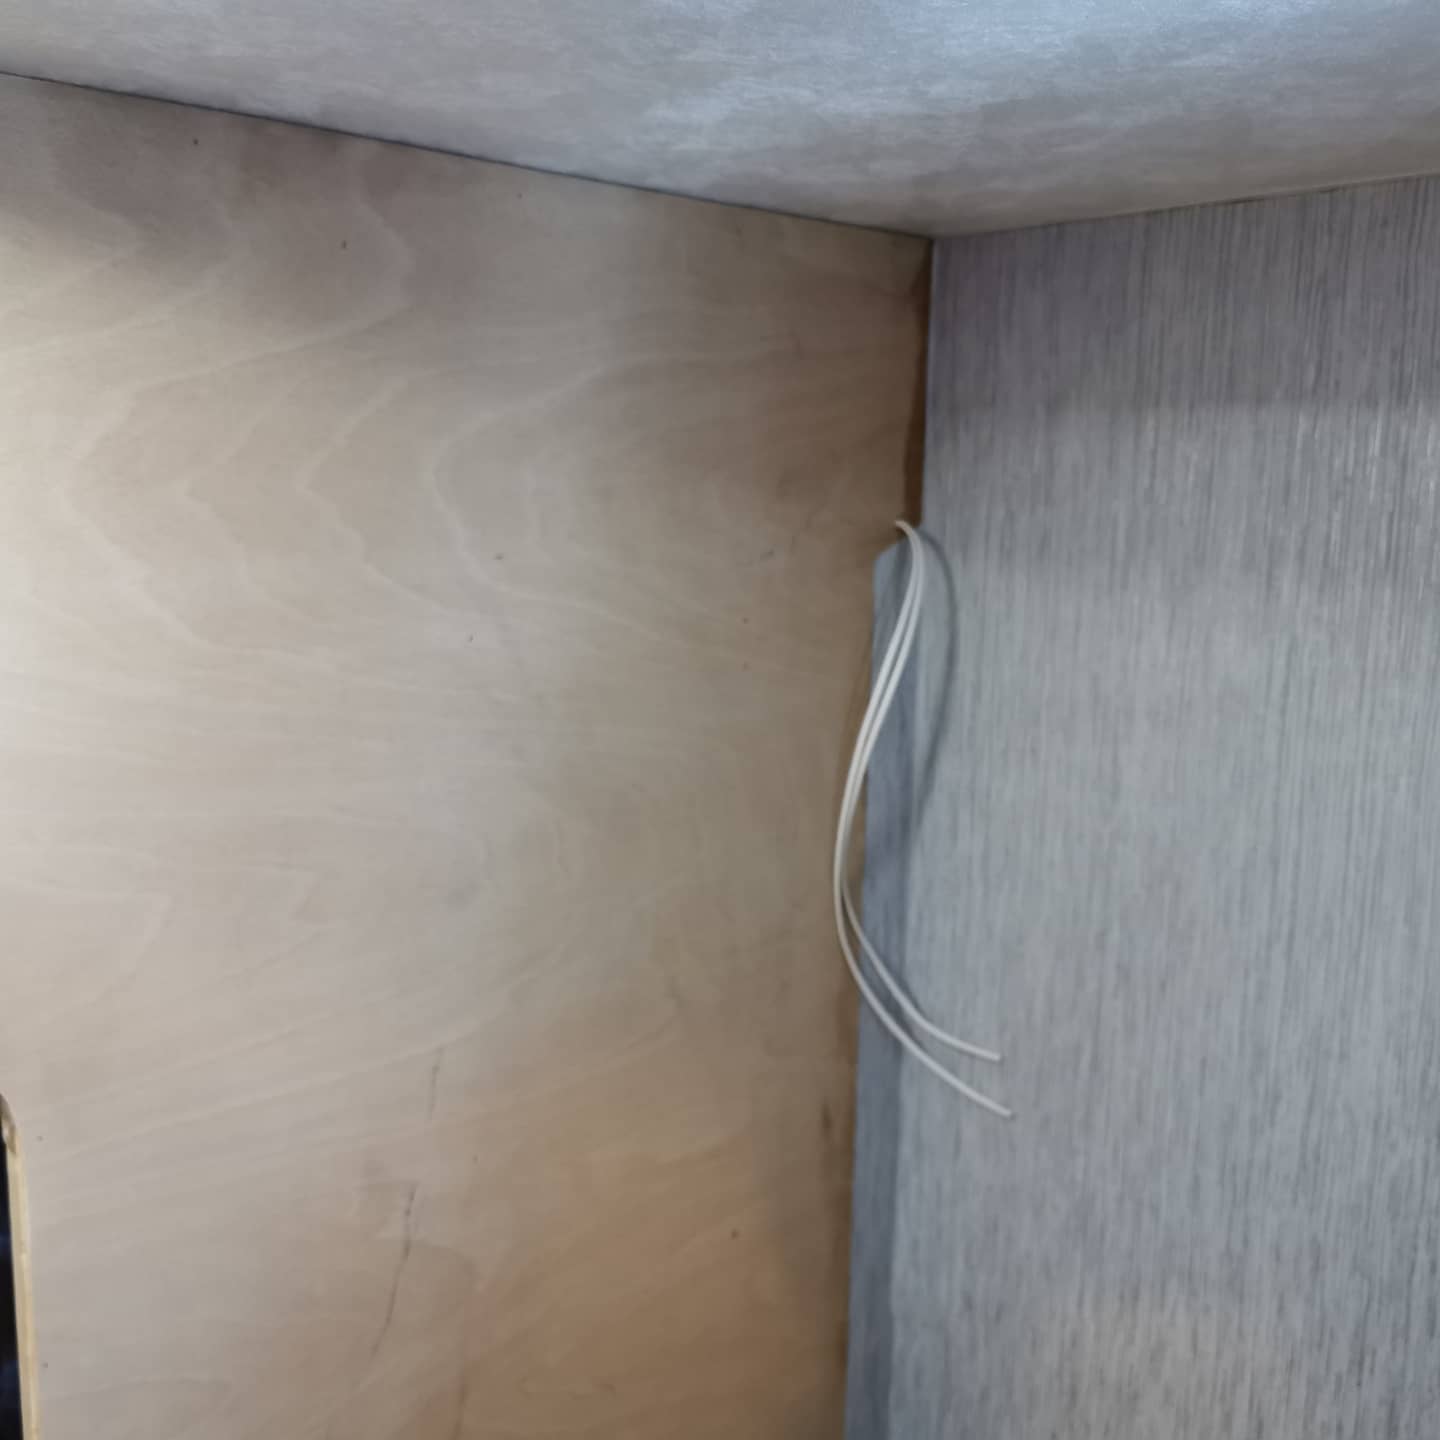
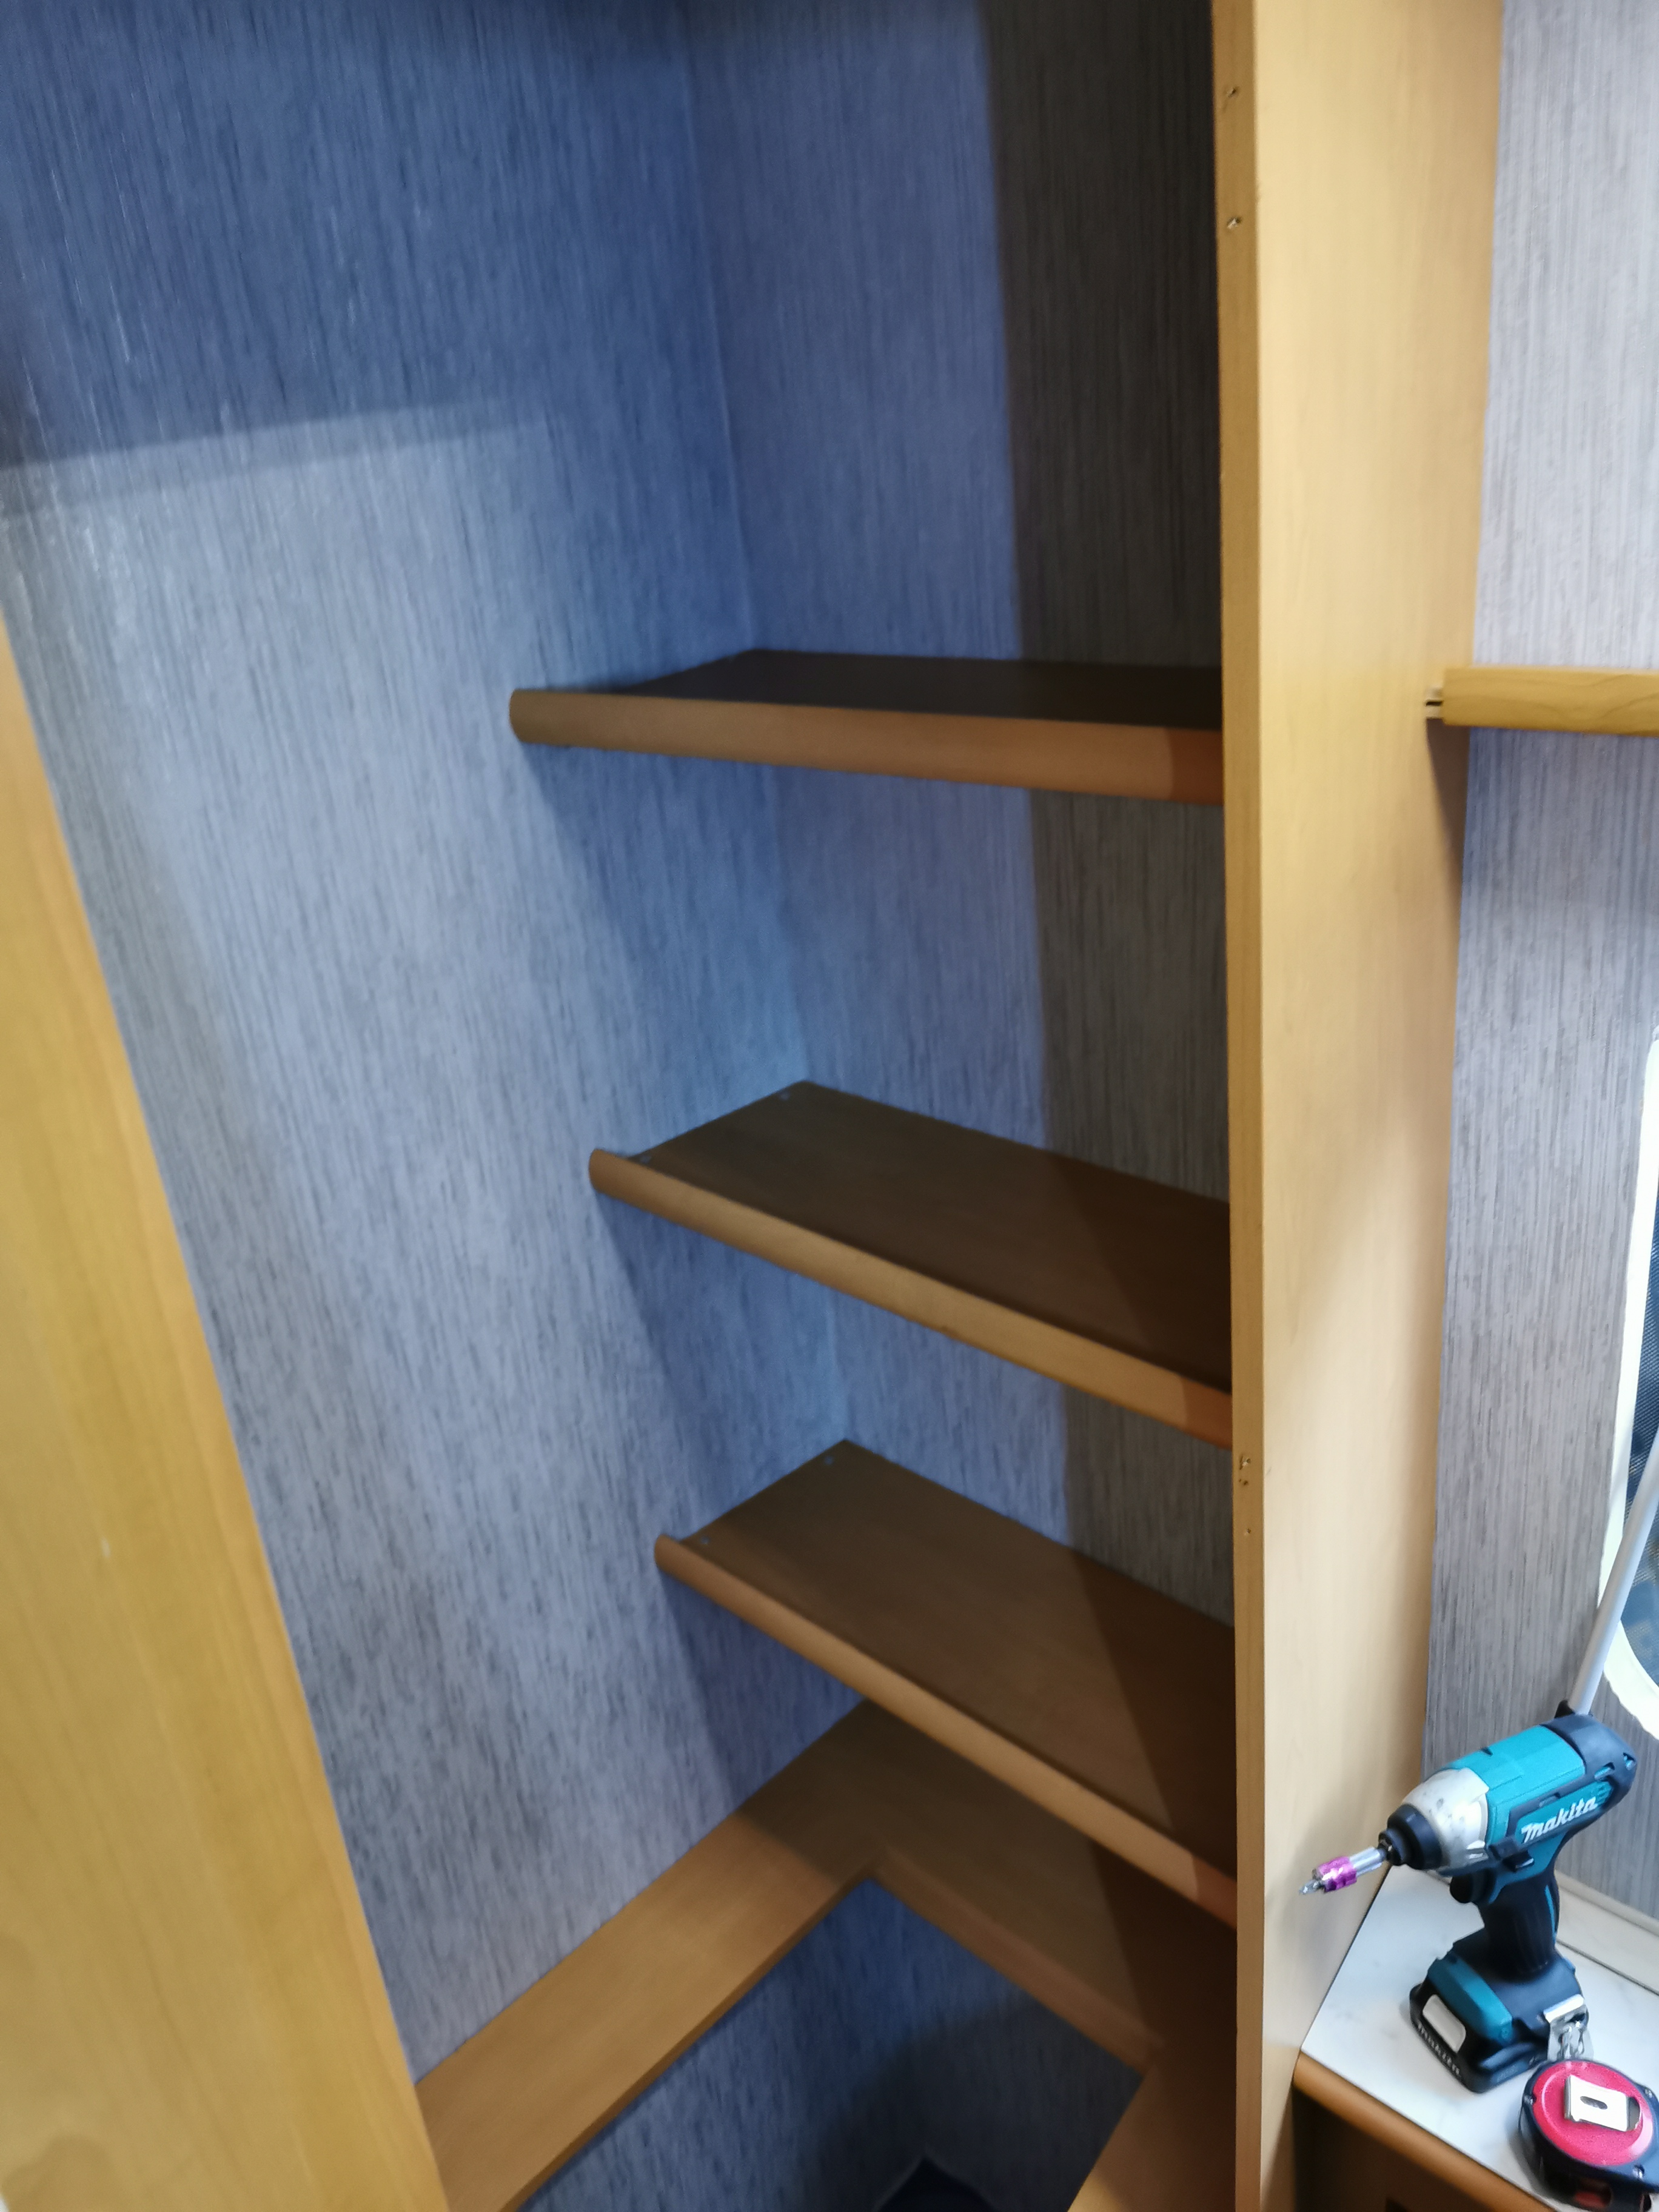
Replacement timber framing needed to be added to support the various cupboards that are attached to the panel. The vinyl wallpaper on both side walls needed to be removed to allow us to add the replacement wall covering.
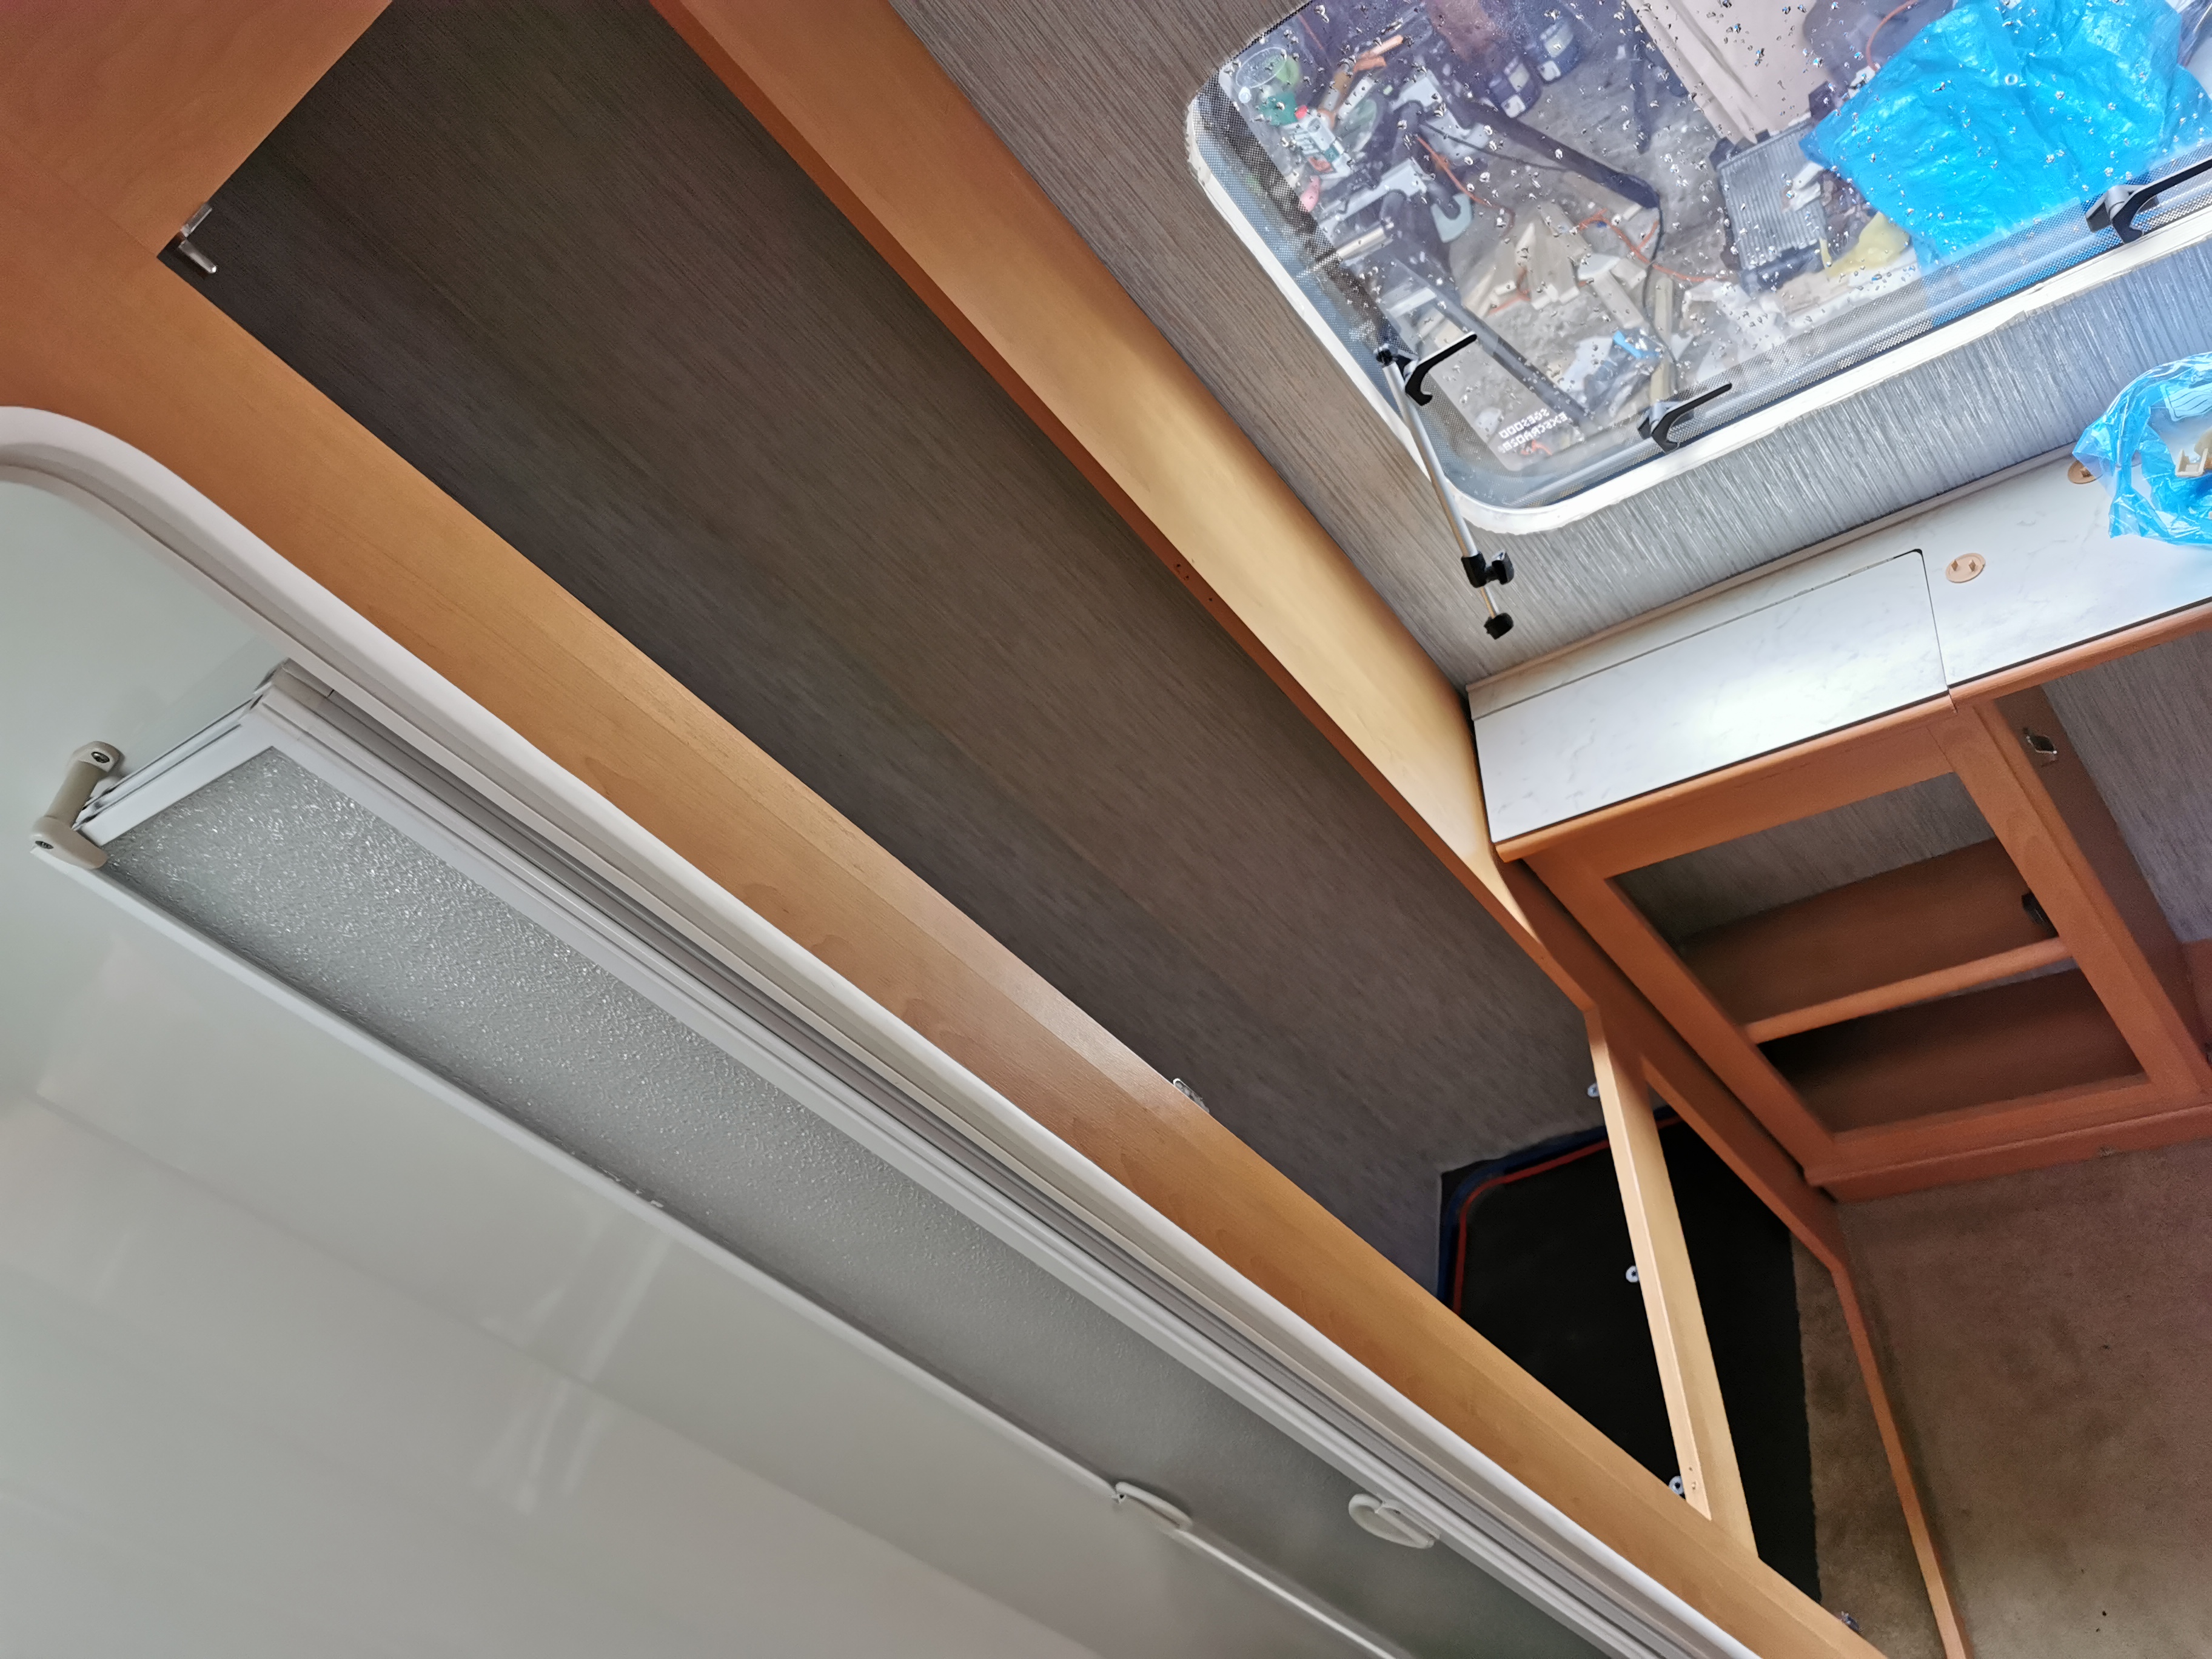
After a day of removal and riping out we finally had a day of replacing in the caravan by adding new insulation and wall panels.
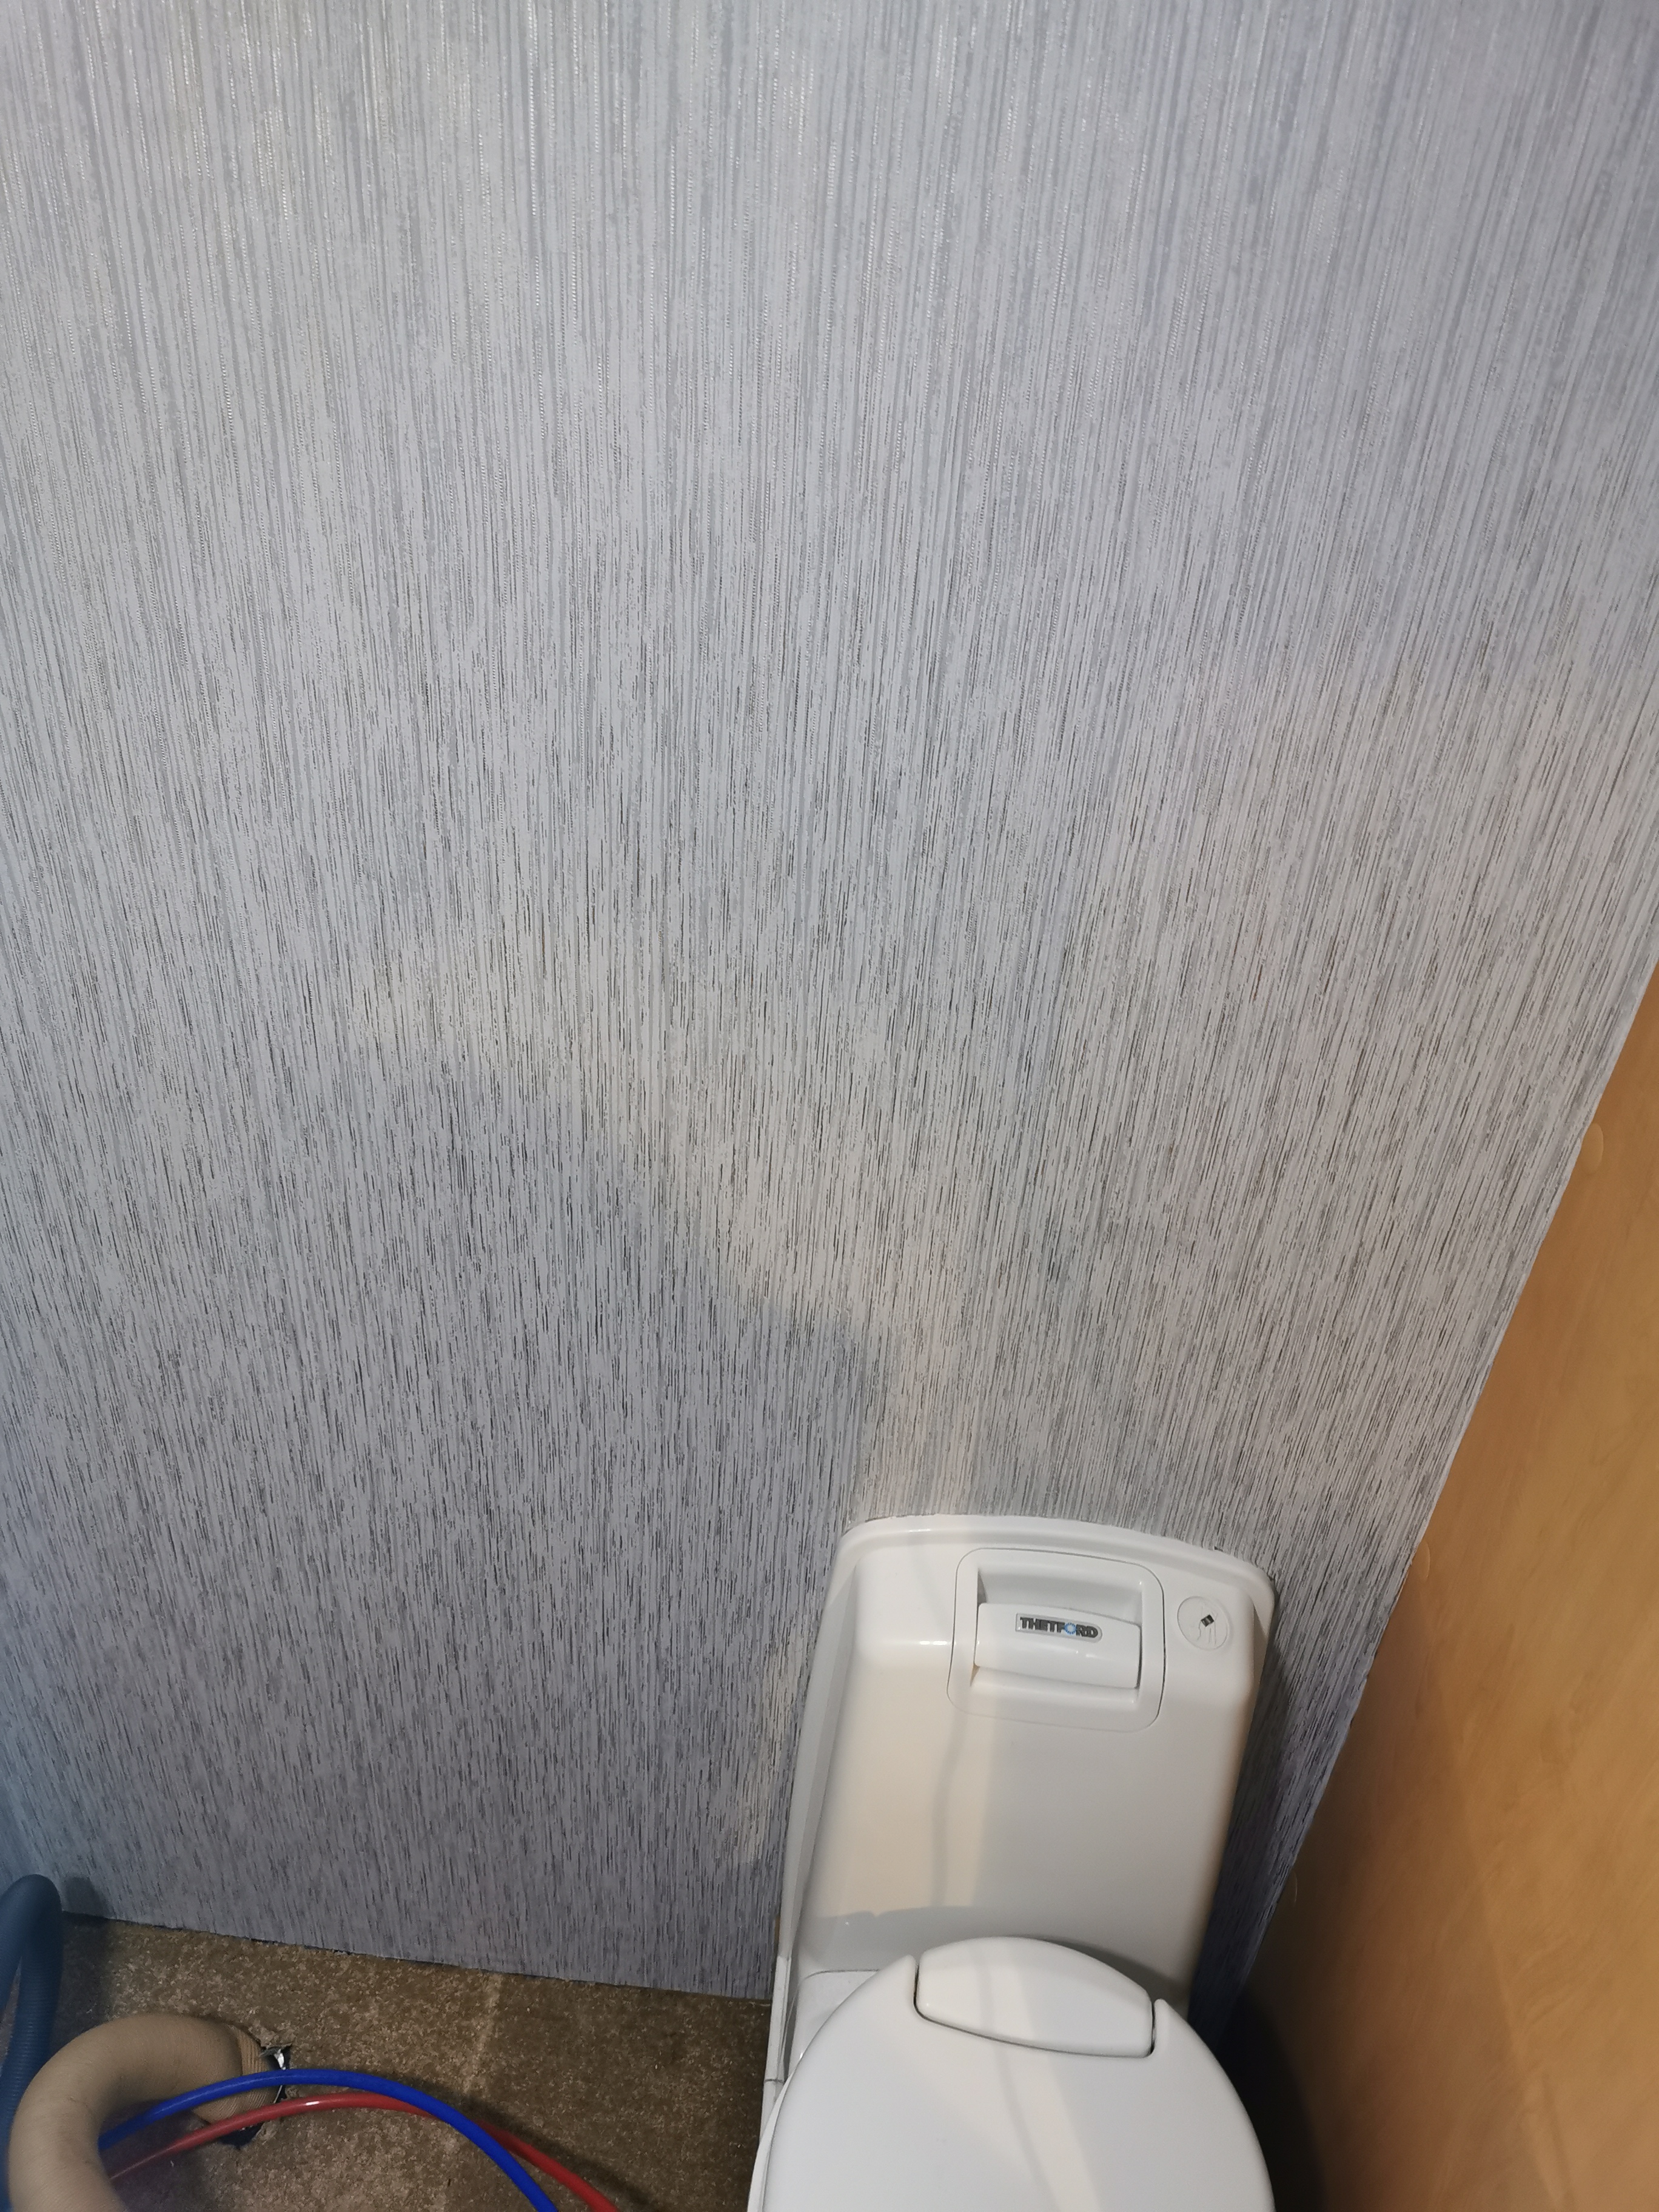
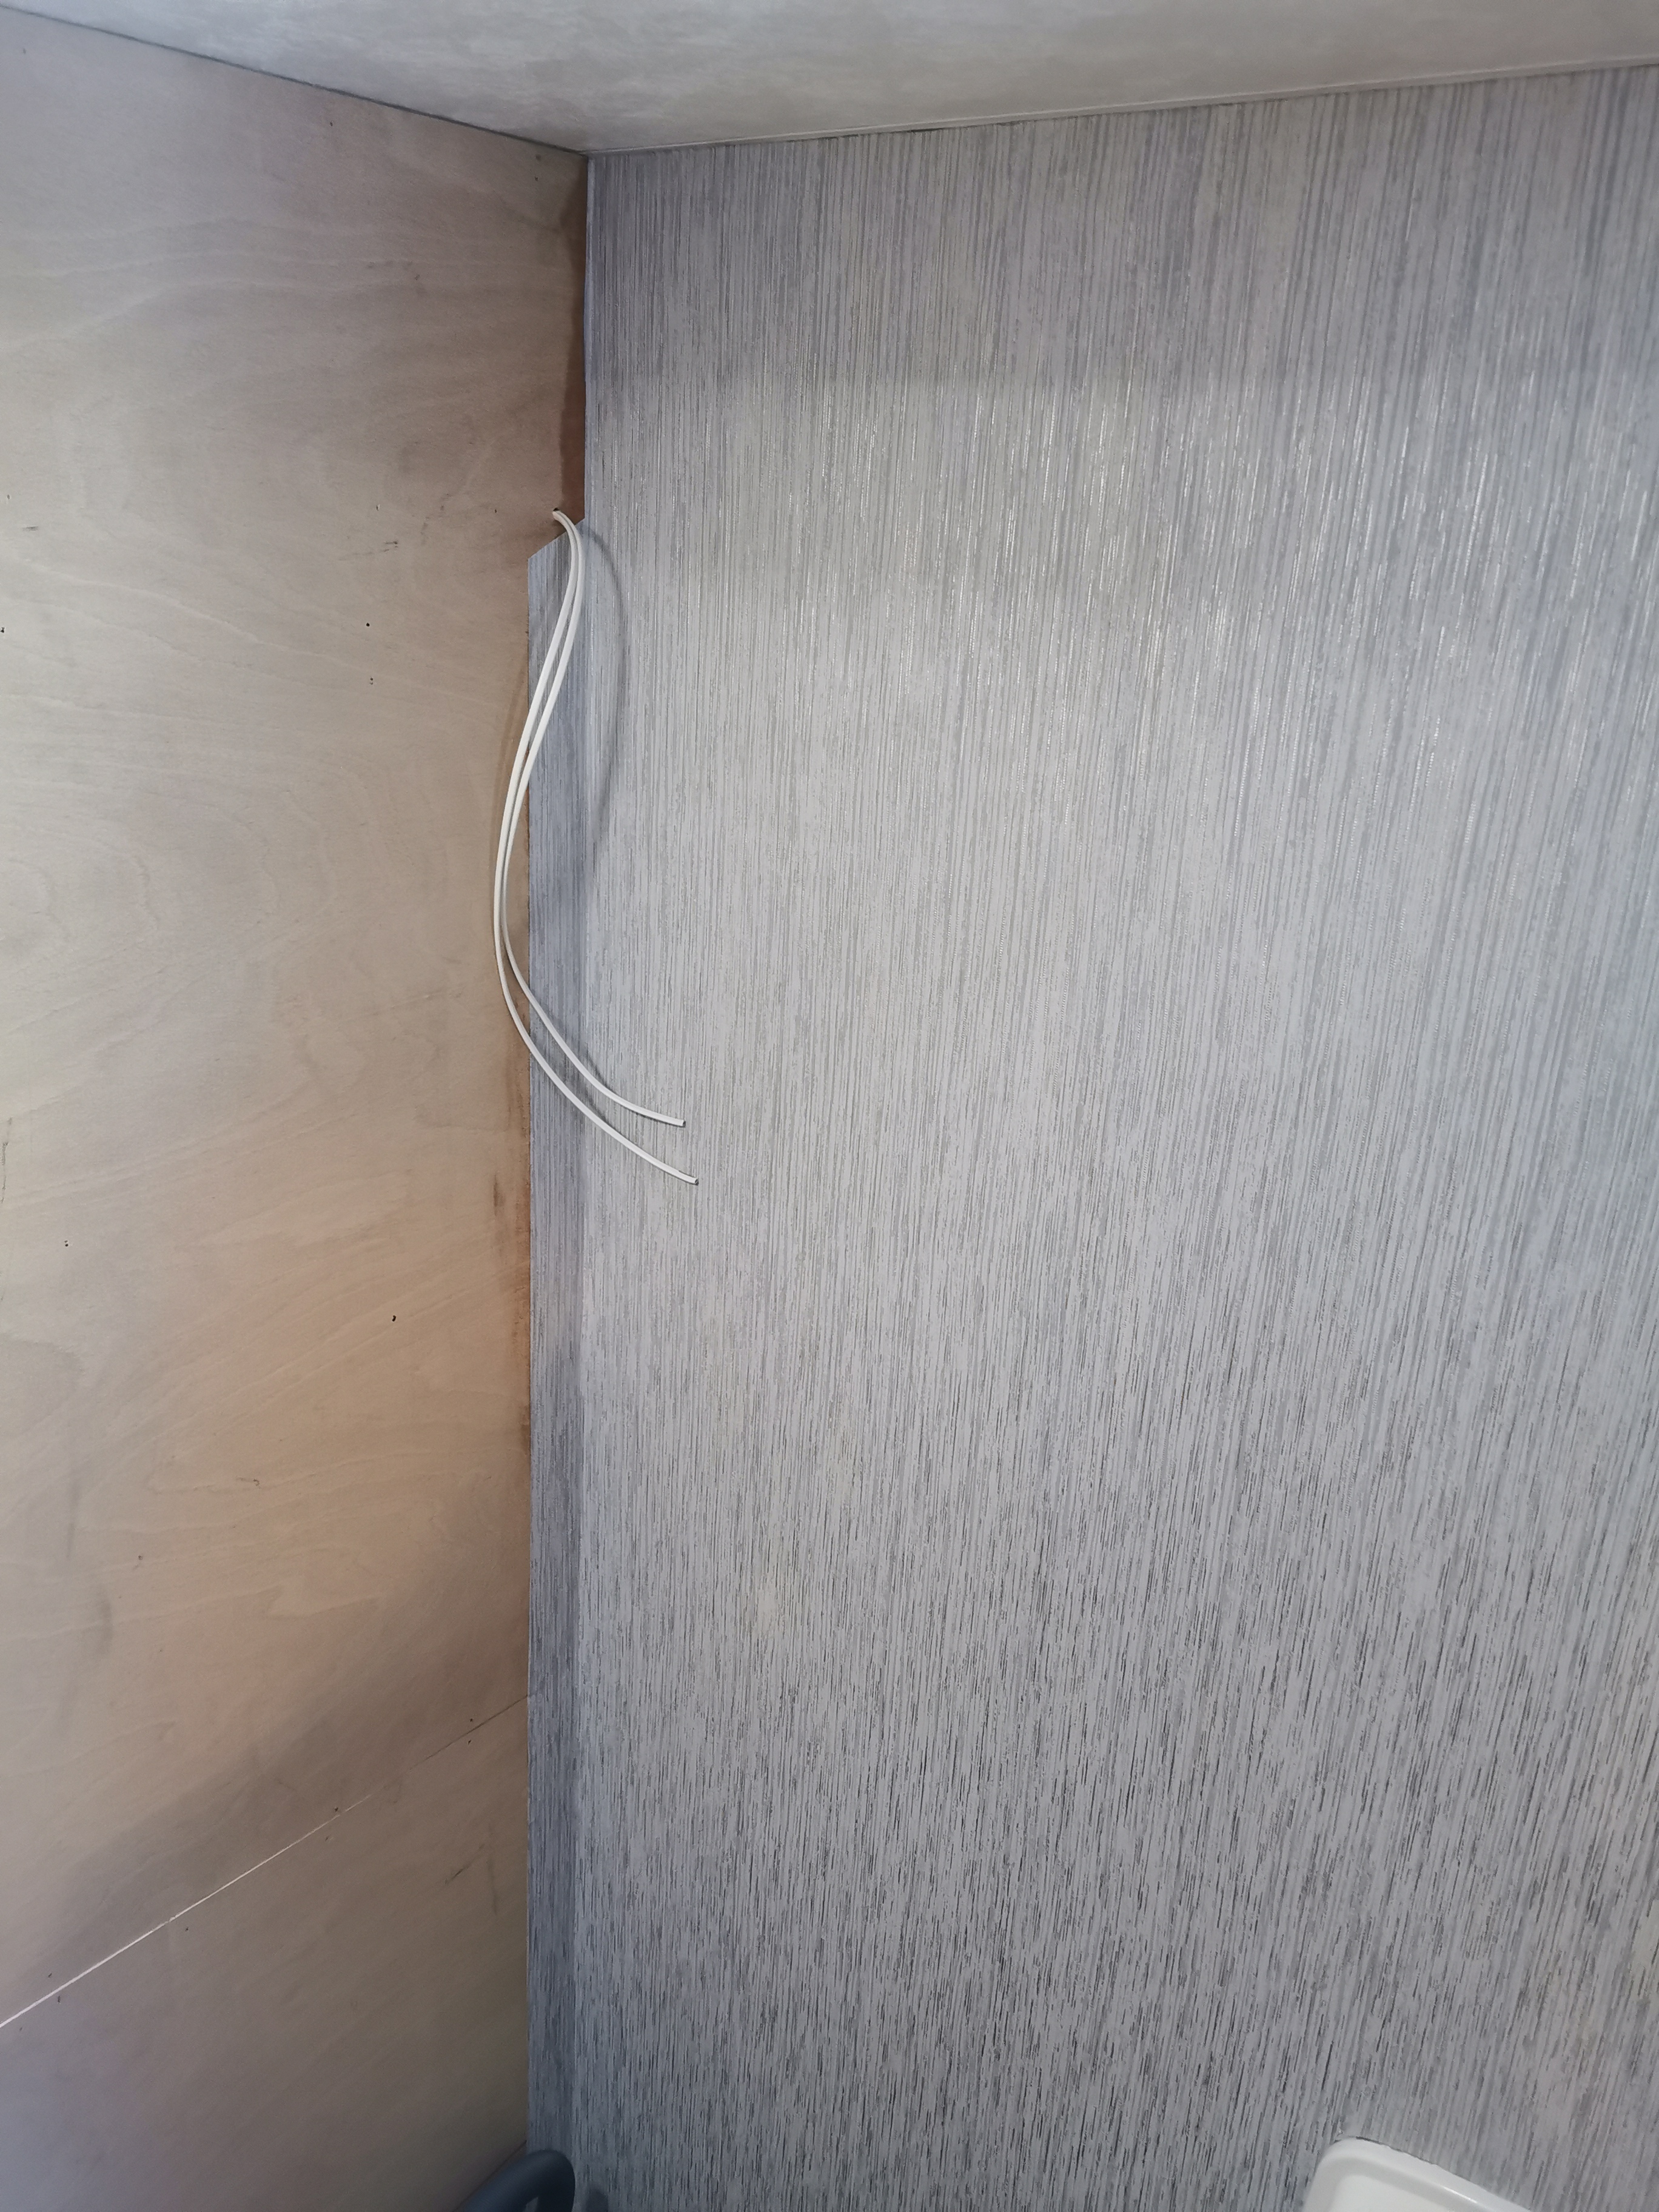
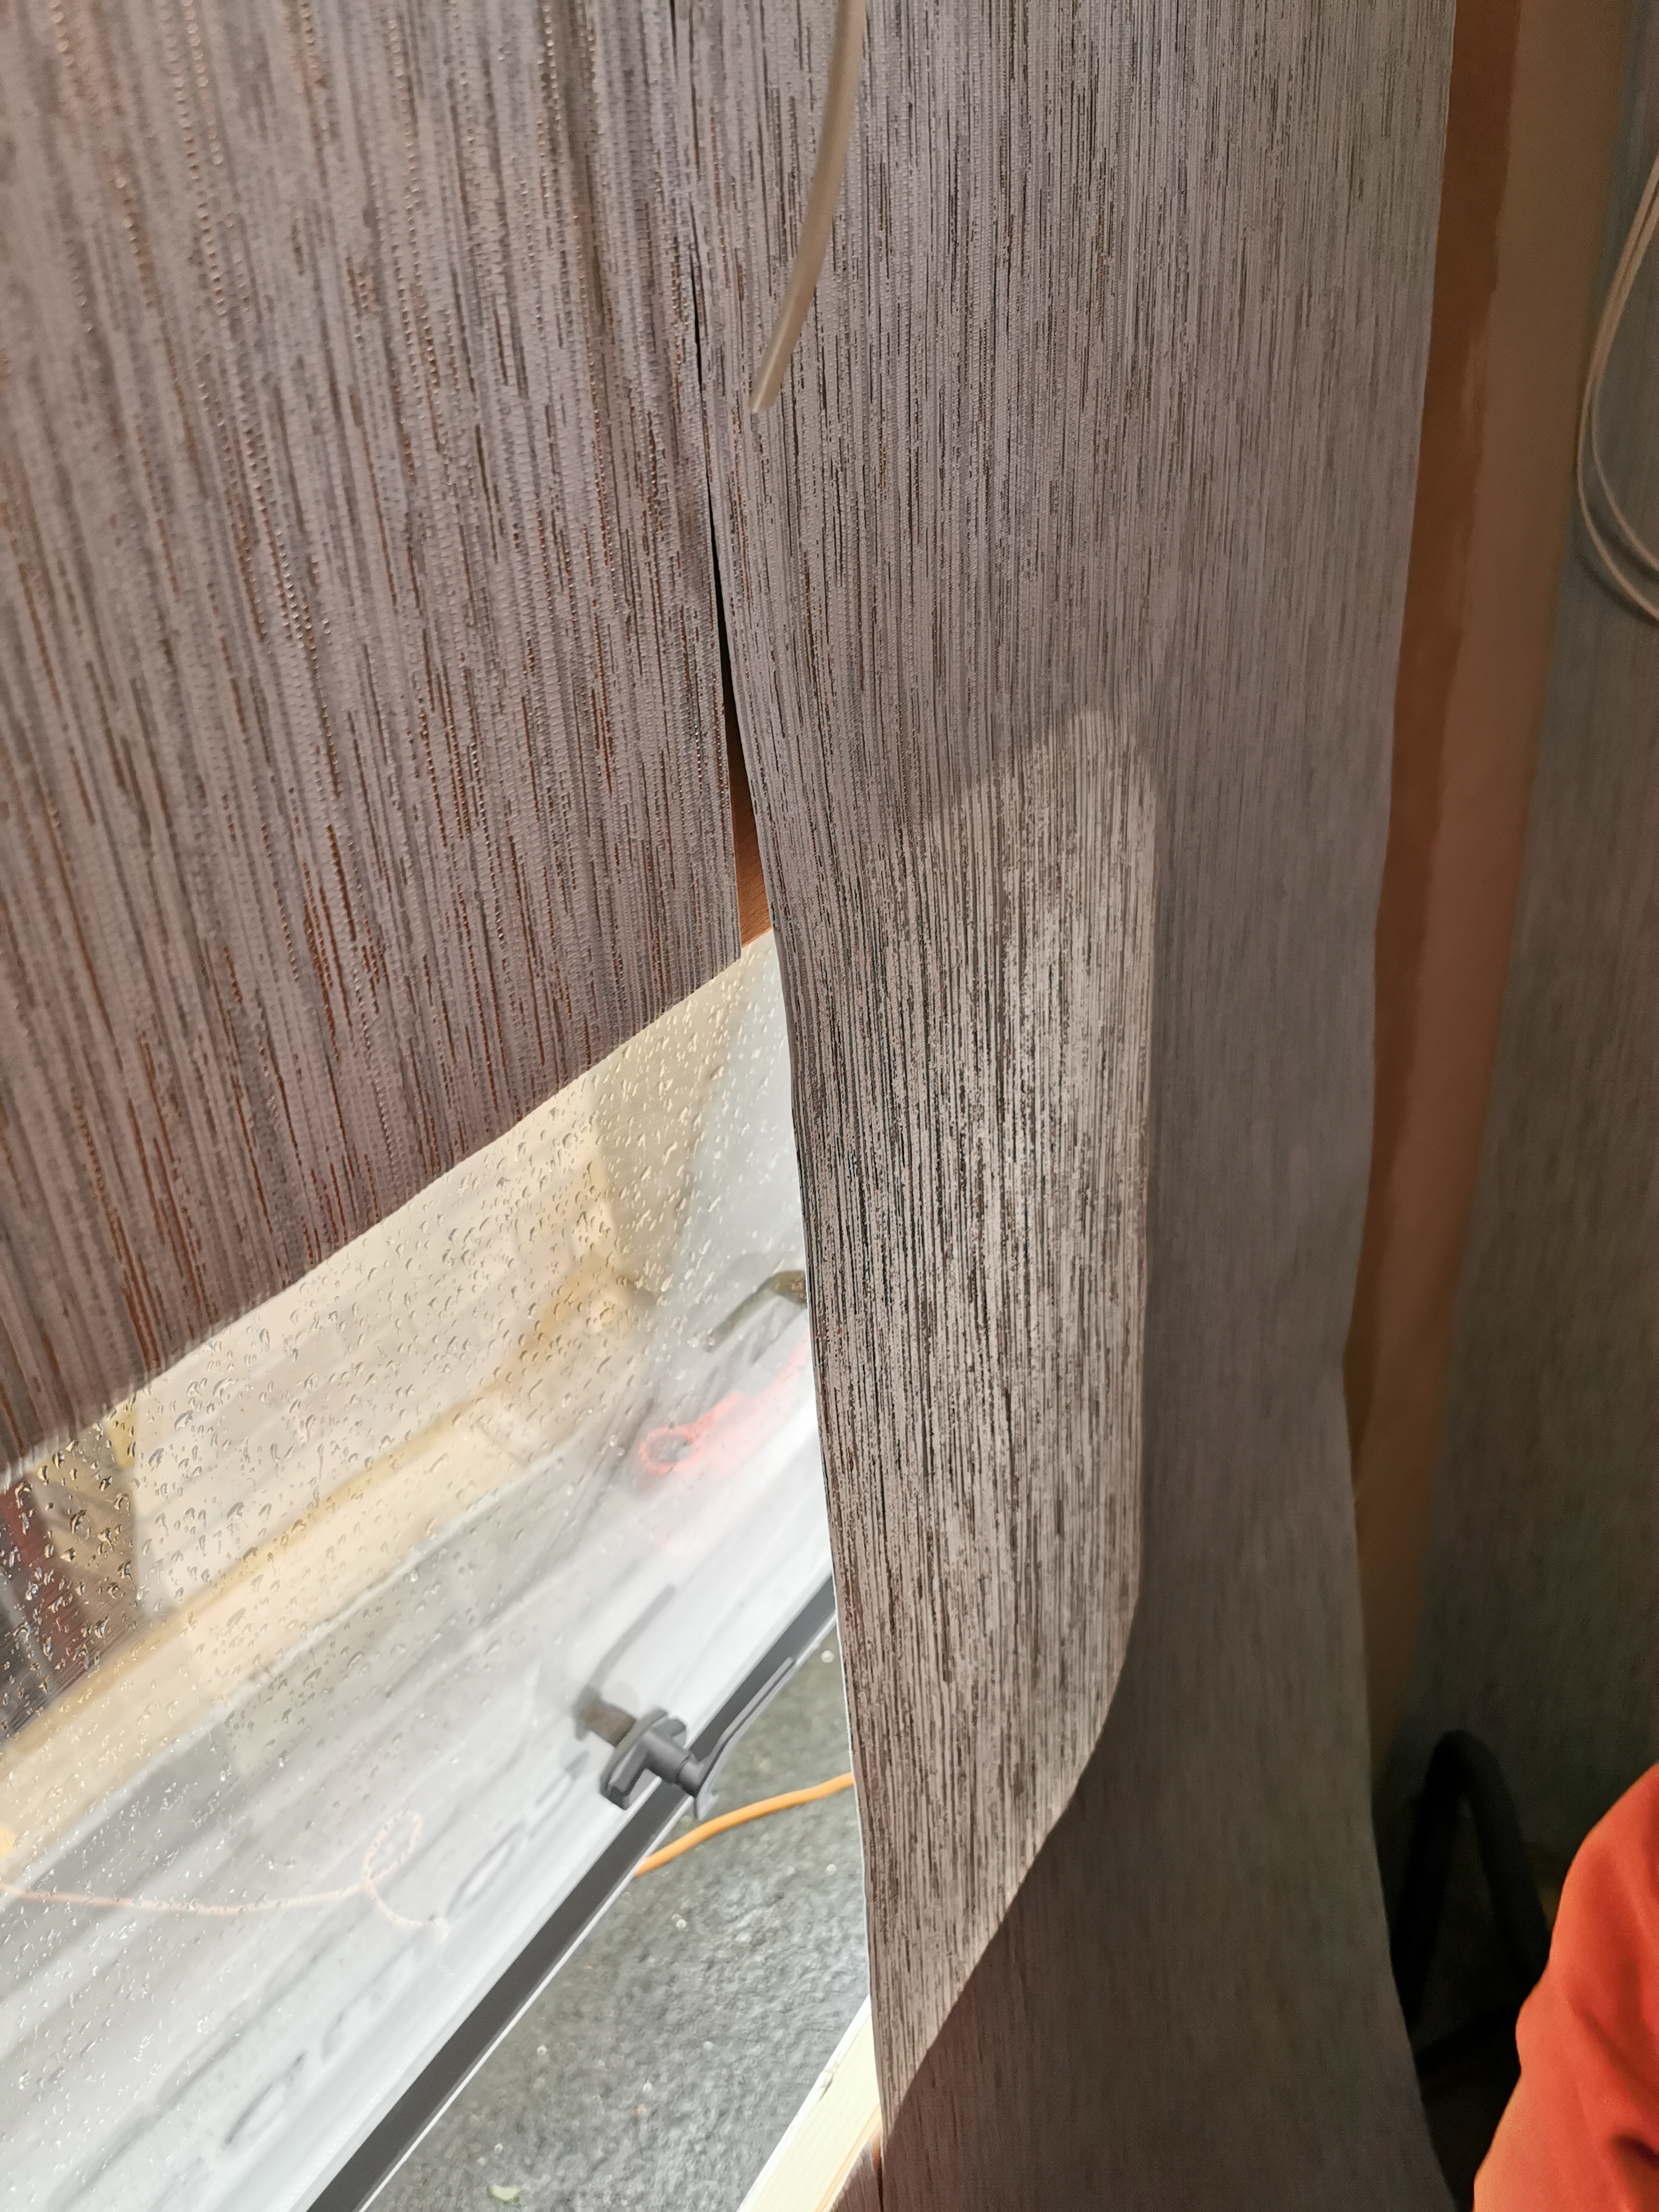
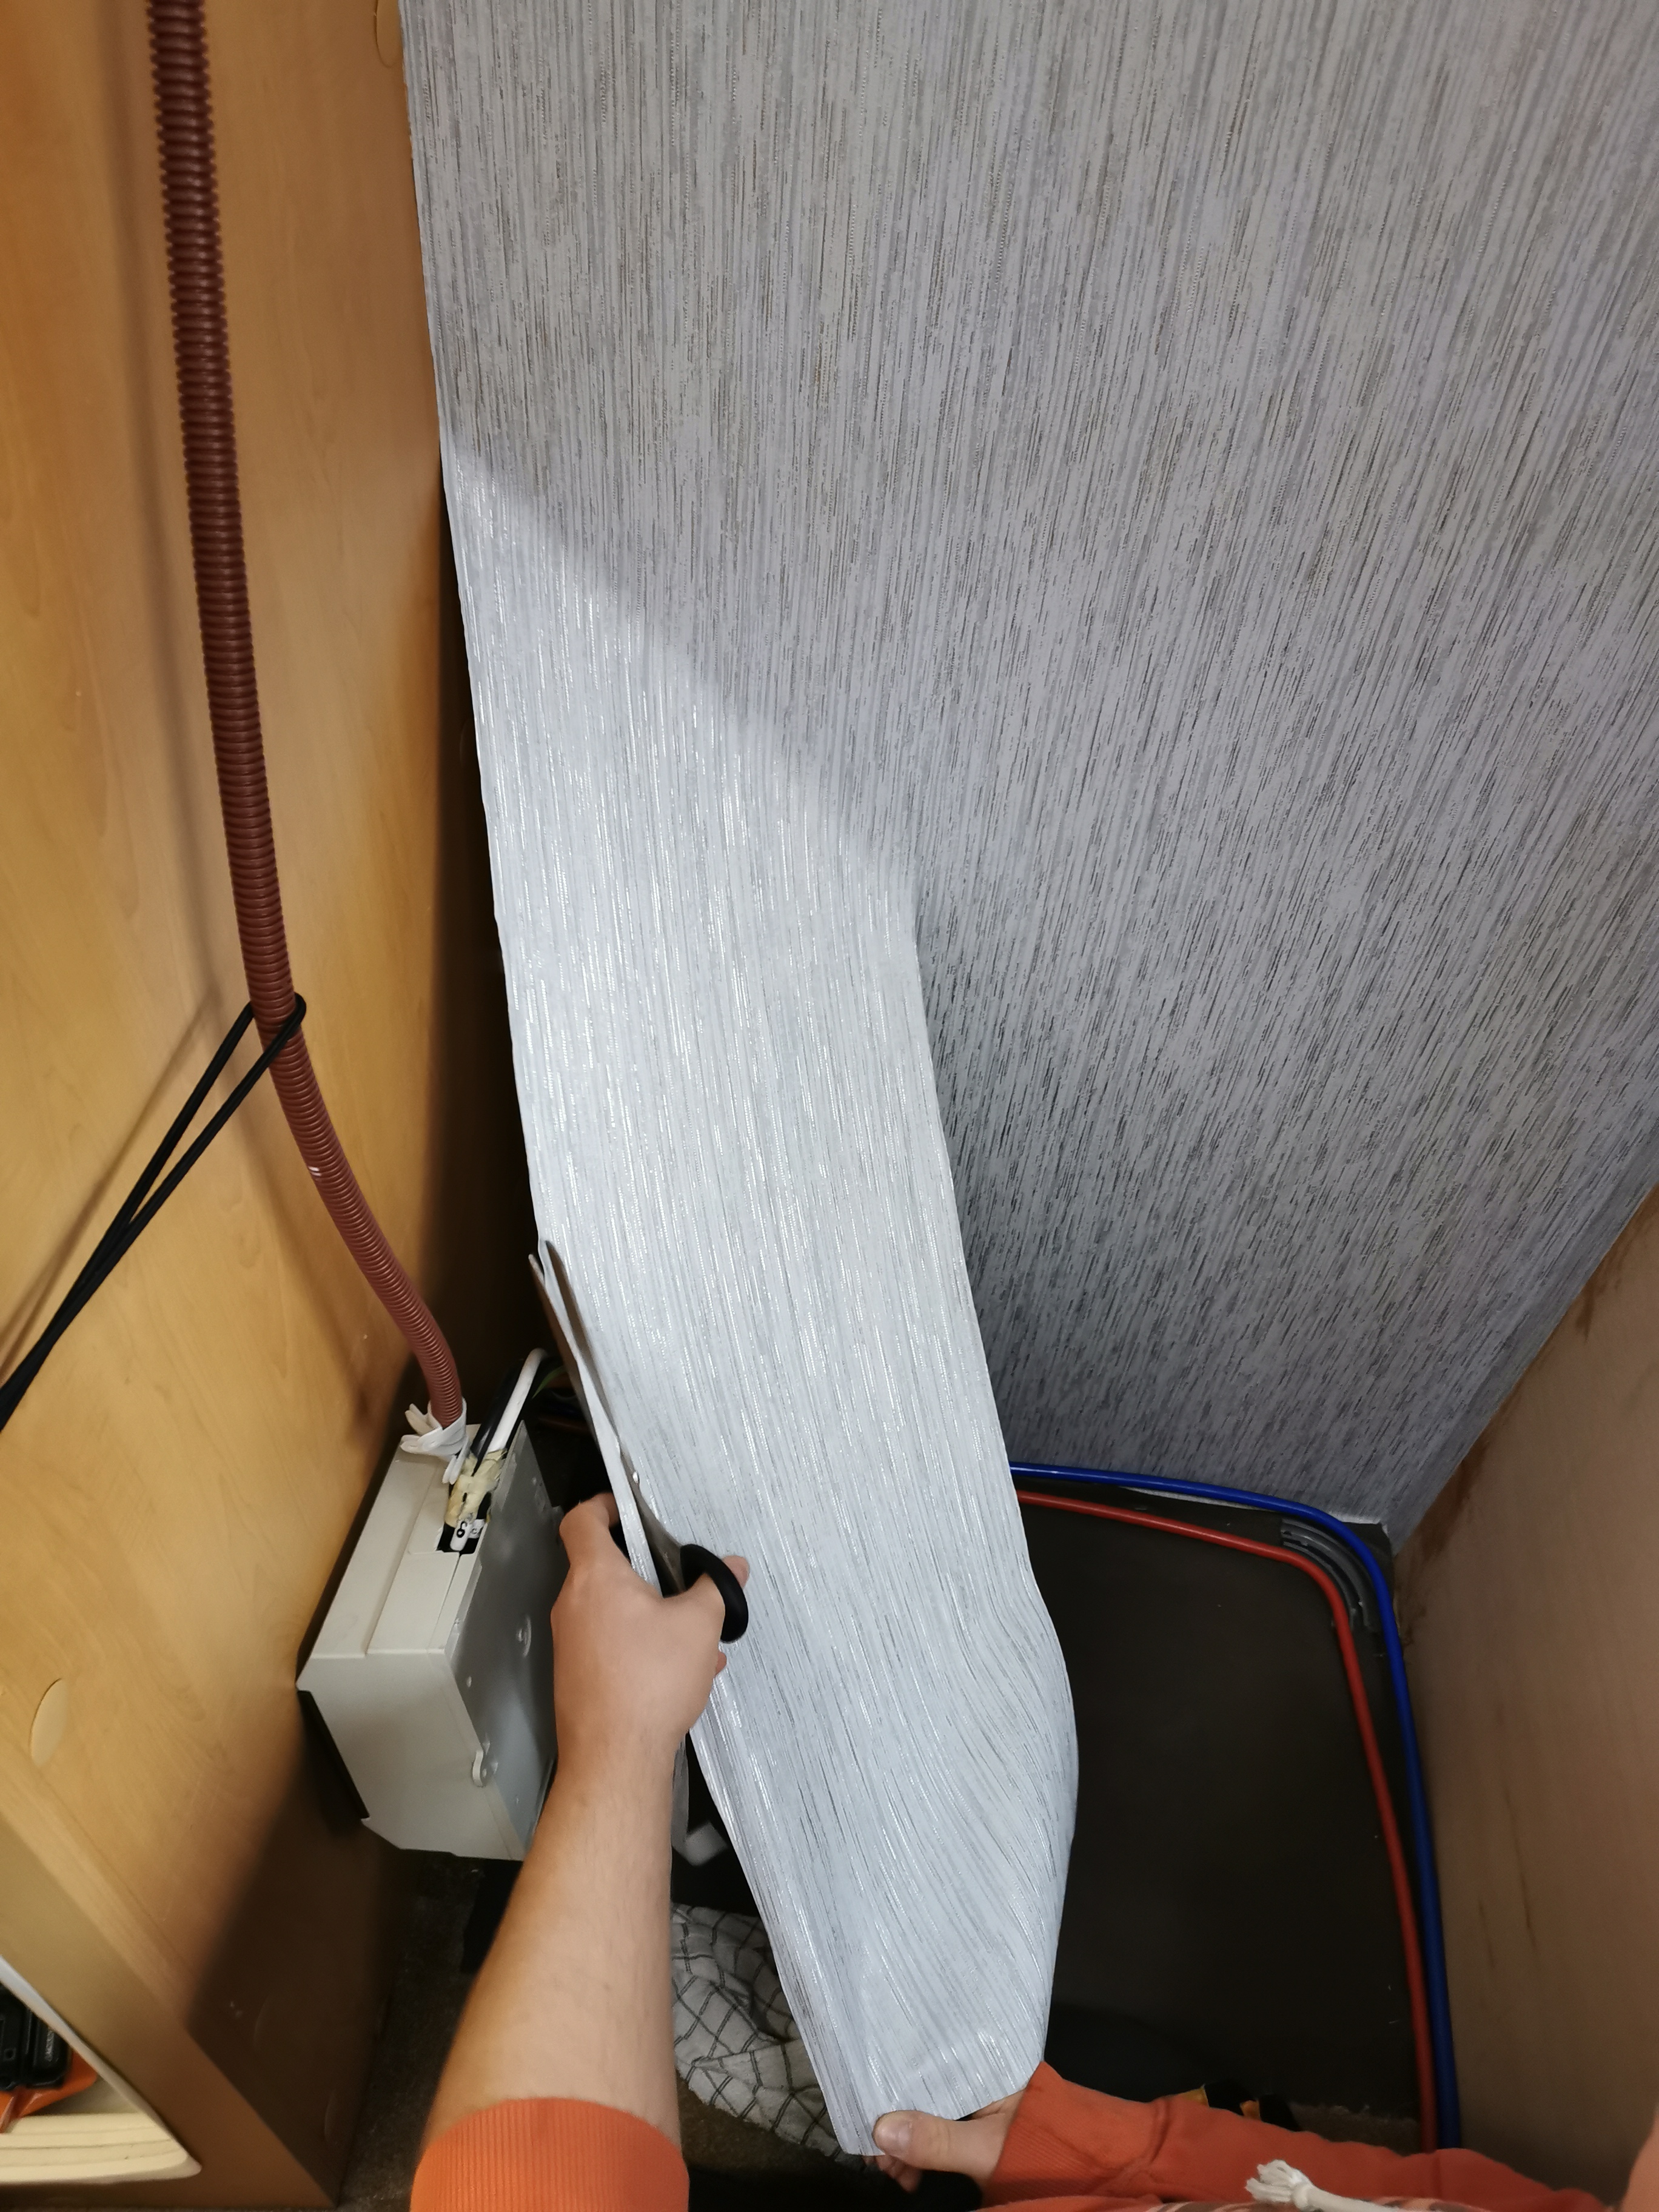
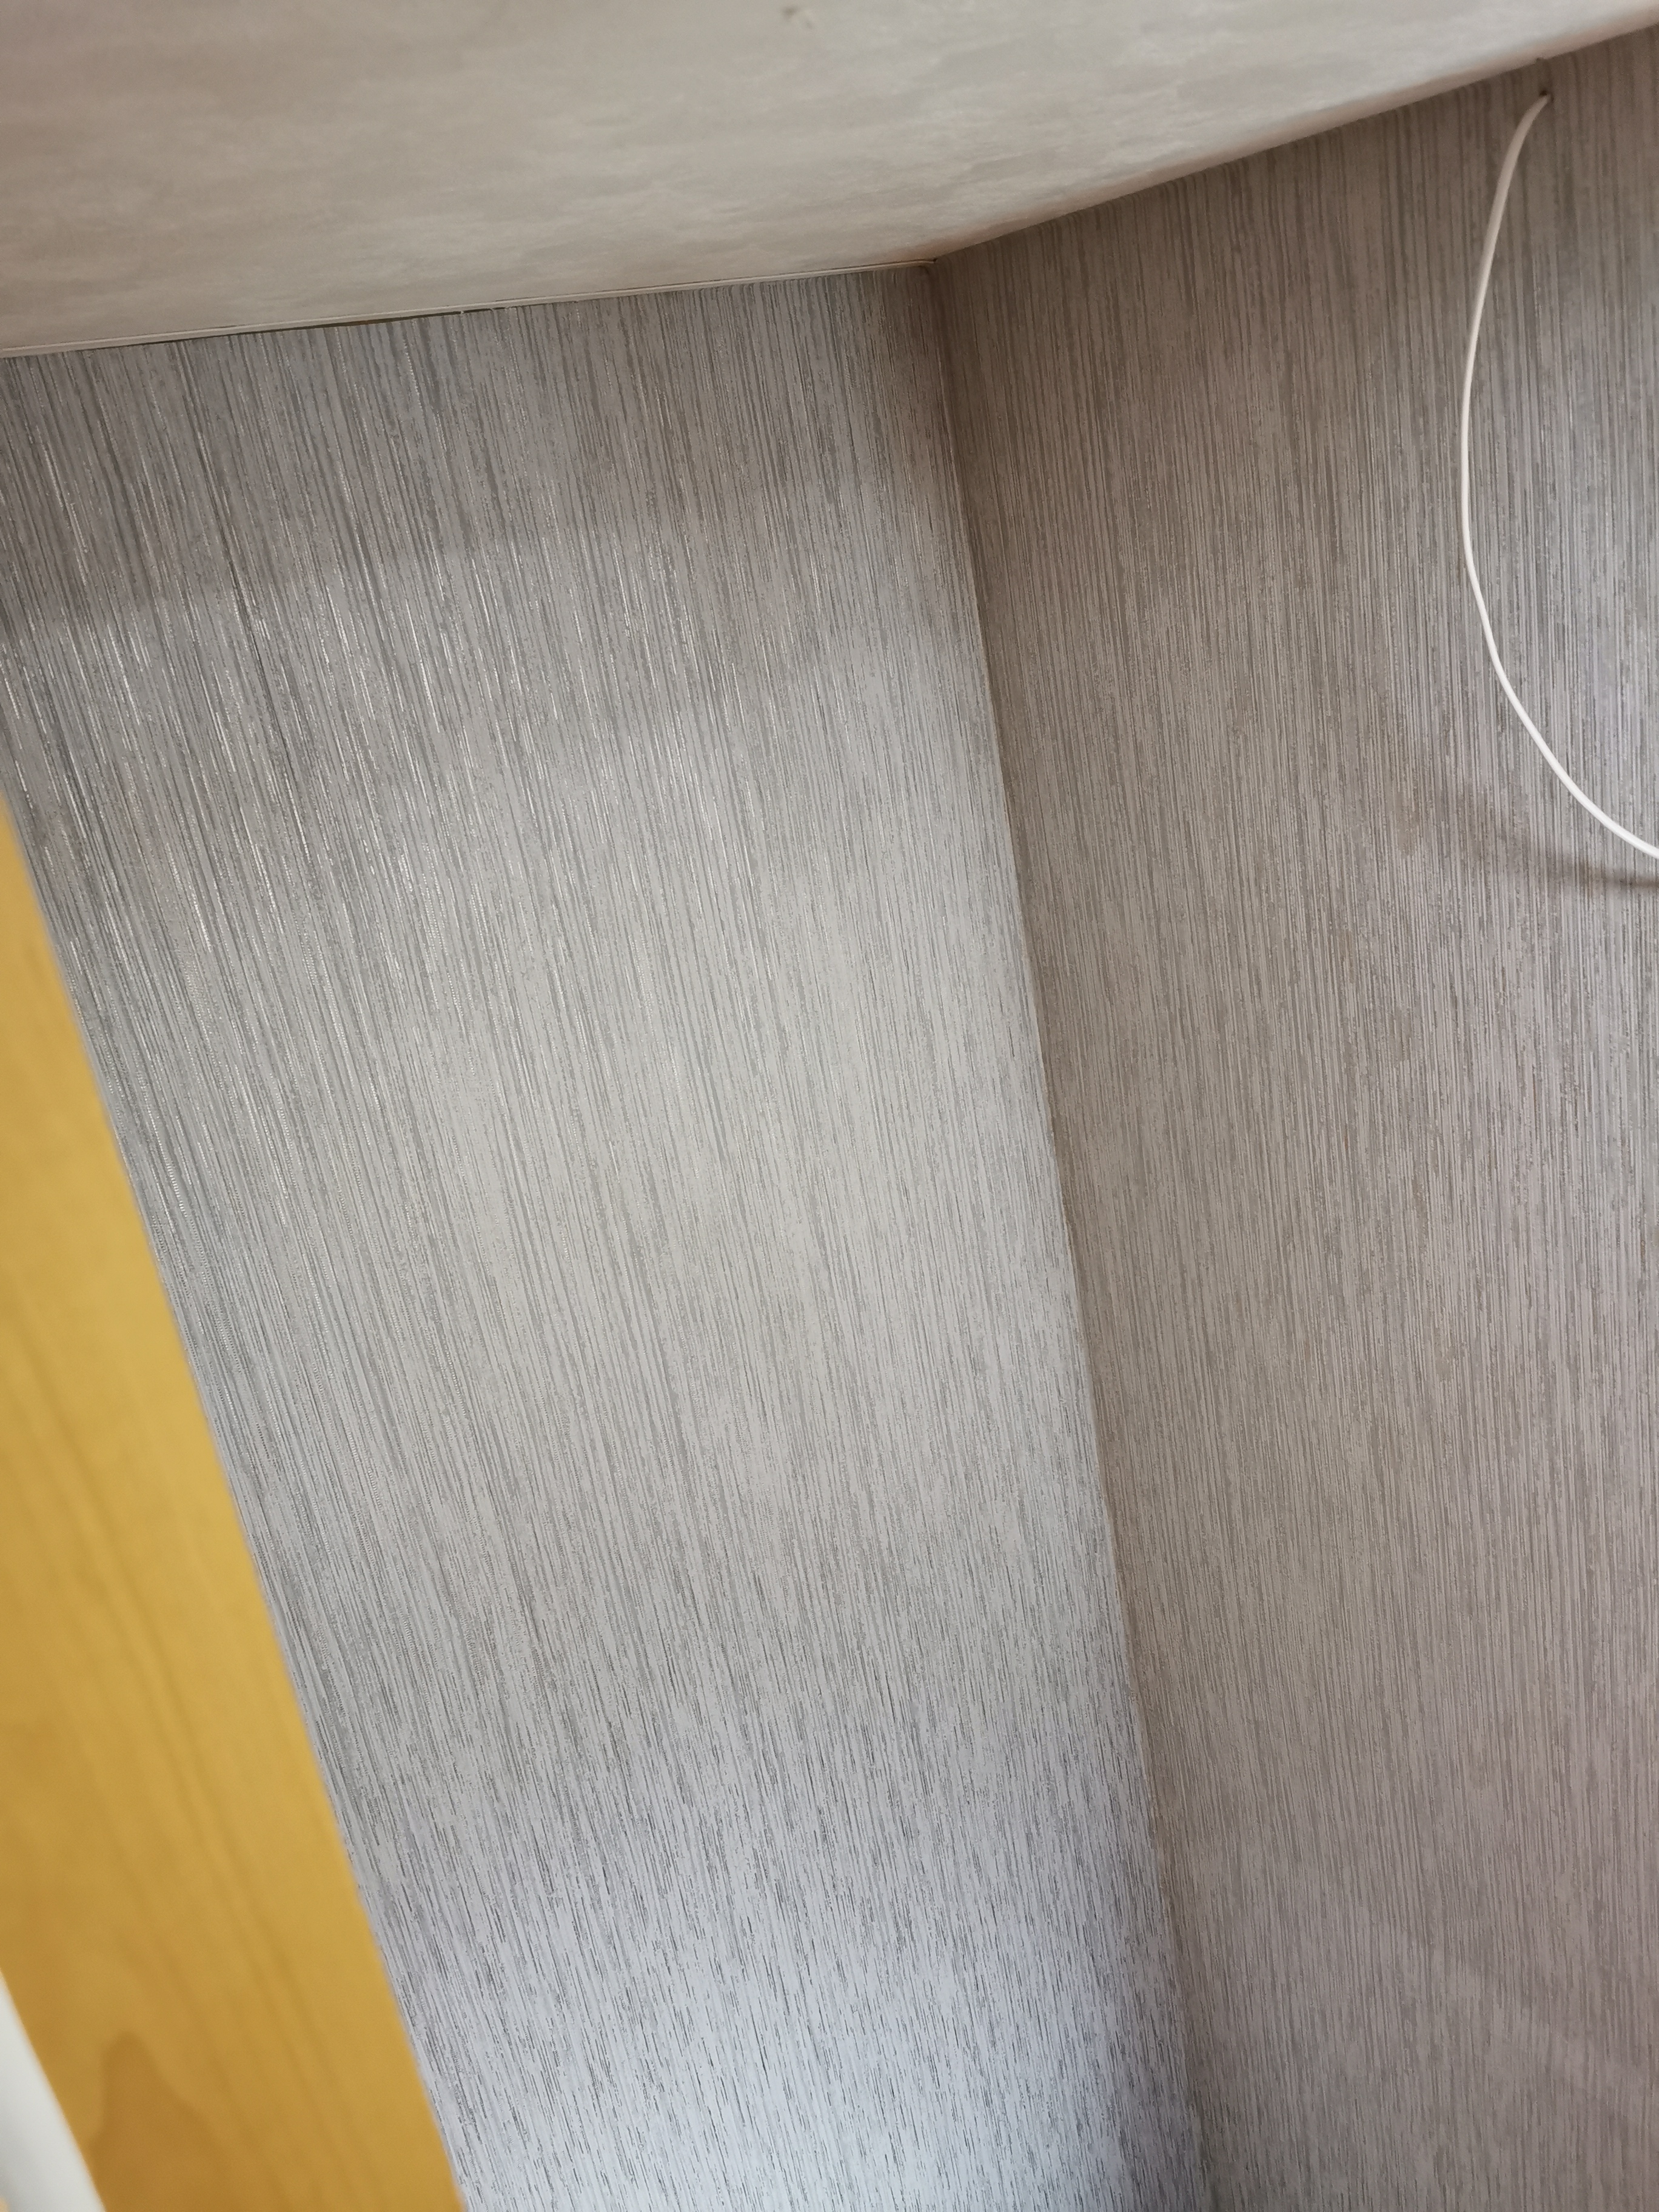
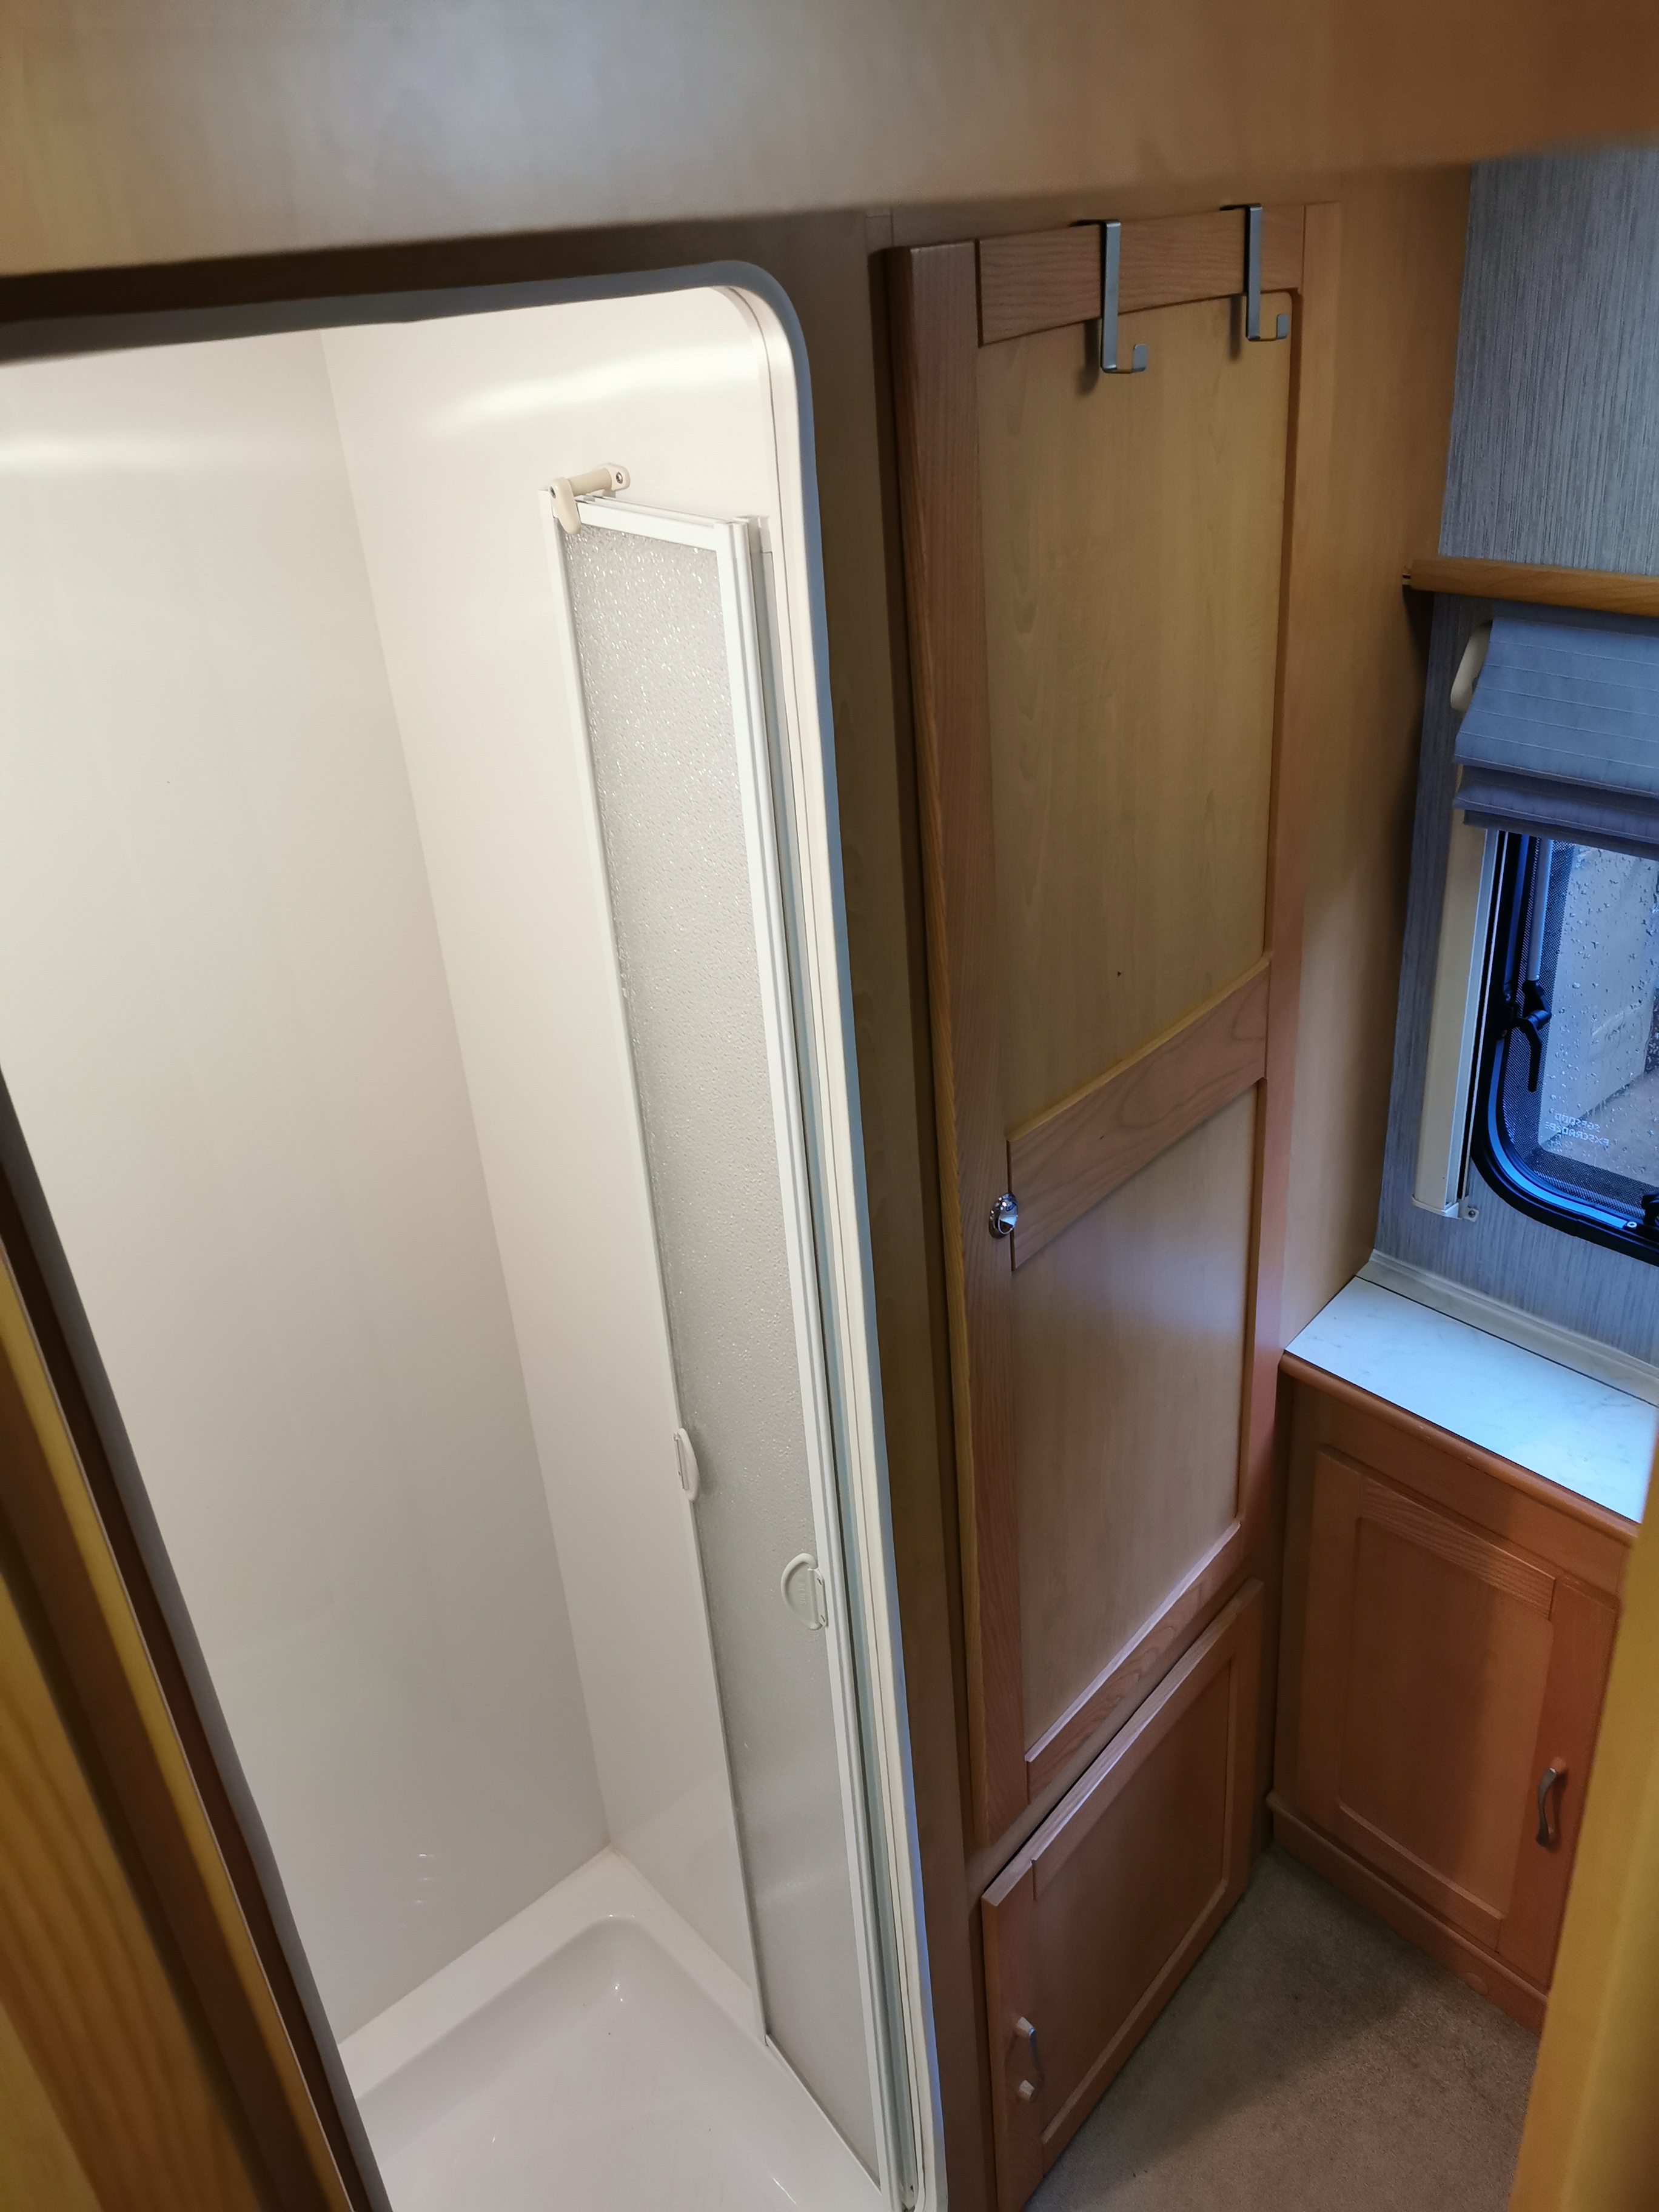
Once the wall had been replaced we then needed to decorate them. After alot of research into various wall coverings we decided to go for a vinyl wallpaper from B&Q as you paste straight onto the wall, no need to cover the paper and wait. Cuting around the toilet was very tricky!
When the wall papering was complete it was time to remember where all of the fixtures go! Luckily we took lots of photos before removing anything and used small bags to organise the screws.
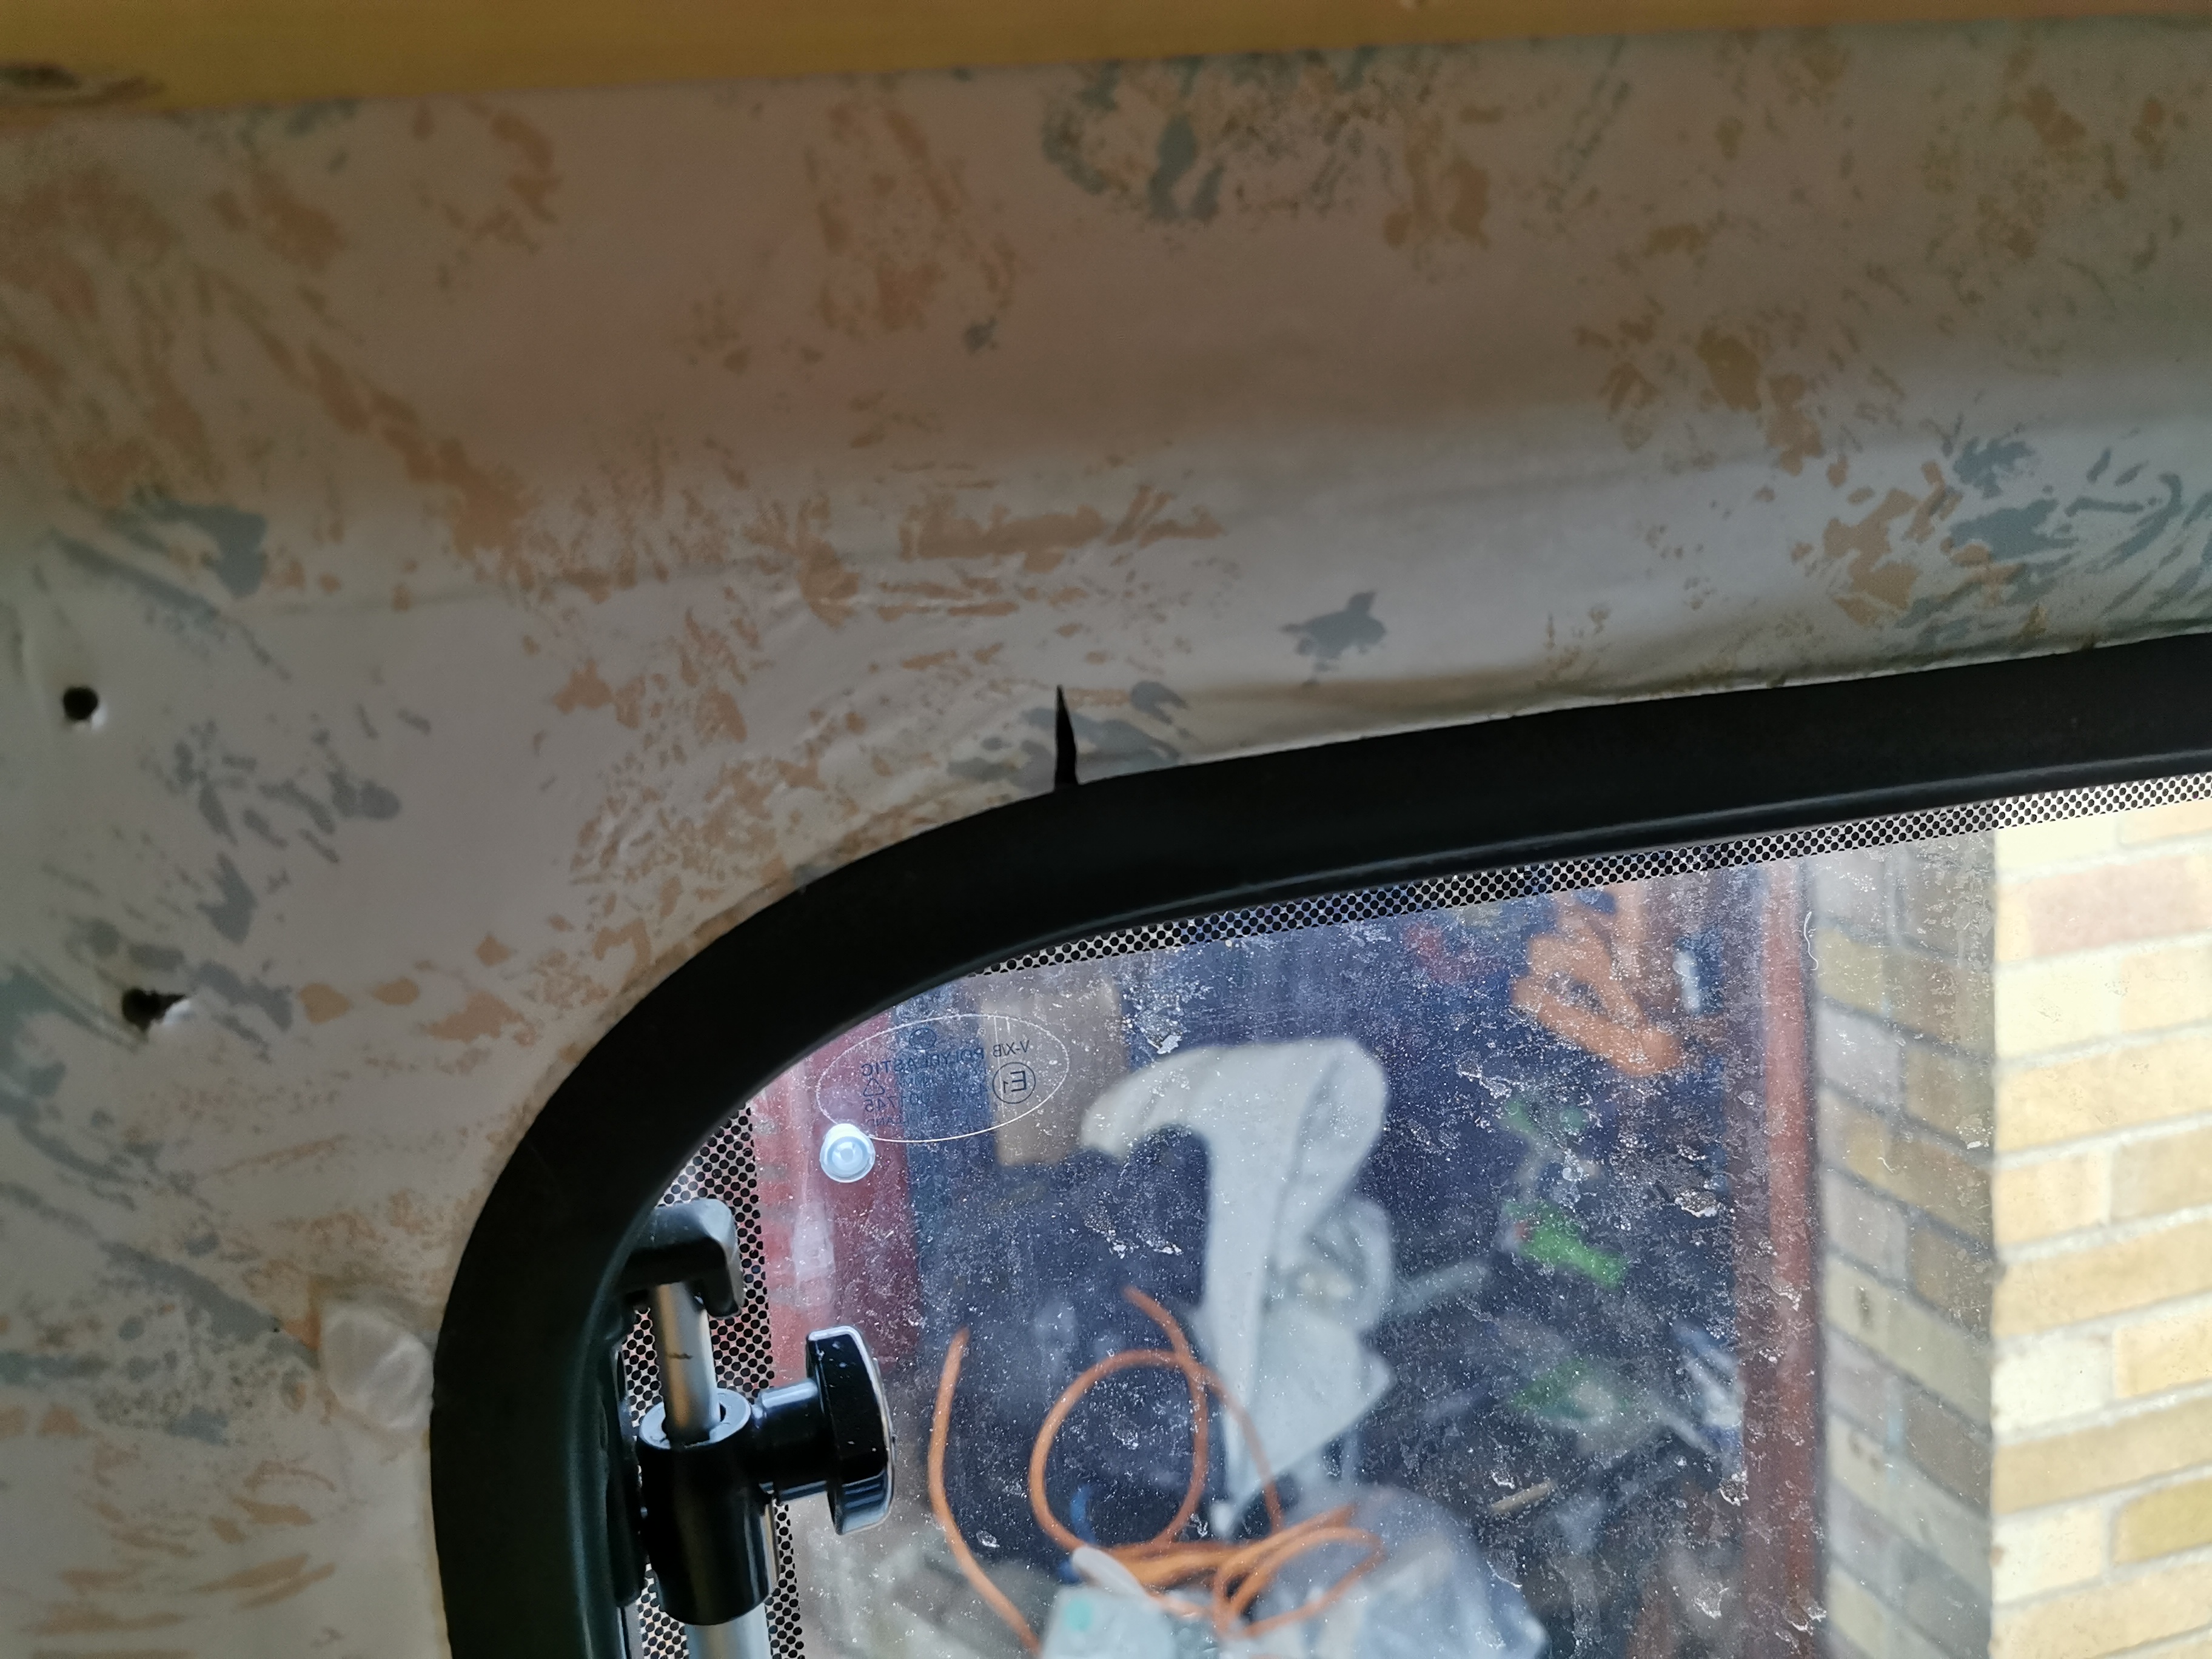
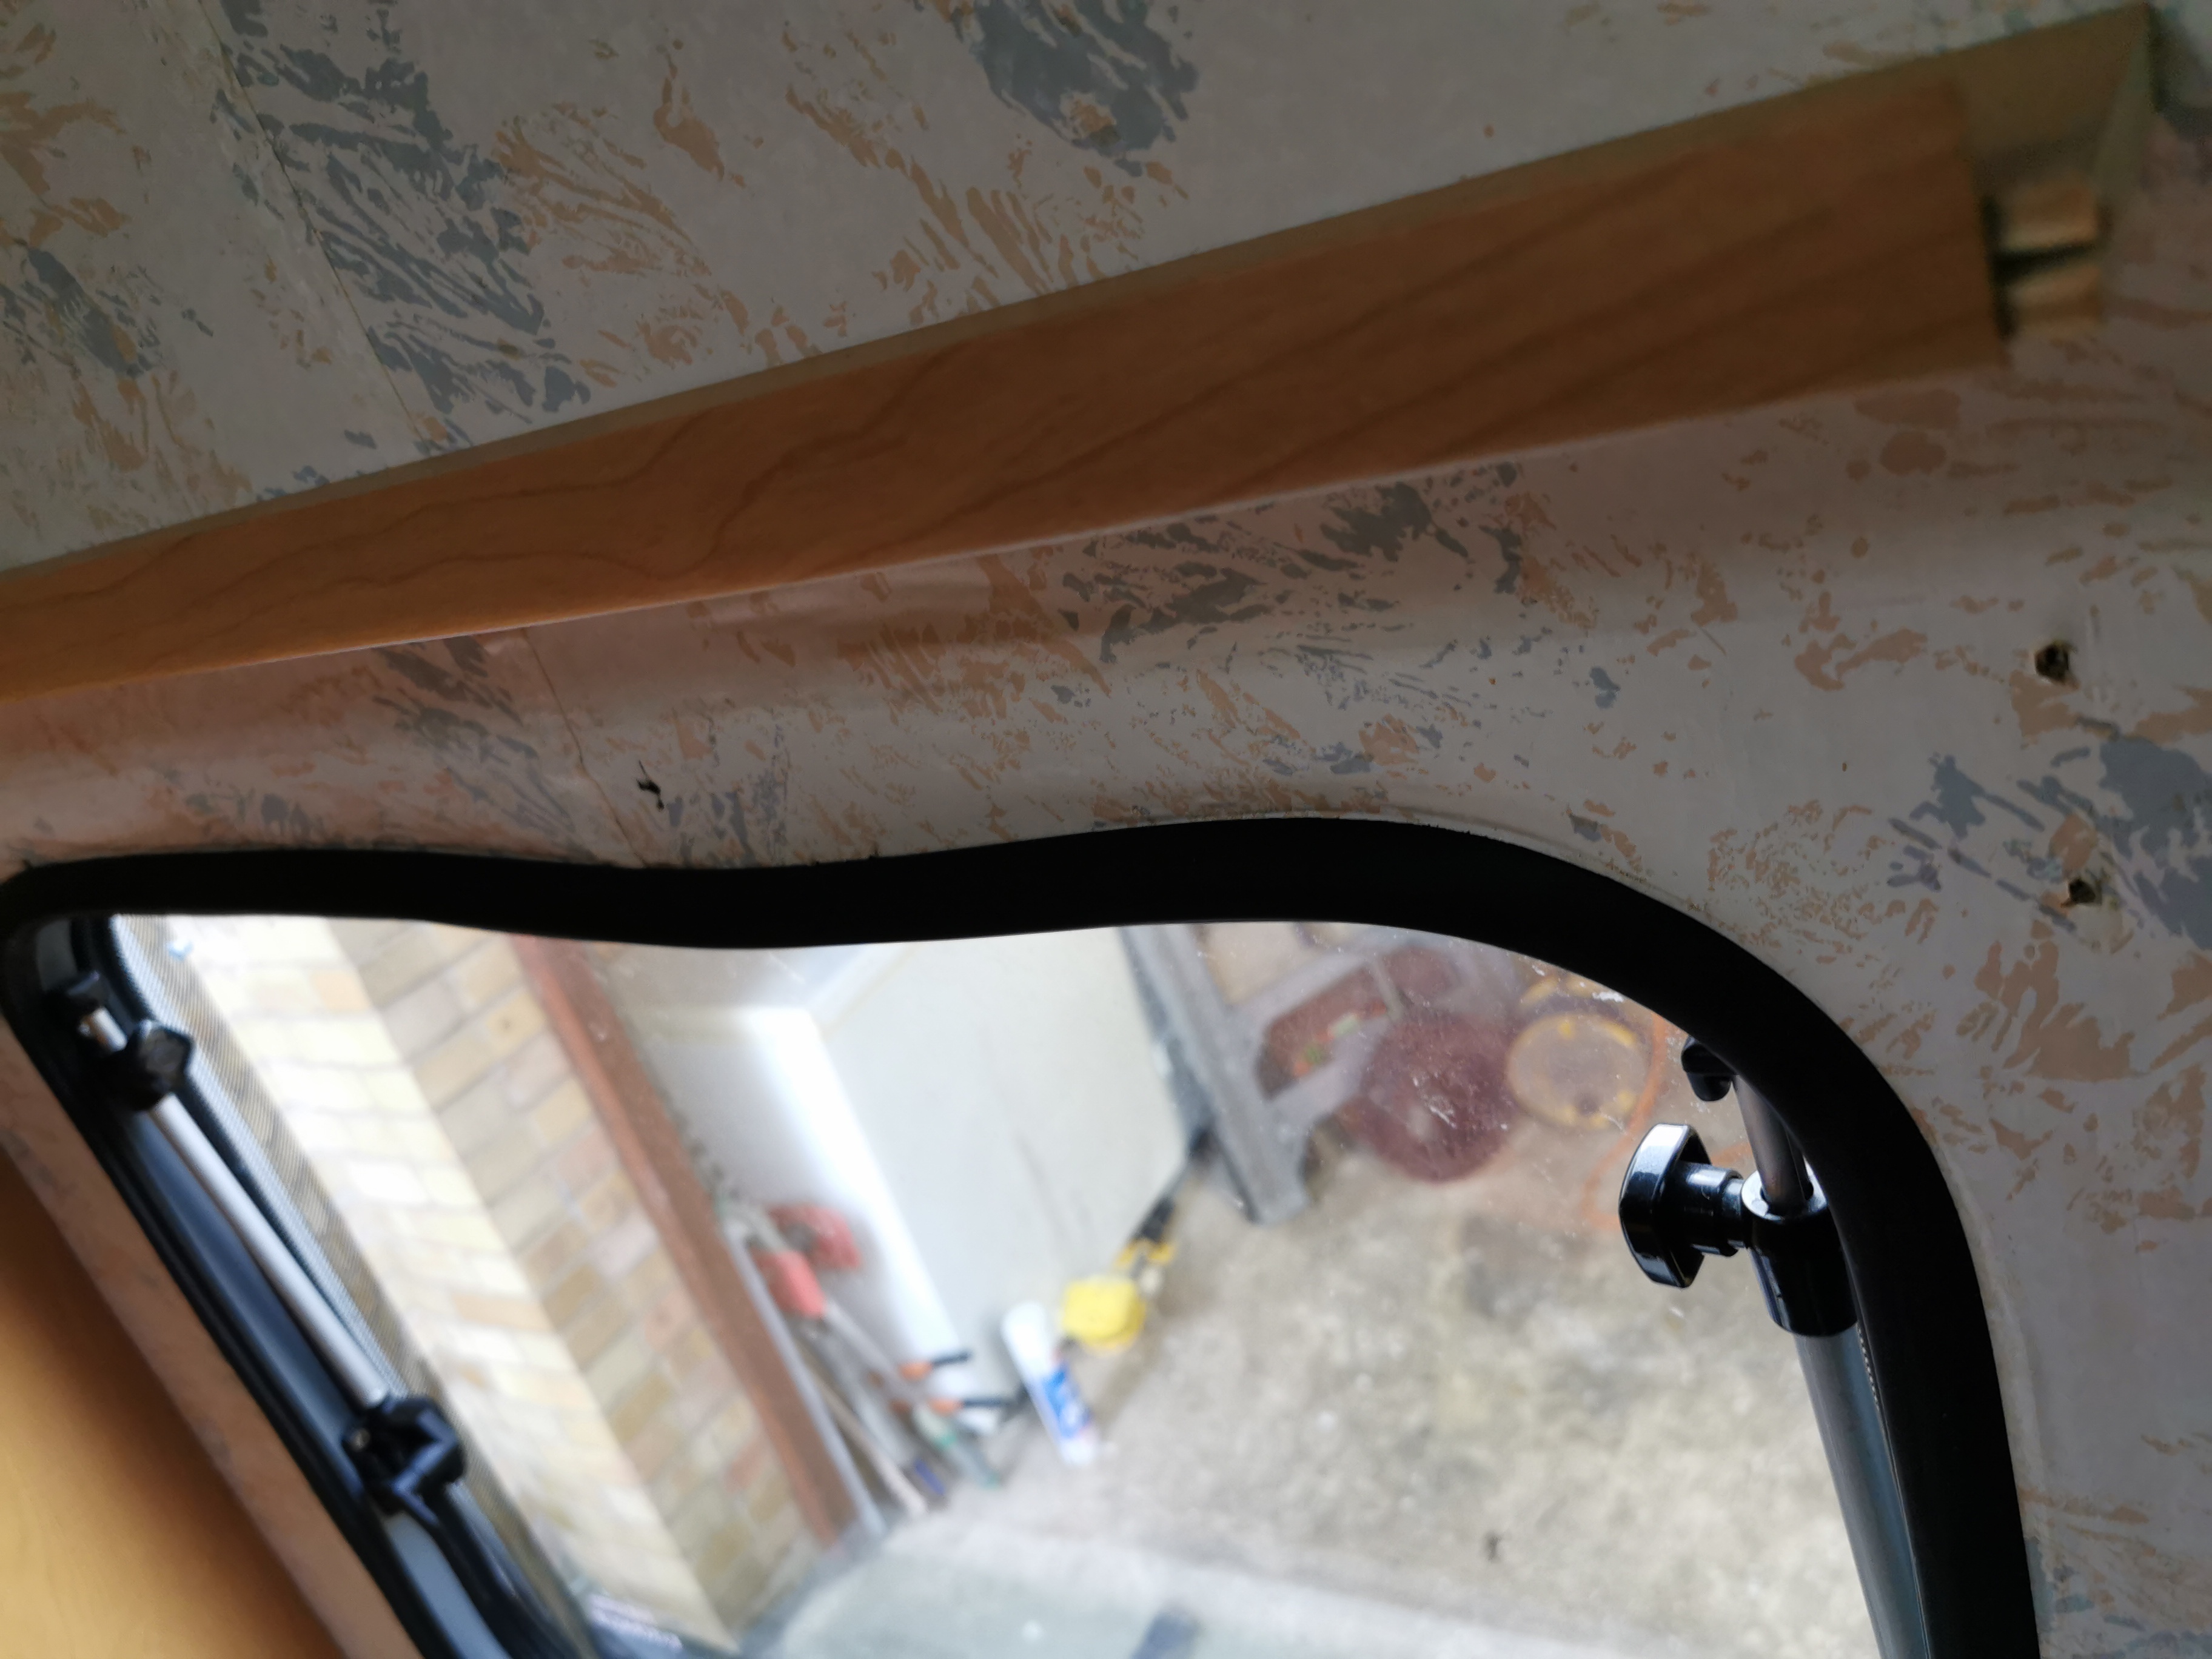
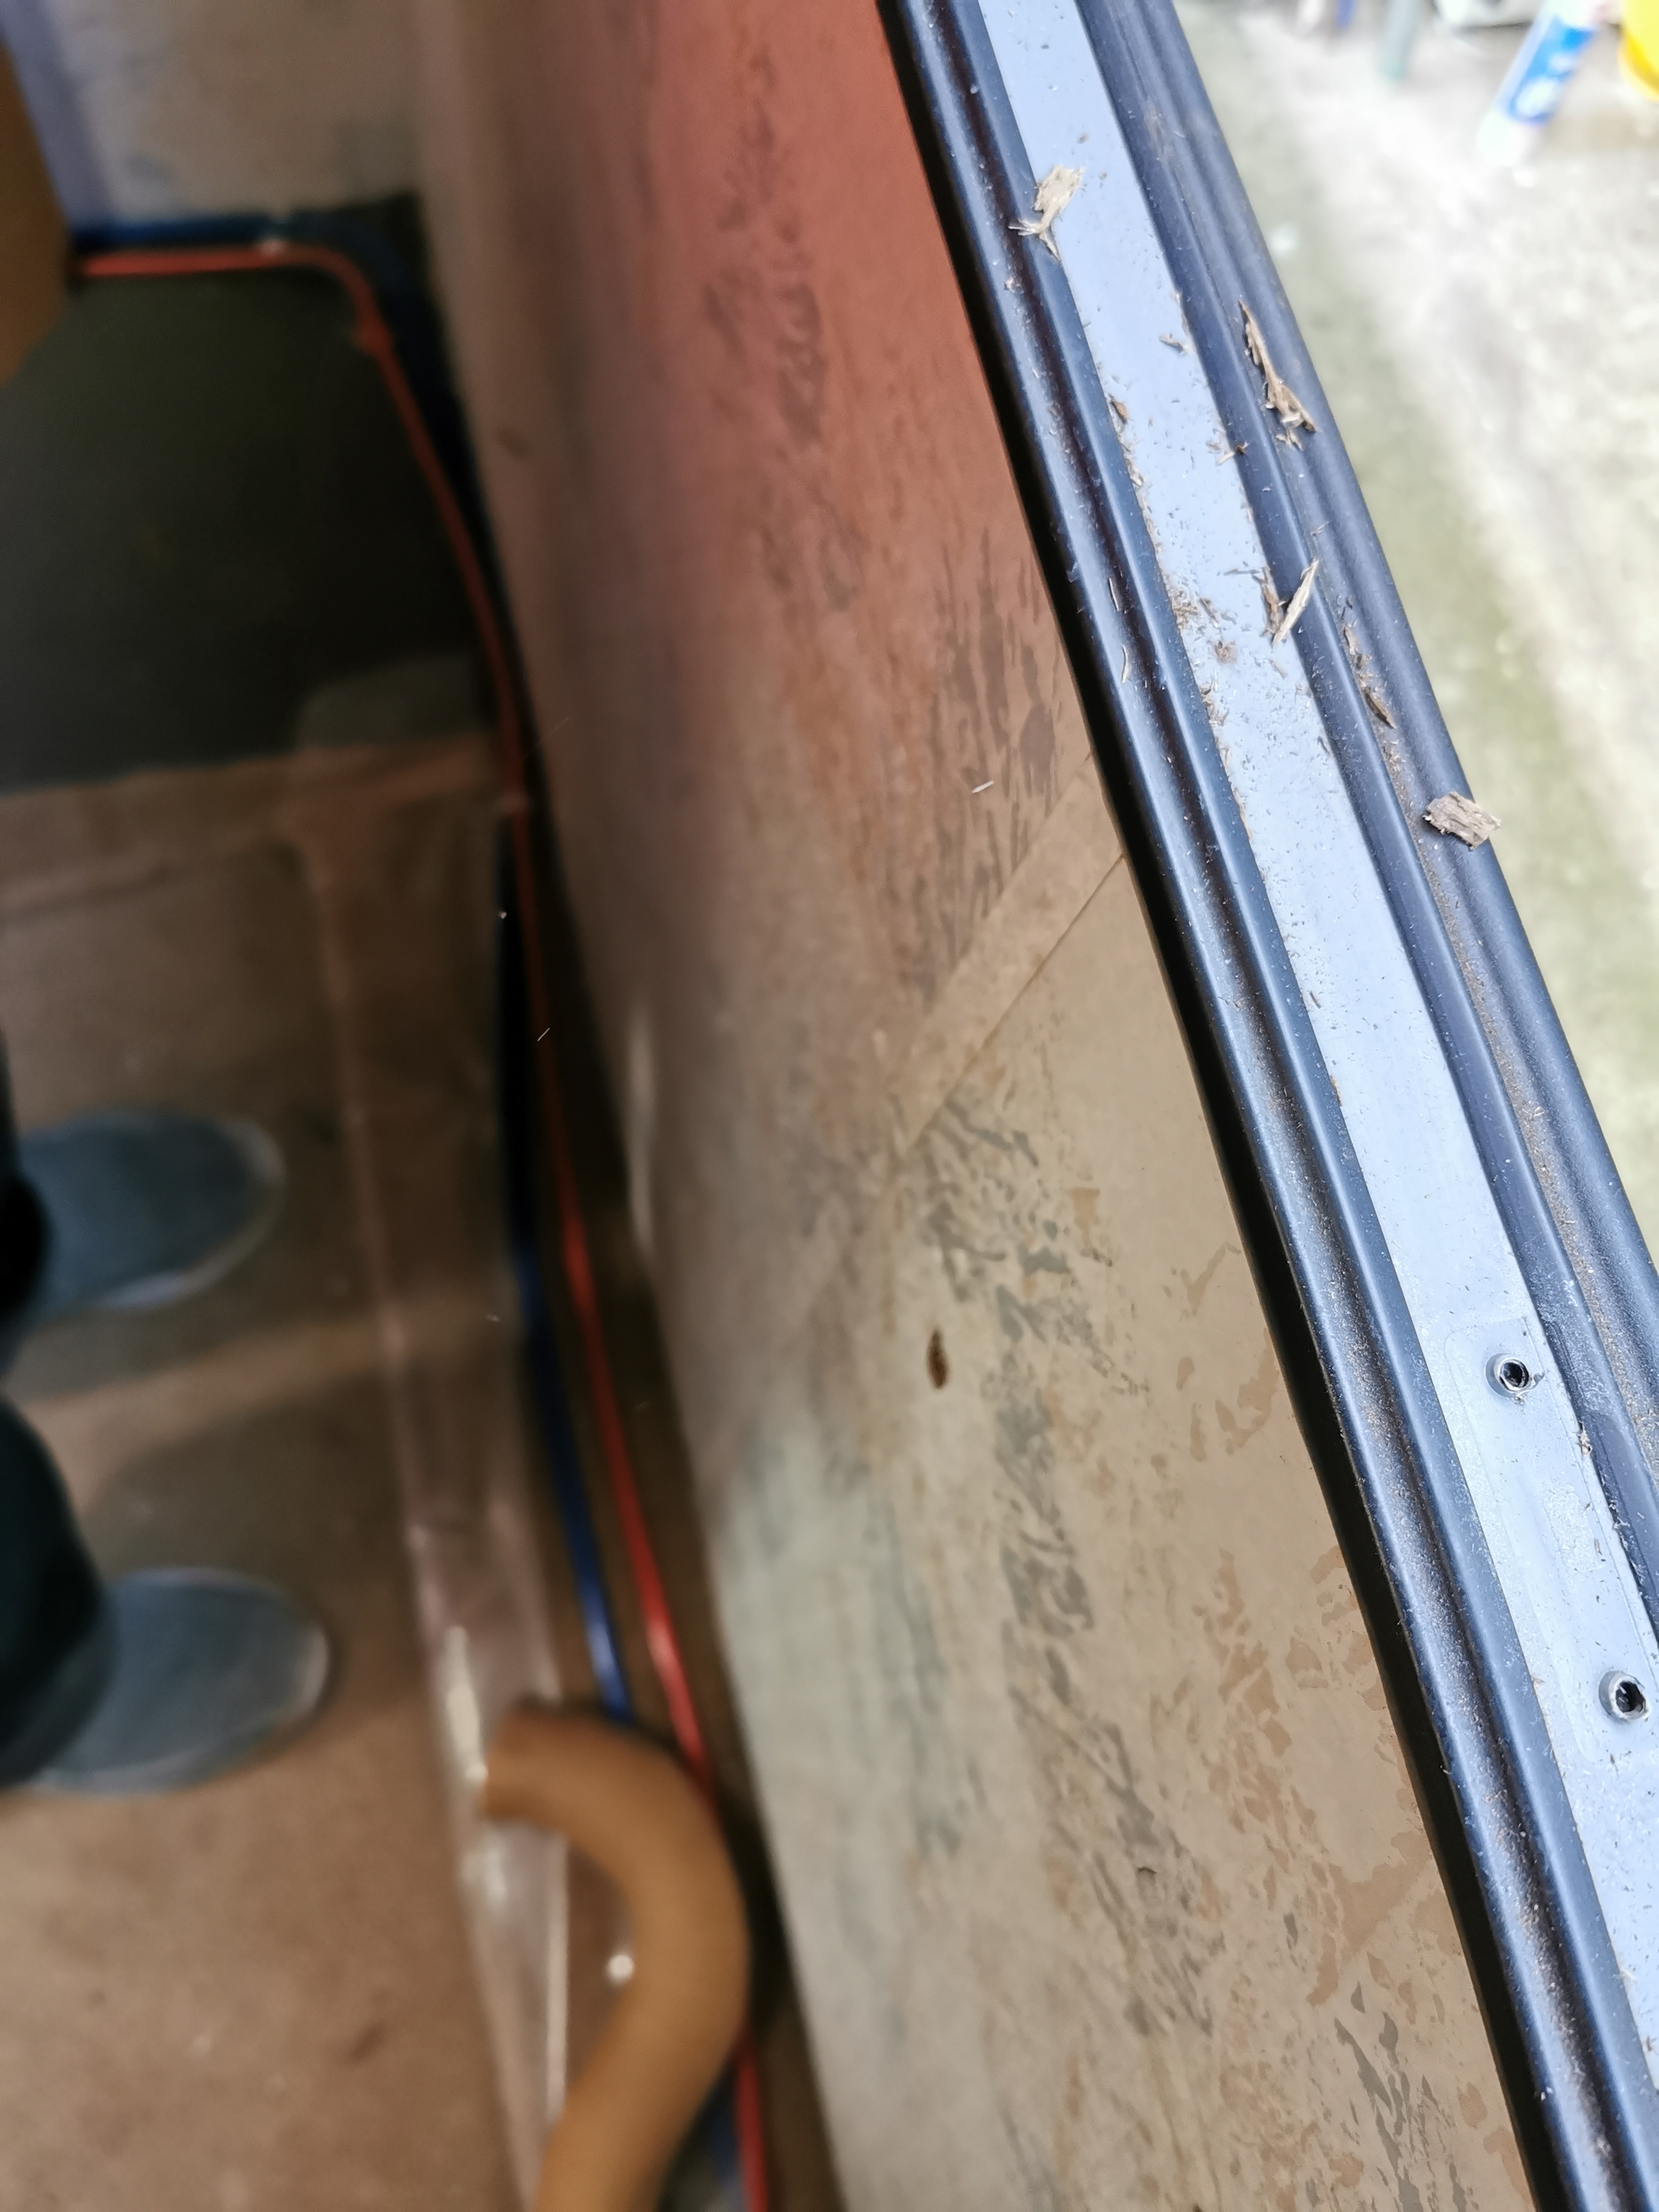
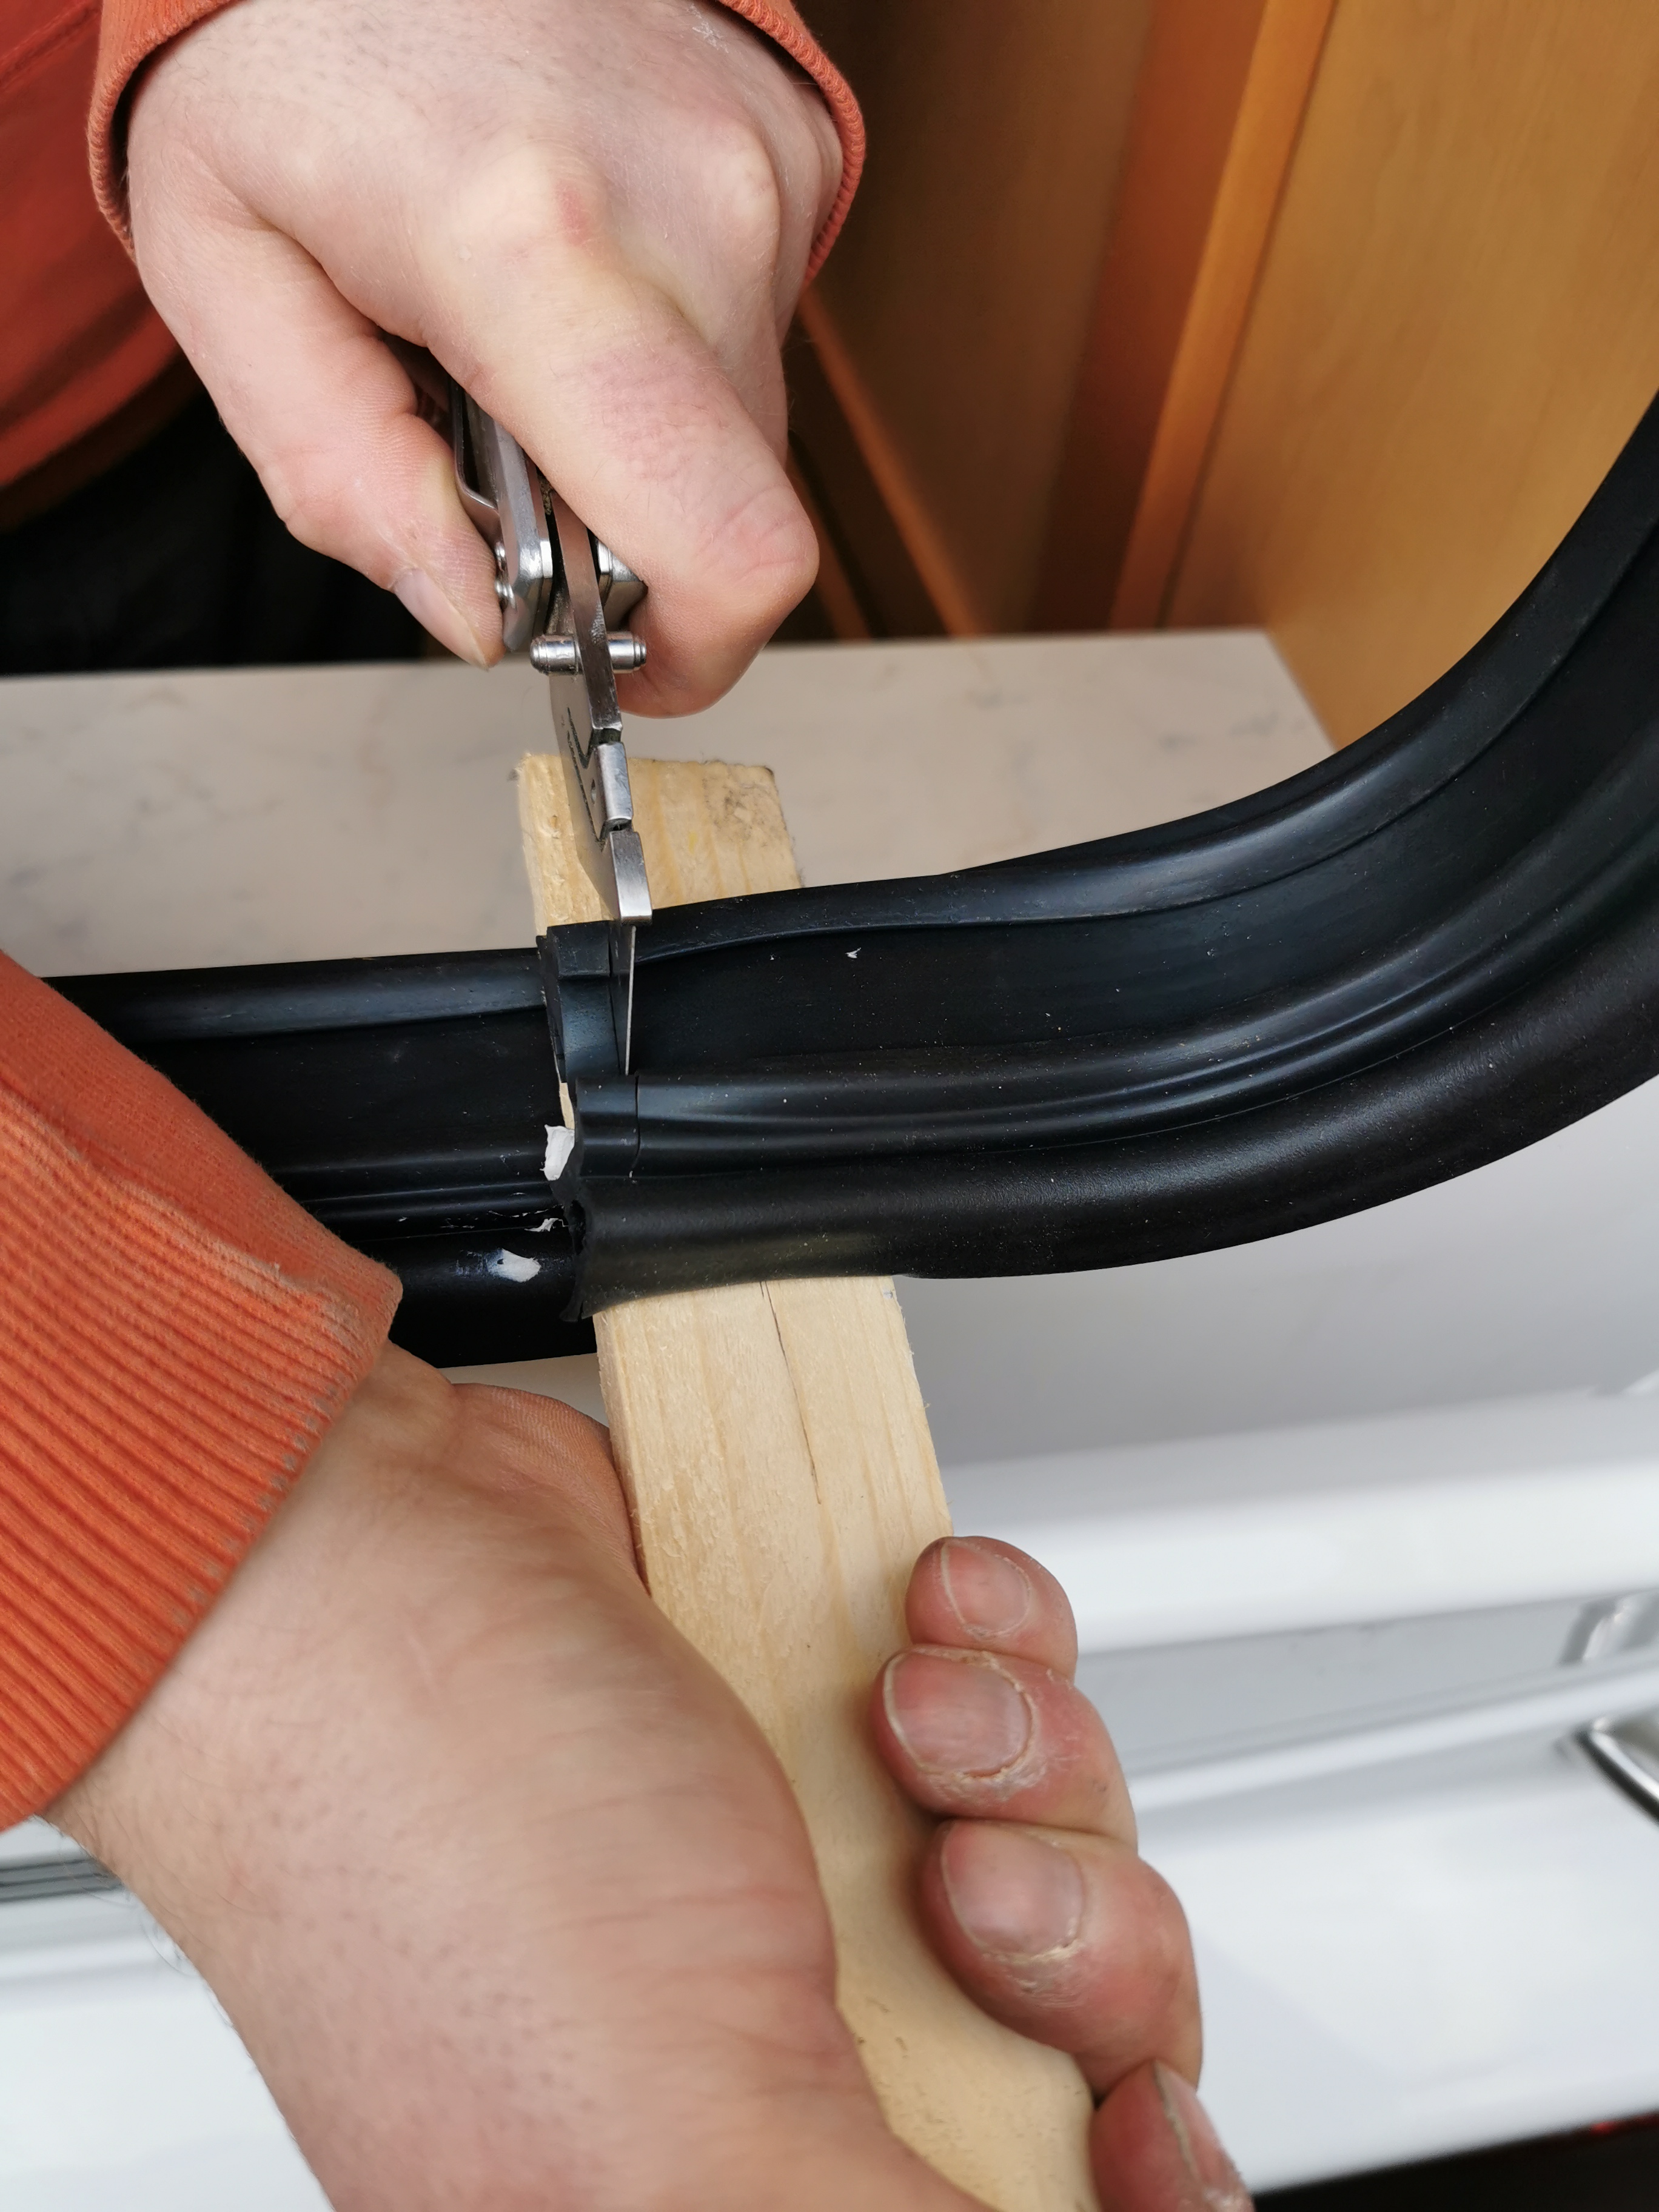
The final part of the repair was to install the new window seal which we think is one of the causes of the damp in the first place. The seal we removed was full of small nail holes. We have also replaced all of the mastic sealent on the joining strip outside on the roof.
It took us, in total 4 days to complete this renovation project.
Check out our YouTube Slideshow video of all the work click here
Equipment/Supplies

To seal the join on the roof W4 Mastic Sealing Strip was used this creates a constant line of mastic along the roof.
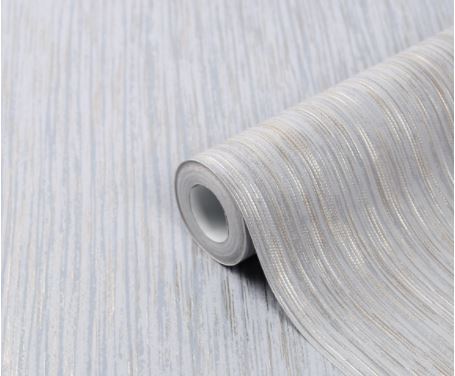
We used B & Q’s GoodHome Ciral Textured Vinyl Wallpaper. Using Vinyl wallpaper allowed us to paste directly onto the walls of the caravan rather than having to paste the paper in such a small space. Having a texture to the paper this means that any small lumps and bumps in the walls were covered.
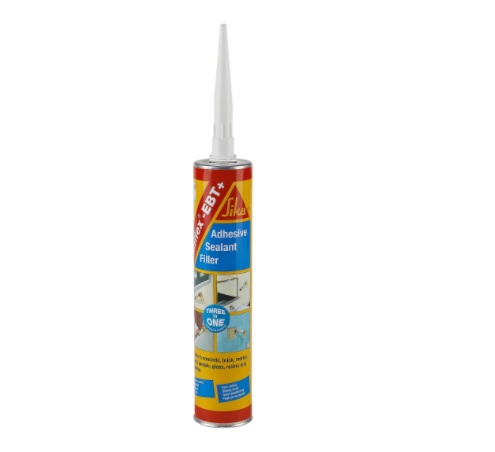
The caravan’s best friend SikaFlex EBT+ White General-purpose Adhesive, sealant & filler we used this to glue the window frame to the rear panel, to re-seal the window bracket and to re-seal the awning rail.
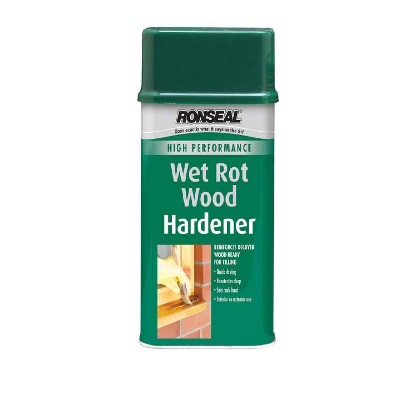
To protect the wood that we didn’t replace in the frame of the caravan we used Ronseal Wet Rot Wood Hardener. We applied this to areas that showed some signs of damp.
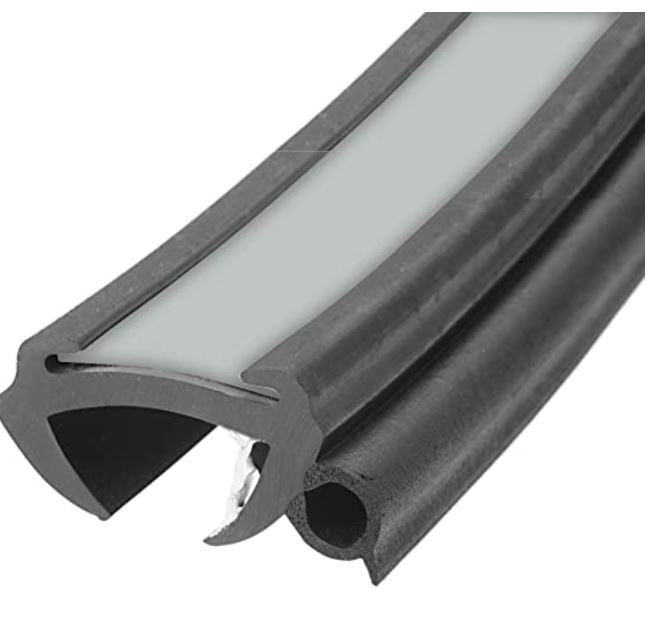
To ensure a good seal around the window we purchased a replacement Window Rubber Seal. This comes prefilled with mastic and the light grey inner-strip is very tricky to get into place.
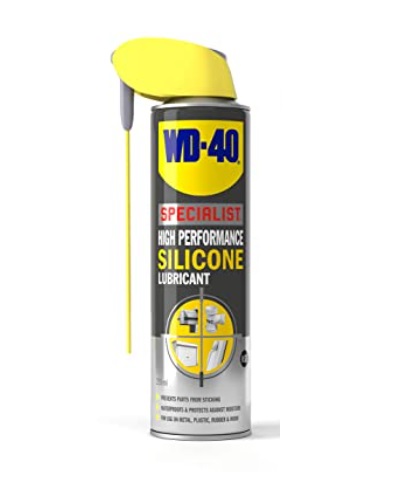
We used this WD-40 High Performance Silicone Lubricant to help slide the light-grey inner-strip into the window seal.

Great work! So lovely to see you repairing what many people would scrap. Glad your project went well!
Take care!
Jamie McNeill
😀
LikeLike