Ever since we started sharing our adventures we have been recording our visits on our own Google Map, showing the sites that we have visited and the ones we have plans to visit in the future. You can check this out via the more tab on our blog. If you want to plot your adventures follow the sets below.
1- Set up a Google account or login
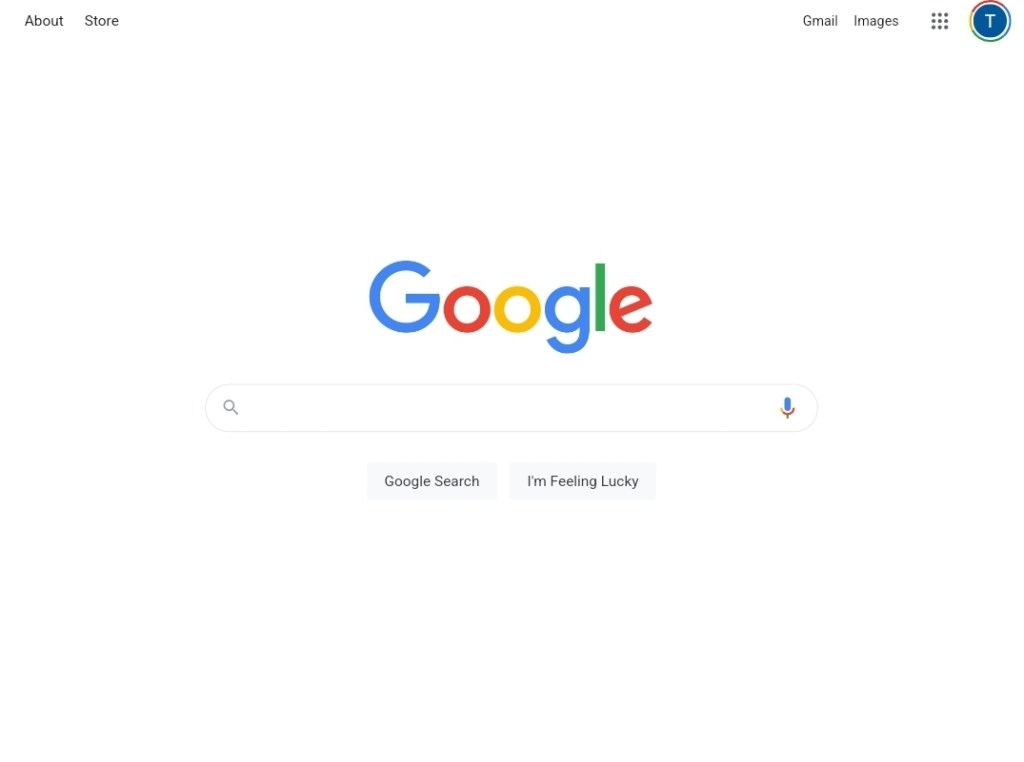
2- Visit the main Google site and search for ‘My Maps’ and select the Google Site listed. You can create and update your maps via a phone or tablet, but our experience shows its best to use a computer.
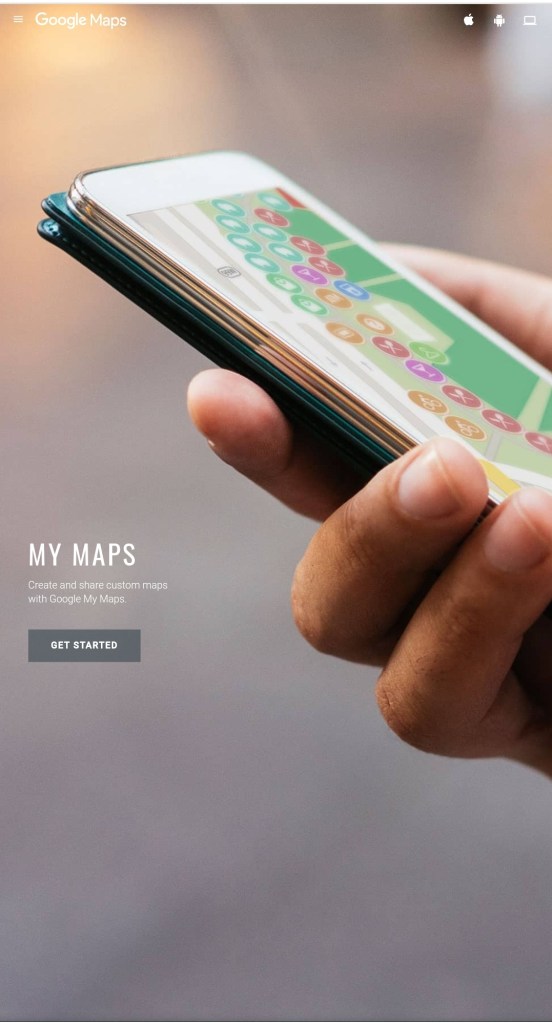
3- If this is the first time you have visited the service the following page will be displayed, click the ‘get started’ button.
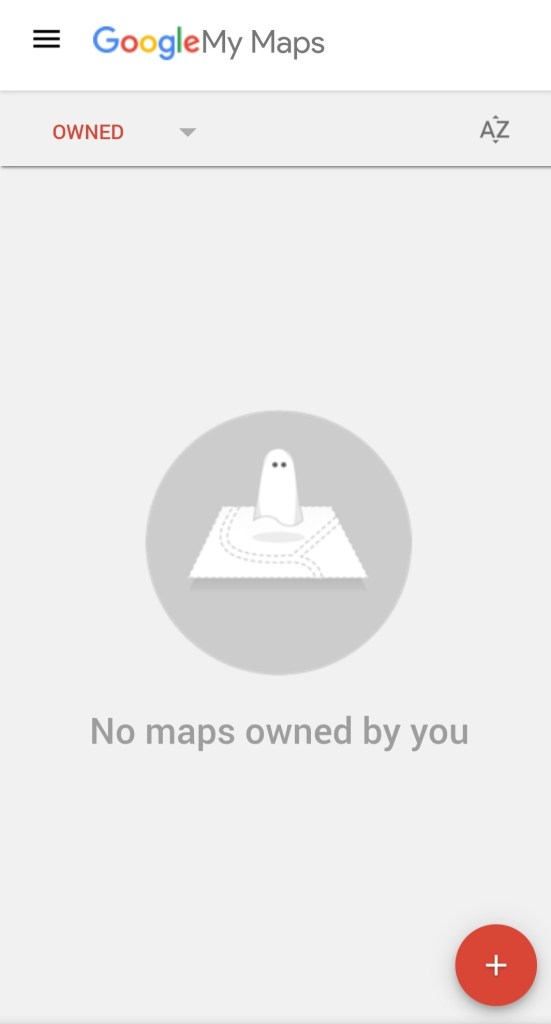
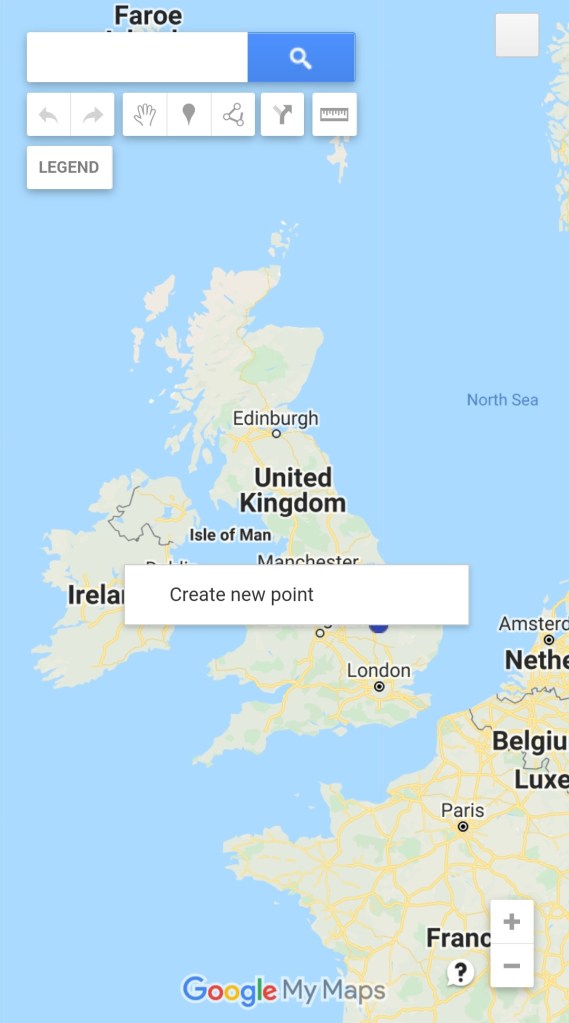
4- Press the plus button to start your first map.
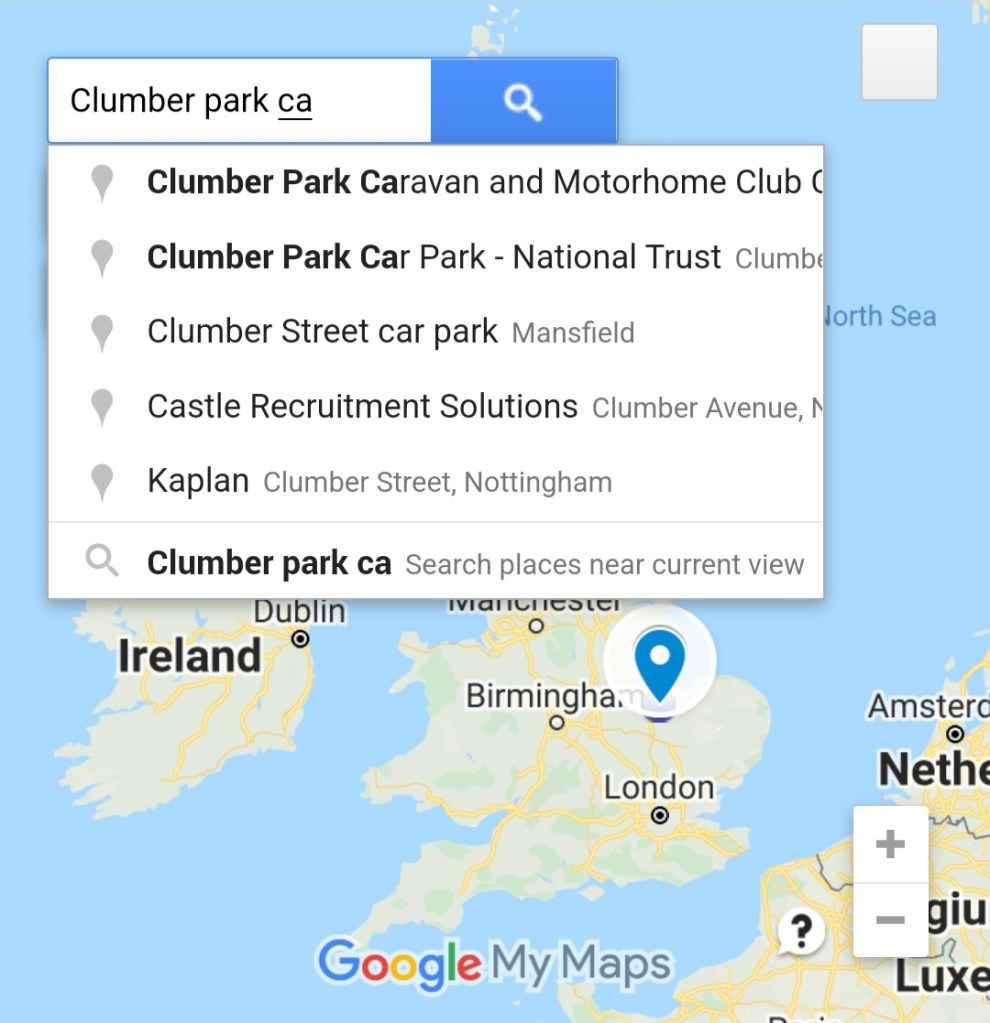
5- To add your first marker to the map use the search box at the top of the screen.
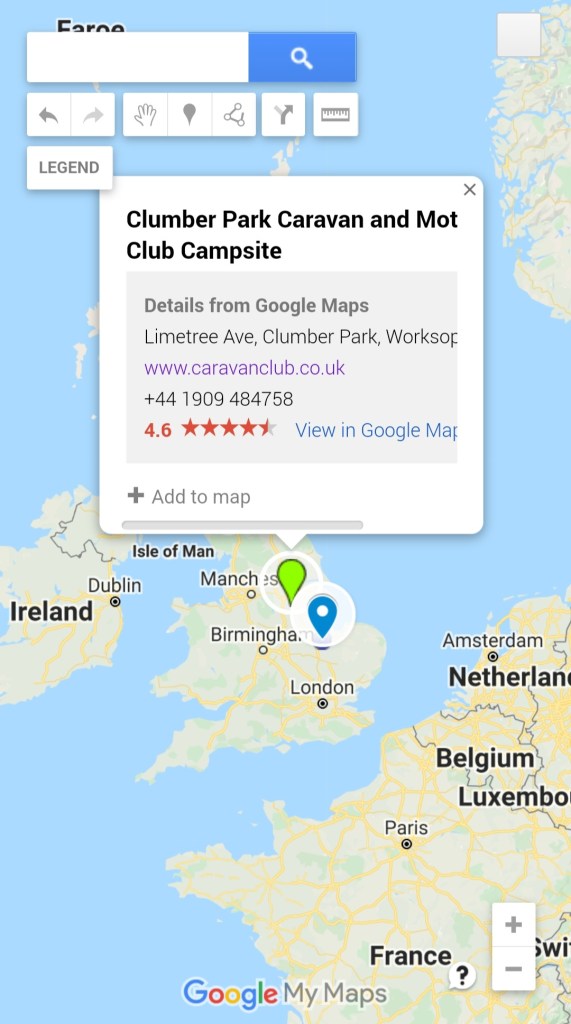
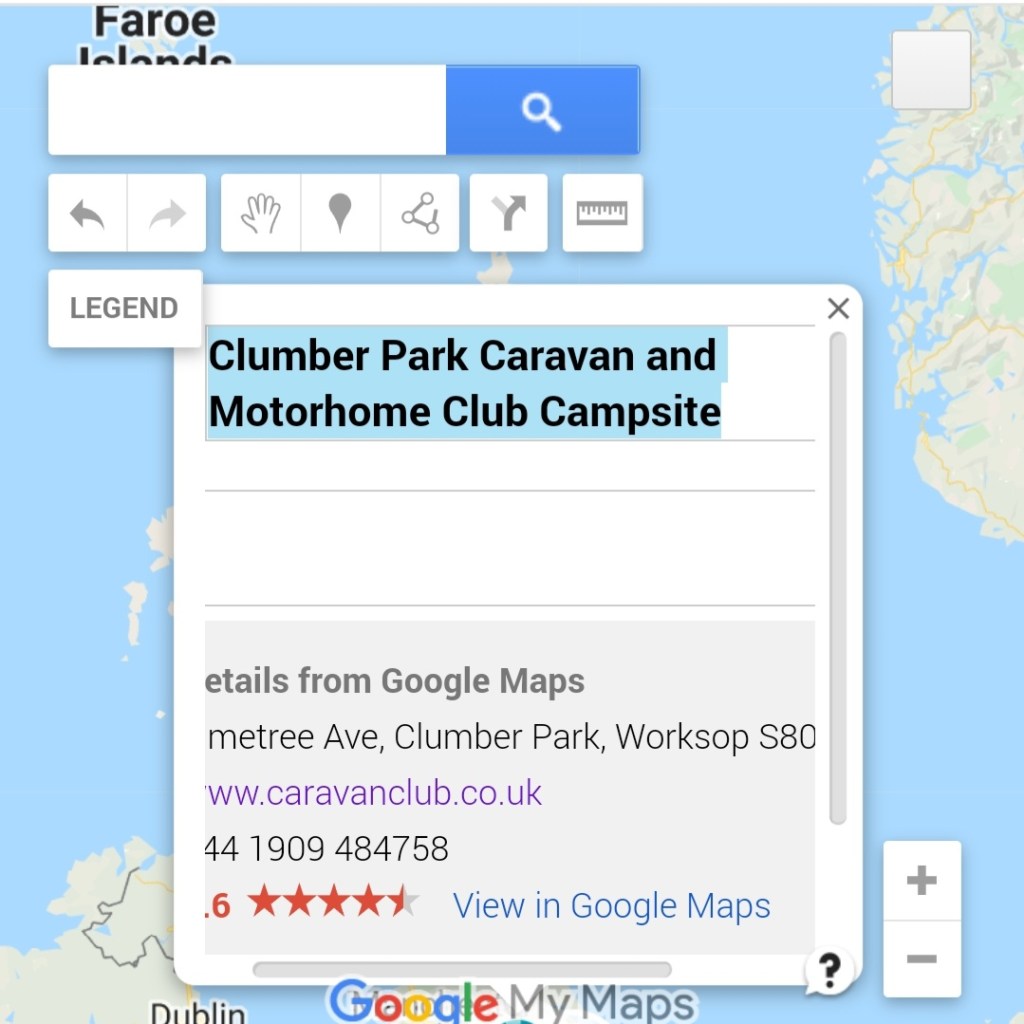
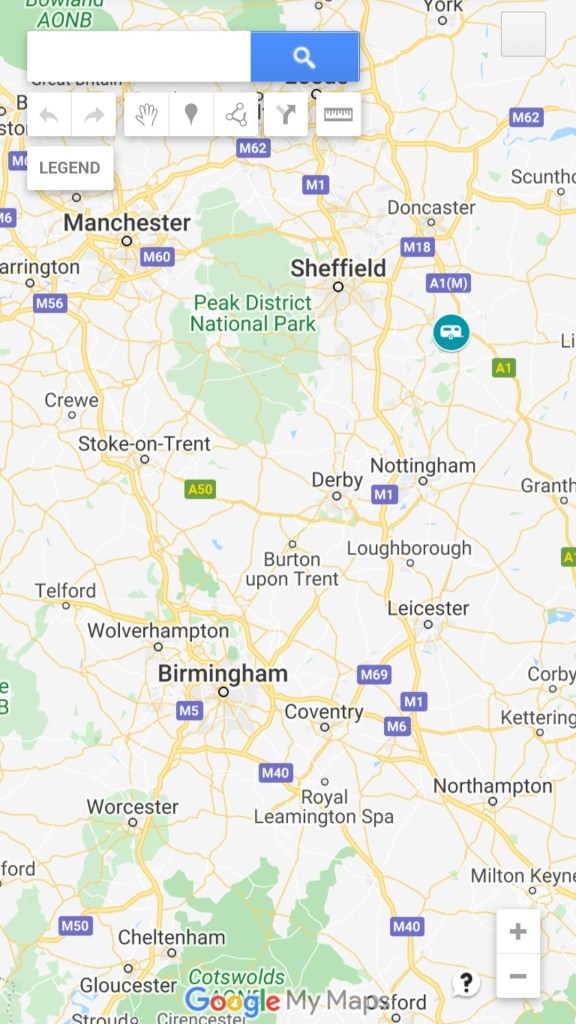
For this example we are adding Clumber Park Caravan and Motorhome Club Site to our map. We do this by typing in the name of the site and then selecting the most appropriate result. This should then show the location on the map.
6- Click the ‘Add to map’
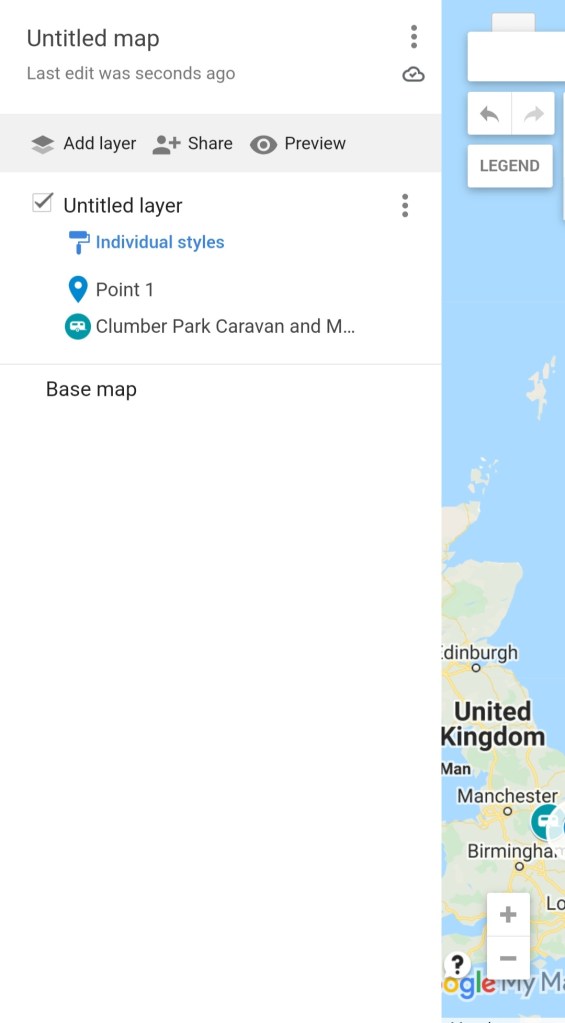
7- You can change the label for any entries you add to your map. Click on the pencil icon at the bottom the the label.
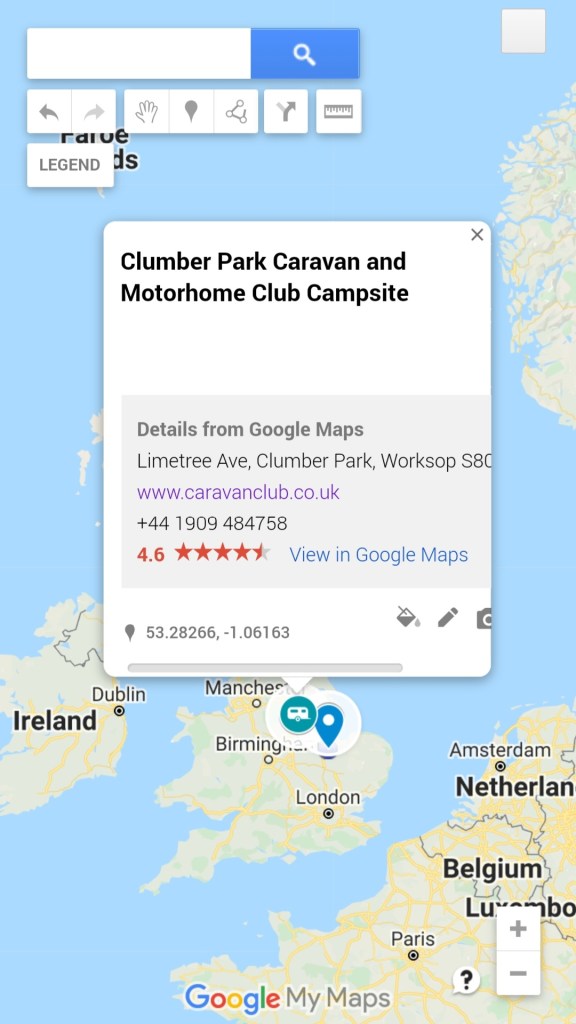
This will allow you to change both the main label and the sub-level information. We use the sub-level information to link to site reviews and other relevant information.
8- You can also change the design and colour of the pins on the map. To do this click on the paint can.
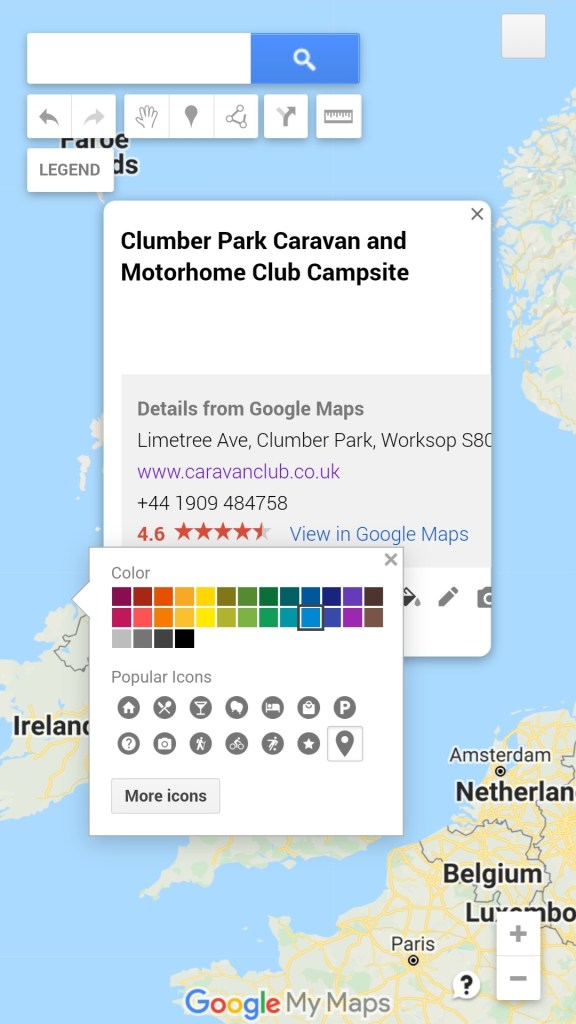
There are a range of different icons that can be used within My Maps.

If you wish to share your map with others this can be done via the legend menu. ‘My Maps’ can be used to show distances between various locations.
You can click on the share button to embed the map within a website, via email and other methods.
If you need any more advice about using Google Maps to share your adventures add a comment below.
